
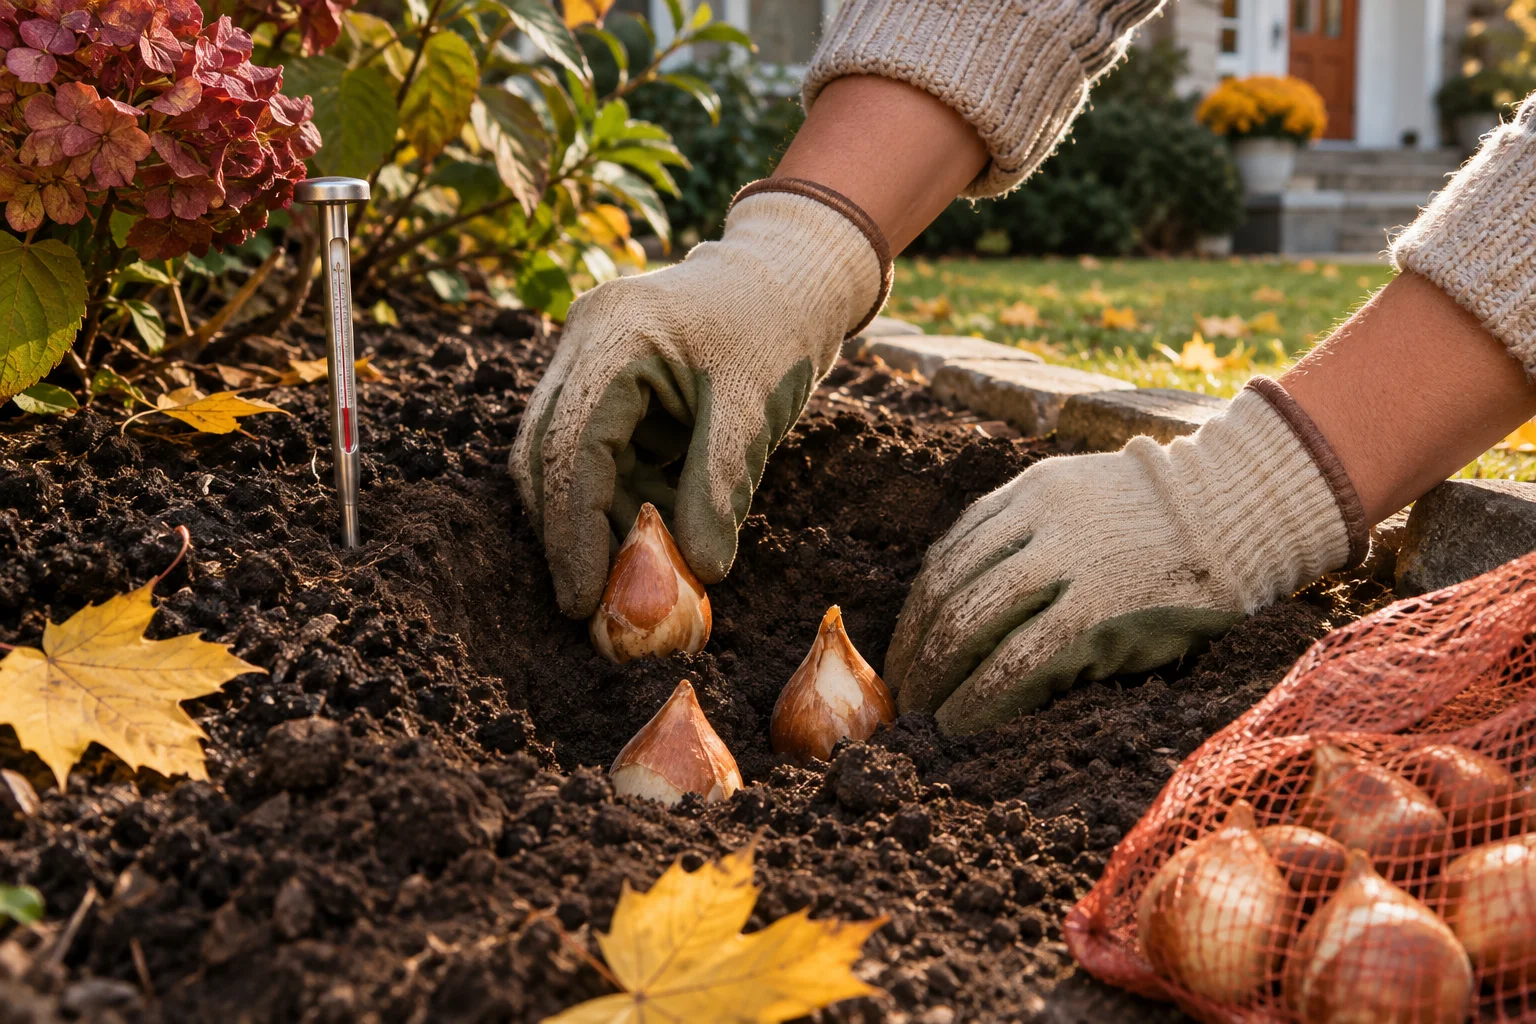
The mesh bag of tulip bulbs has been sitting by the door since September. The papery skins rustle every time you walk past, the afternoons are still warm enough for short sleeves, and you can’t tell if planting now is smart or a waste of good bulbs.
Knowing when to plant tulip bulbs comes down to one thing you can check with a cheap thermometer: how cold the soil is at planting depth. Get that right and the bulbs root in fall, sit through their winter chill and open in spring on straight, sturdy stems. This guide shows you how to read that cue for your climate, how to plant step by step, and what to do if you’re late, in the warm South, or gardening in pots on a balcony. If you’re lining up other cool-season jobs too, the fall vegetable garden planting guide covers what goes in alongside bulbs.
Table of Contents
At a Glance
- Plant in fall once the soil has cooled to below 60°F at planting depth; the 40s and 50s are the sweet spot.
- Cold northern areas usually reach that in late September or October; milder southern areas may not get there until late October through mid-December.
- Late is usually fine: firm bulbs can still go in as long as the ground isn’t frozen.
- In very warm winters, such as most of Florida, buy pre-chilled bulbs, plant them in winter and treat them as a one-season show.
- Set large tulips 6 to 8 inches deep, measured from the base of the bulb, and 4 to 6 inches apart.
What You’ll Need
Tulip planting needs very little gear, and most of it is already in a basic tool bucket. The one item worth adding is a soil thermometer, because it turns timing from guesswork into a quick reading.
Essentials
- Tulip bulbs (Tulipa spp.) that feel firm and heavy for their size, with no soft spots, mold or shriveling.
- A soil thermometer with a probe long enough to reach about 6 to 8 inches down (low-cost).
- A trowel or bulb planter, plus a ruler or a trowel marked in inches.
- Compost to improve drainage in heavy soil.
- Mulch: shredded leaves, wood mulch, pine needles or clean straw.
- Chicken wire or hardware cloth and a few landscape staples if squirrels, chipmunks or voles live nearby.
Optional
- Bone meal or a balanced fertilizer, ideally guided by a soil test.
- Pots at least 6 inches deep with drainage holes, for the balcony method in Tulips in Pots.
- Paper bags for storing bulbs in the fridge if you garden somewhere with warm winters.
When to Plant Tulip Bulbs in Your Climate
Plant tulip bulbs in fall, once the soil at planting depth has cooled below 60°F. In cold northern areas that usually means mid-September through October. In milder southern areas it can be late October to mid-December. Firm bulbs can still go in later, as long as the ground isn’t frozen.
The University of Arkansas extension puts the target between 40 and 60°F before planting, which gives the bulbs cool, still-workable soil to grow roots in before the ground freezes.
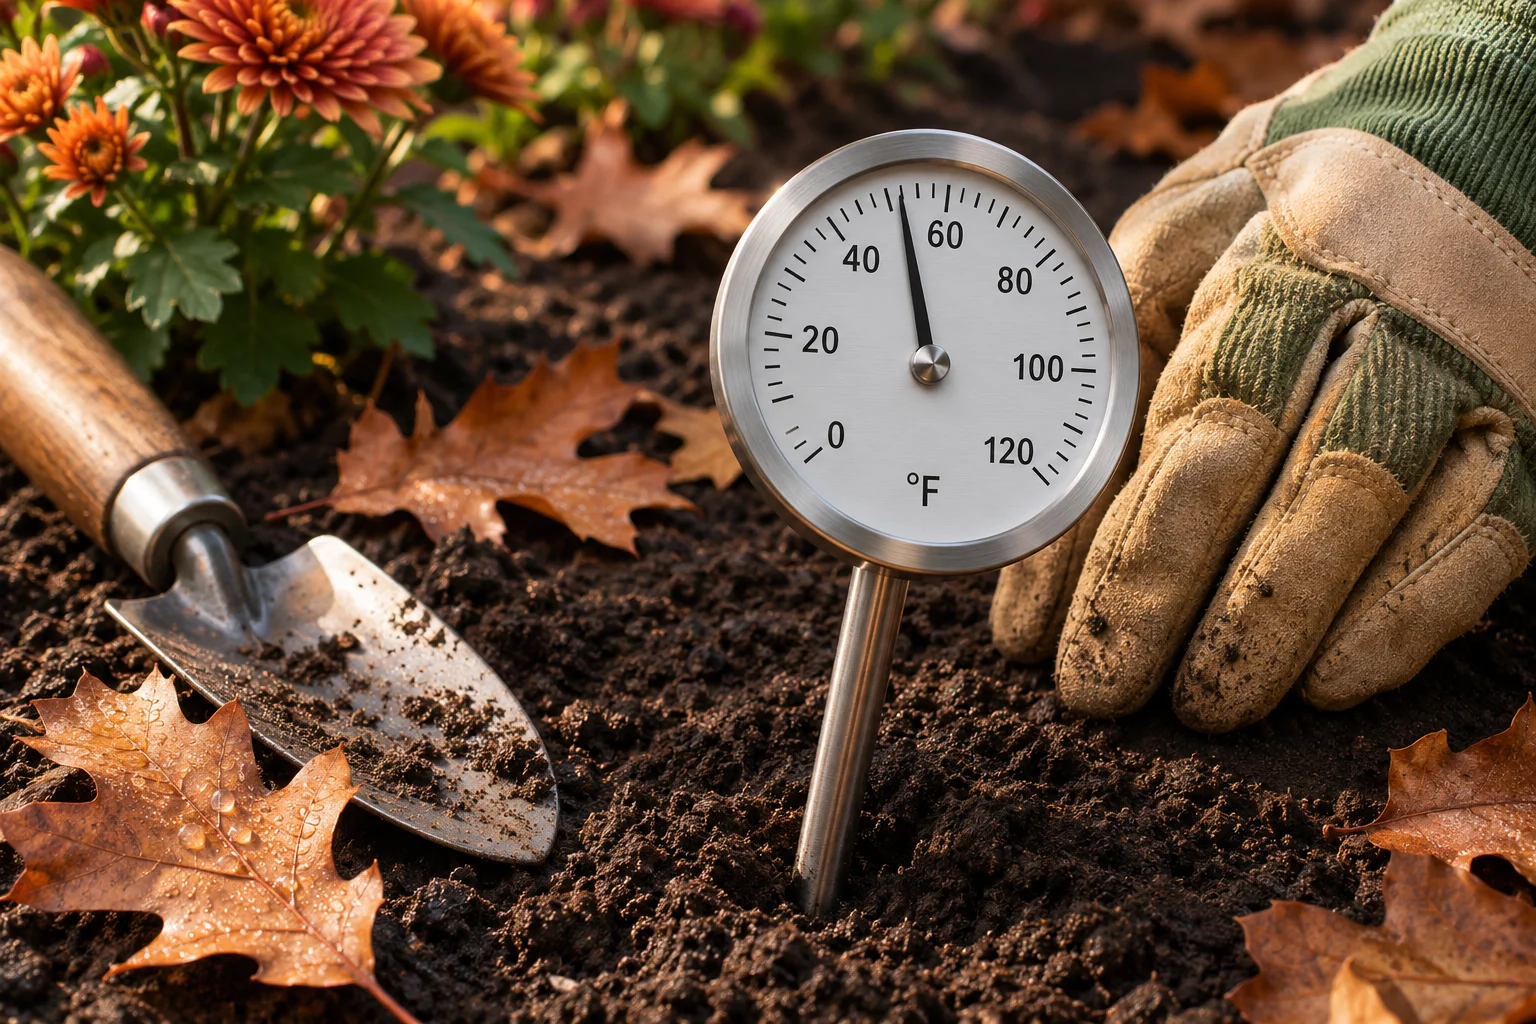
Why the soil and not the calendar? Tulips need a long stretch of cold to form their flowers, roughly 10 to 16 weeks depending on variety and climate. Cool soil tells you that stretch has started. Plant into soil that’s still warm and the bulbs can wake up too early: Iowa State notes that September planting while soils are still warm may make tulips emerge in the fall, and that the ground can take bulbs as late as December if it stays unfrozen.
Use the table below as a starting point, then trust your thermometer. Each window comes from an extension service in that region, so treat it as an example of how timing shifts with climate, not a national rule. The zone column is a rough guide; if you don’t know yours, look it up by ZIP code on the USDA Plant Hardiness Zone Map.
| Climate | Approx. USDA zones | Example region | Typical planting window | What to do |
|---|---|---|---|---|
| Cold winters | 3 to 5 | Minnesota, Iowa | Mid-September to October | Plant once soil cools; tulips can go in as long as you can still dig. |
| Mild winters, cold snaps | 6 to 7 | North and central Arkansas | Mid-September to late October | Plant when soil is in the 40s and 50s; mulch after planting. |
| Warm winters, some frost | 8 | South Arkansas | Late October to mid-December | Wait for soil to drop below 60°F; expect tulips to act more like annuals. |
| Very warm winters | 9 to 11 | Florida | Winter, after pre-chilling | Buy pre-chilled bulbs or chill them yourself, then plant in winter. |
In the warmest parts of the South, the ground never stays cold long enough to finish the job. UF/IFAS Extension says Florida gardeners can use bulbs pre-chilled for two to four months and plant them in winter, then expect one bloom, since they usually won’t flower again. Eastern North Carolina sits in between: tulips there are best treated as annuals because the soil stays warmer.
Is It Too Late to Plant Tulip Bulbs?
Usually not. If the bulbs are still firm and you can work the soil, plant them; bulbs do far better in the ground than in a bag in the garage. In Arkansas, for example, the end of December is a workable cutoff, and Iowa State says bulbs can go in as late as December if the ground stays unfrozen. Late bulbs get a shorter chill, so expect them to bloom a little later and on shorter stems the first spring.
If the ground is already frozen solid, use the pot method in Tulips in Pots instead. Bulbs still unplanted by spring are usually best discarded.
Before You Start
Three checks before you dig will save most tulip failures: how you’ve stored the bulbs, whether the spot drains, and who else uses the yard.
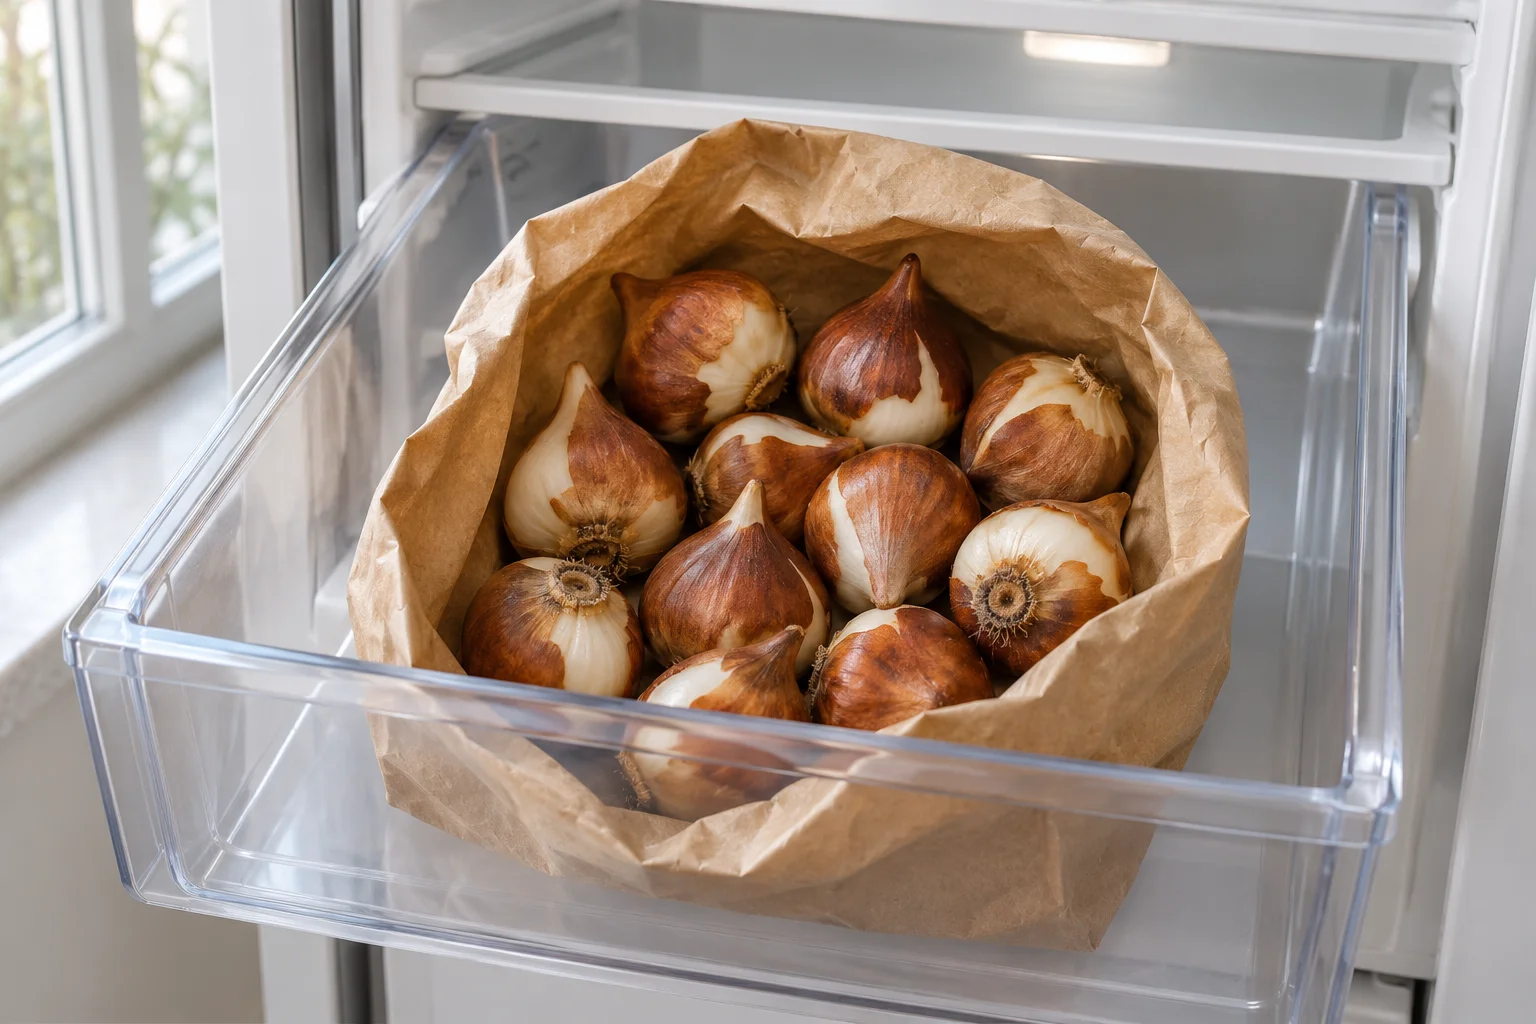
Store early bulbs cool and dry. Bulbs bought in late summer or early fall belong in a cool, dry, dark place, such as a basement or garage shelf, until the soil is ready. If you chill them in the refrigerator, keep them away from fruit, especially apples. Ripening fruit gives off ethylene gas, and University of Wisconsin-Madison Extension warns that ethylene impairs flower development in chilling bulbs. A typical fridge at 35 to 45°F works for chilling.
Check drainage. Bulbs rot in soggy ground, and poor drainage is the one condition they won’t tolerate. Dig a hole about 12 inches deep, fill it with water and time how fast it drains: about 2 inches per hour is ideal, while less than 1 inch per hour means the spot stays too wet, so pick another spot or build up a raised bed. Choose full sun if you can.
Plan around pets. Tulips are toxic to dogs, cats and horses, and the ASPCA notes the highest concentration of toxin is in the bulb. Signs include vomiting, diarrhea, drooling and depression. If you have a dog that digs, plant where it can’t reach, cover the bed with wire (see Step 7), store spare bulbs out of reach, and call your vet or the ASPCA Animal Poison Control Center at (888) 426-4435 if a bulb goes missing into a pet. The low maintenance front yard flower garden ideas include pet notes for other bed plants.
Step-by-Step: Planting Tulip Bulbs
Once you know when to plant tulip bulbs where you live and the soil reading is right, planting takes about an hour for a small bed. These seven steps follow the order you’ll actually work in.
Step 1: Confirm the Soil Has Cooled
Push the soil thermometer 6 to 8 inches into the bed in the late morning and leave it a minute. A reading below 60°F means go. If it’s still in the 60s, check again in a week; a few cool nights usually bring it down. Soil near south- or west-facing foundations warms faster, so check there separately if that’s where you’re planting.
Step 2: Pick a Sunny, Well-Drained Spot
Use the spot that passed your drainage check in Before You Start. For a fuller look, plan groups rather than single rows: plant at least five of one variety, and groups of ten or more look best. Color reads stronger in clusters, especially from across a yard or a street.
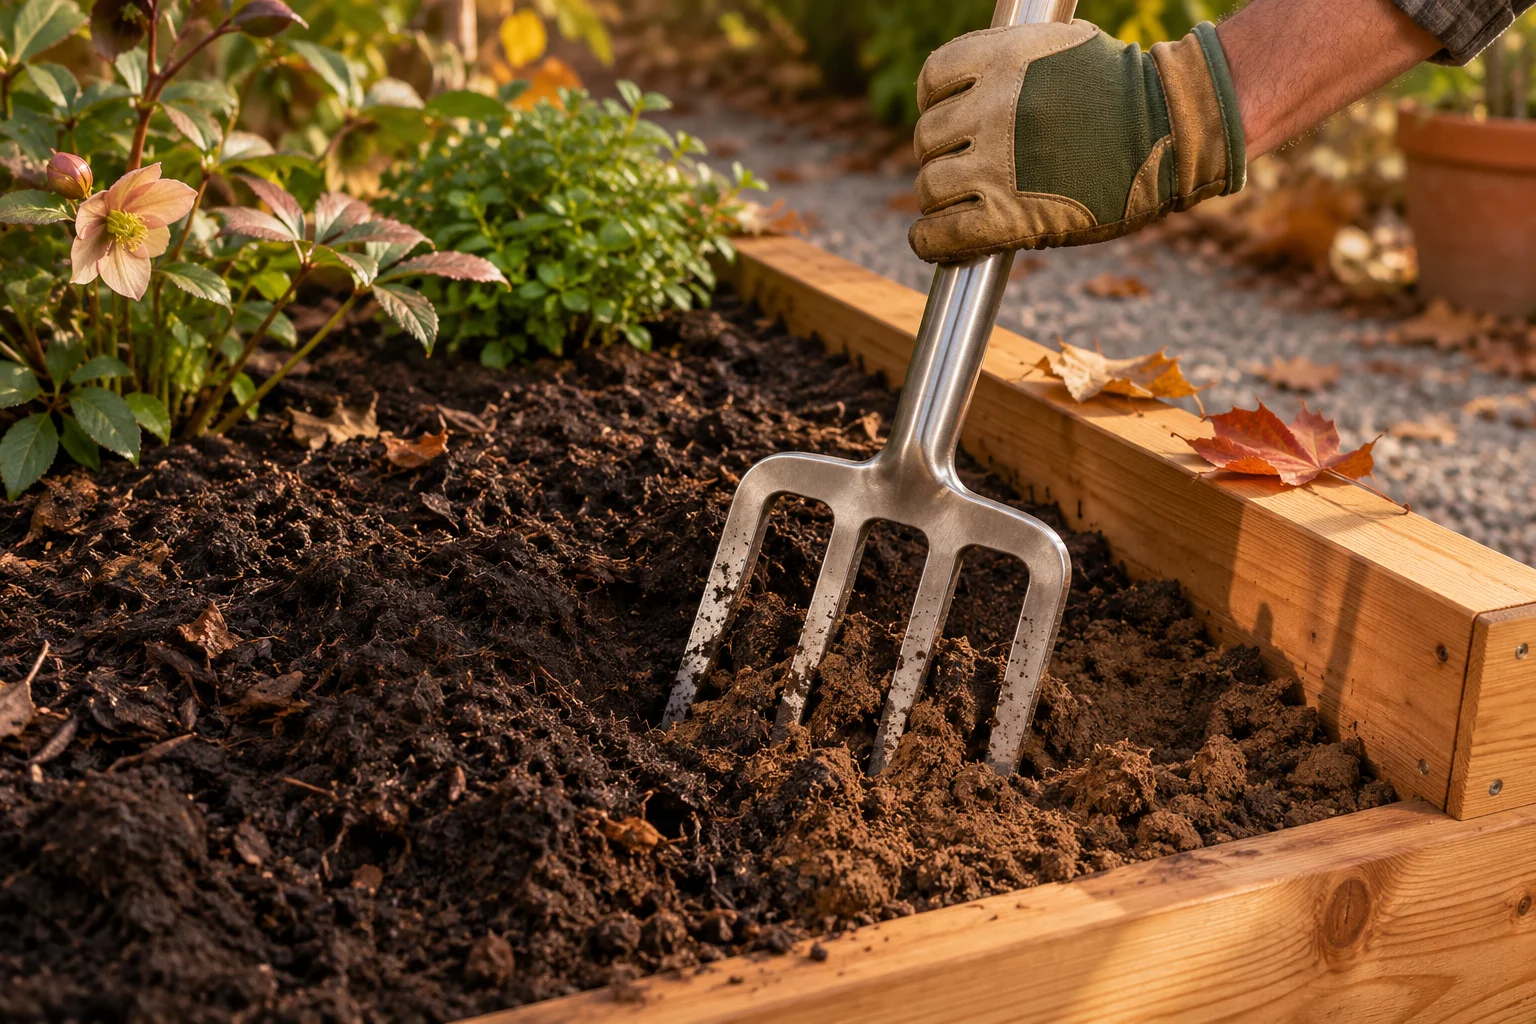
Step 3: Loosen and Improve the Soil
Work the bed 10 to 12 inches deep so roots can grow freely below the bulbs. Mix in compost if the soil is heavy clay. Tulips prefer a soil pH of about 6.0 to 7.0; a soil test from your county extension office tells you where yours sits and whether you need fertilizer at all.
Step 4: Dig to the Right Depth
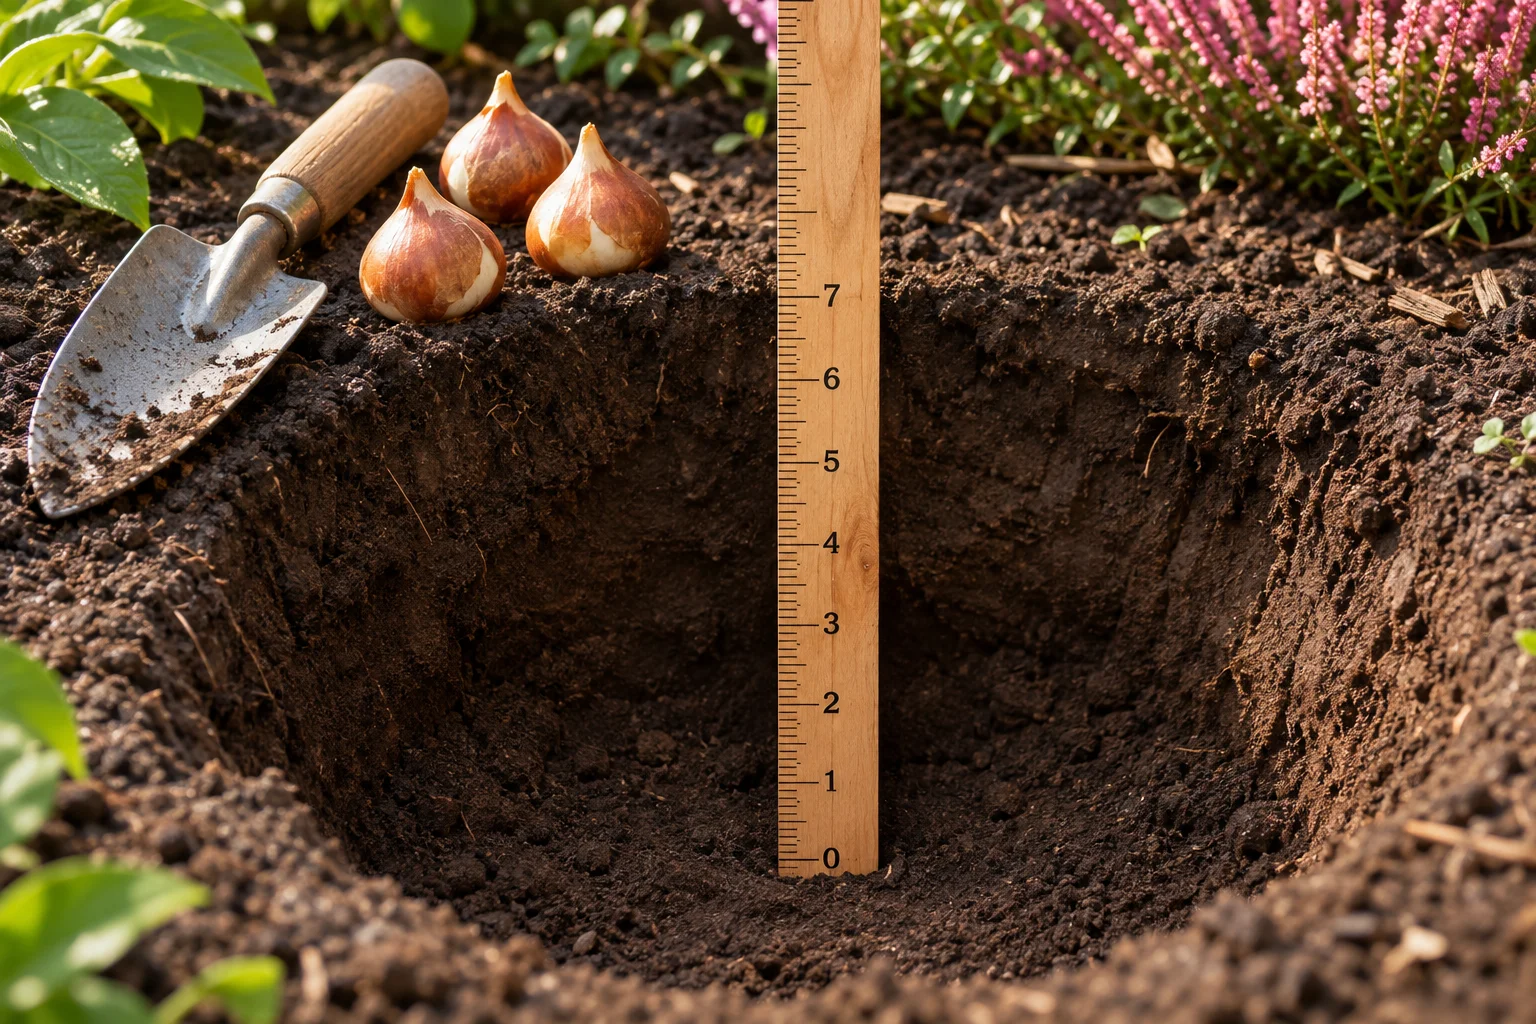
Plant each bulb about three times as deep as its diameter, measured from the base of the bulb. For large tulips such as Darwin hybrids, that means 6 to 8 inches deep. Smaller species tulips go 3 to 5 inches deep. In sandy soil, go an inch or two deeper; in heavy clay, an inch or two shallower. You can dig single holes with a bulb planter or, faster for a group, scoop out one wide hole to the full depth.
Step 5: Set the Bulbs Pointed End Up
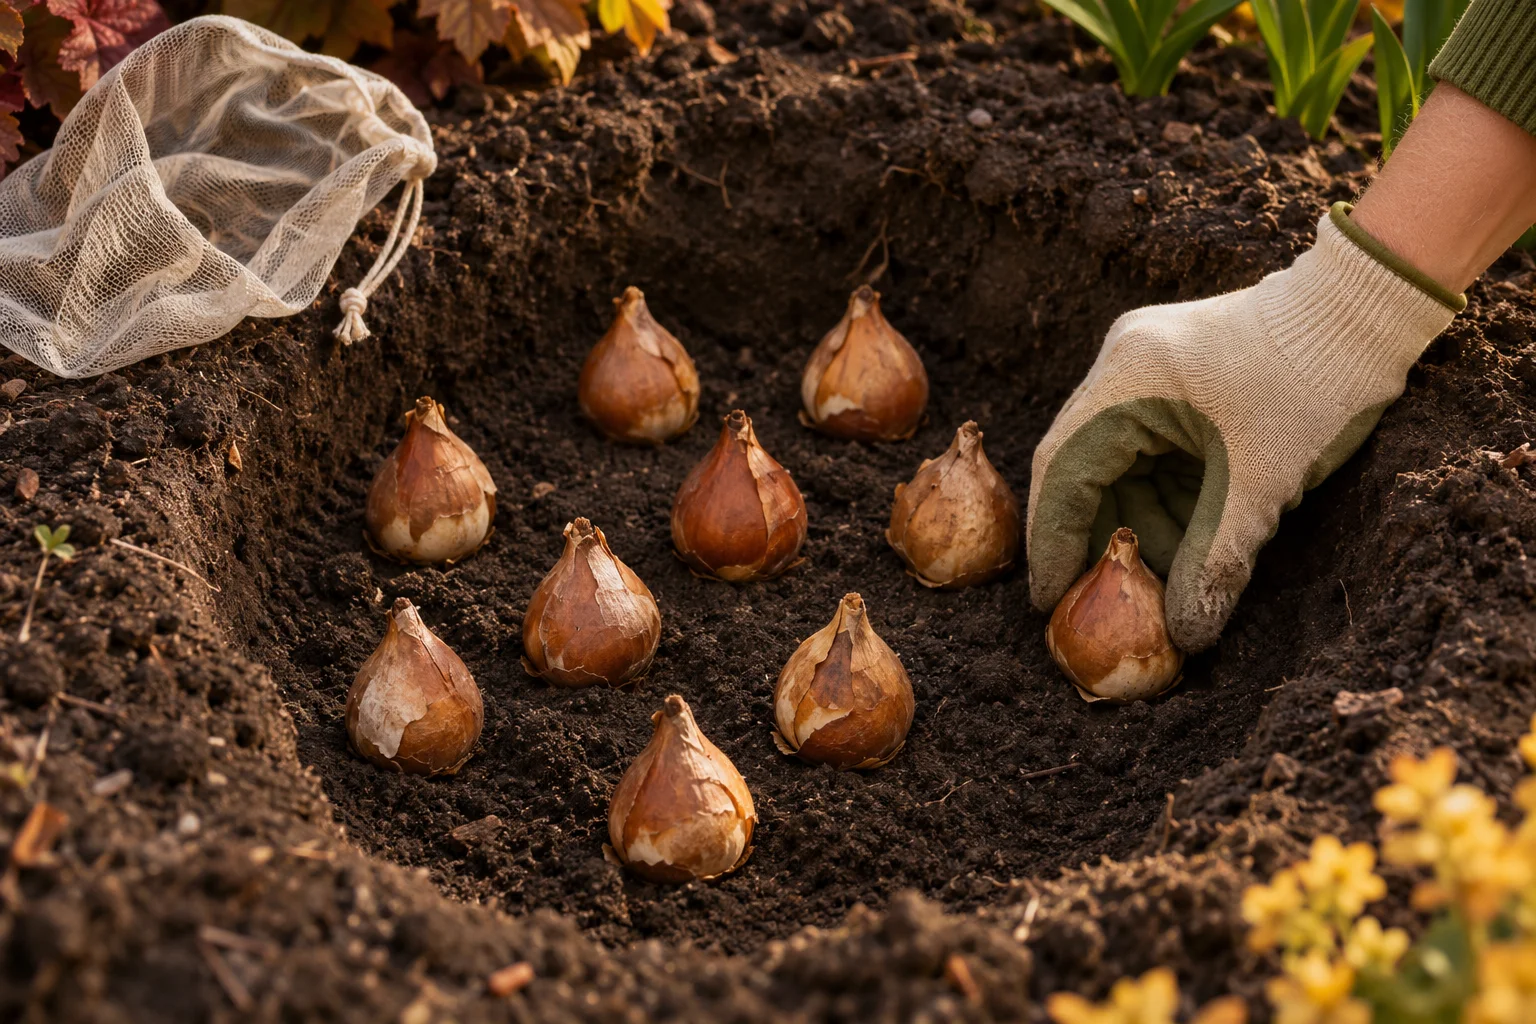
Place each bulb with the pointed tip up and the flat base, where roots form, down. Space large tulips 4 to 6 inches apart and species tulips 3 to 4 inches apart. If you can’t tell which end is which, lay the bulb on its side; the shoot will find its way up. The same cool-soil logic and point-up rule apply to planting garlic in the fall, so it’s an easy job to pair.
Step 6: Backfill, Water Once and Mulch
Refill the hole, firm the soil gently with your hands, then water well to settle it around the bulbs. One deep soak is enough in most falls; avoid keeping the soil wet afterward. Finish with 2 to 3 inches of mulch, which helps keep weeds down and protects the bed through winter. If a long dry, warm spell follows, water again only when the top few inches feel dry.
Step 7: Protect the Bed from Diggers
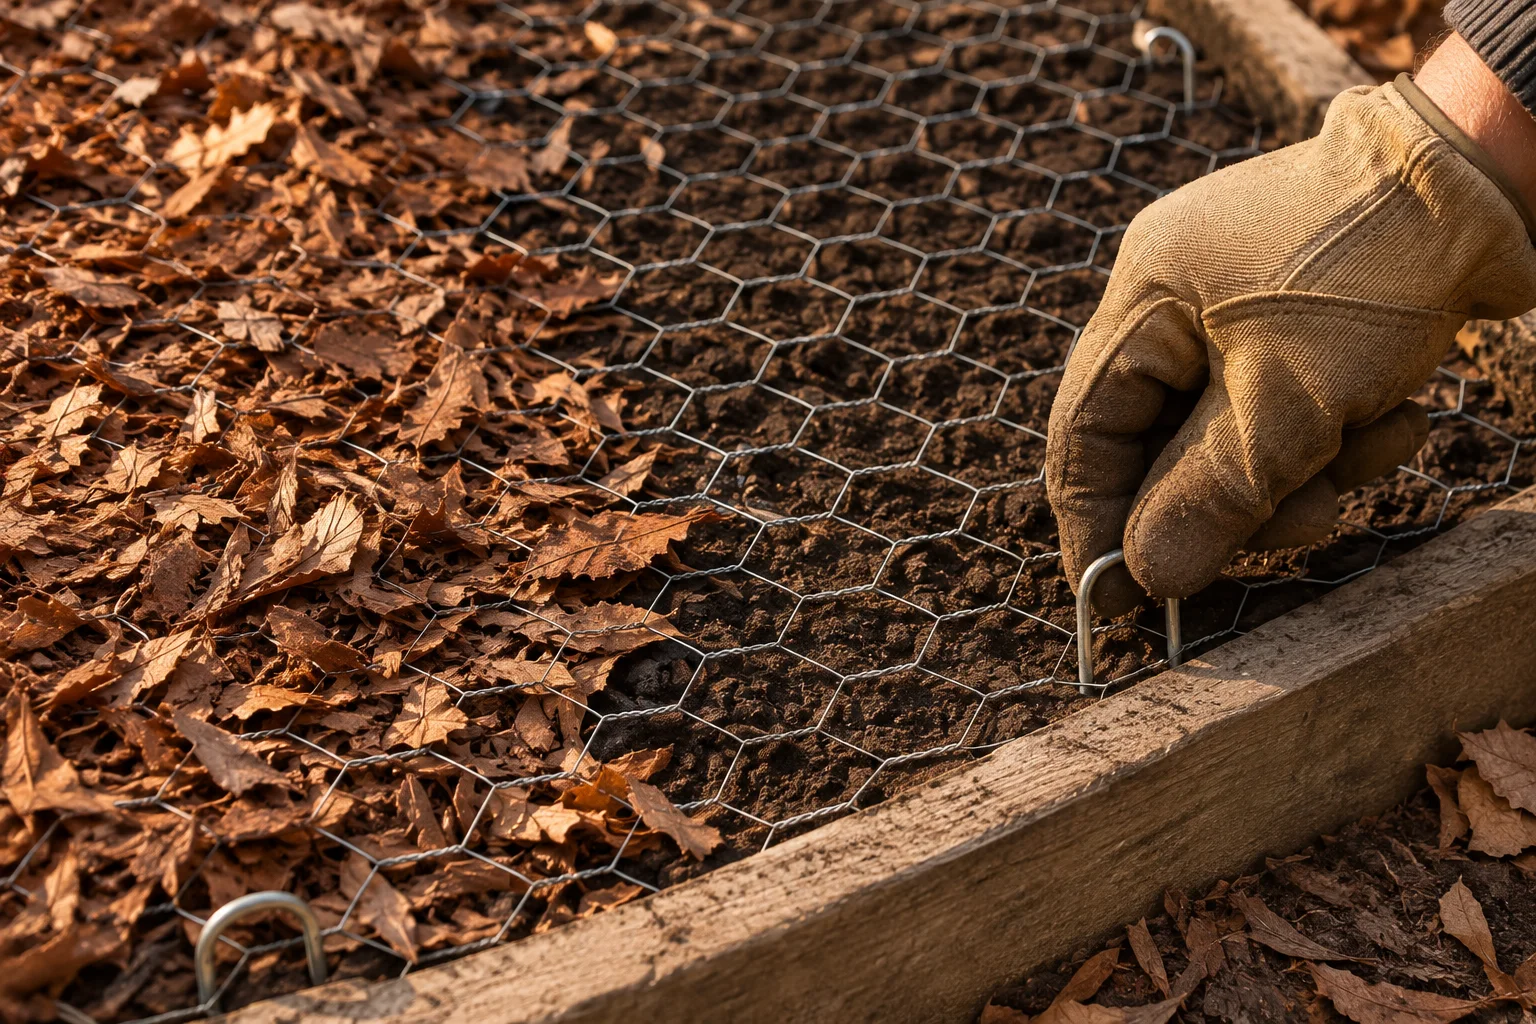
Squirrels, chipmunks and voles dig up and eat tulip bulbs, and repellents tend to work poorly. Lay chicken wire or hardware cloth flat over the planted area, pin it with landscape staples or bricks, and cover it with mulch. Lift the wire in early spring once shoots appear so leaves can grow through freely.
Tulips in Pots: The Balcony Method
You can grow tulips in containers on a balcony or porch, and the timing is the same: pot them up when your garden soil would be ready. The difference is winter protection, because soil in a pot freezes and thaws much faster than ground soil, and repeated freezing and thawing rots bulbs.
Use a pot at least 6 inches deep with drainage holes, filled with fresh potting mix. Set the bulbs pointed end up, close together but not touching, and cover them so the tips sit just below the surface, leaving a little space at the rim for watering. Water once after planting, then keep the mix barely damp through winter; it should never sit soggy.
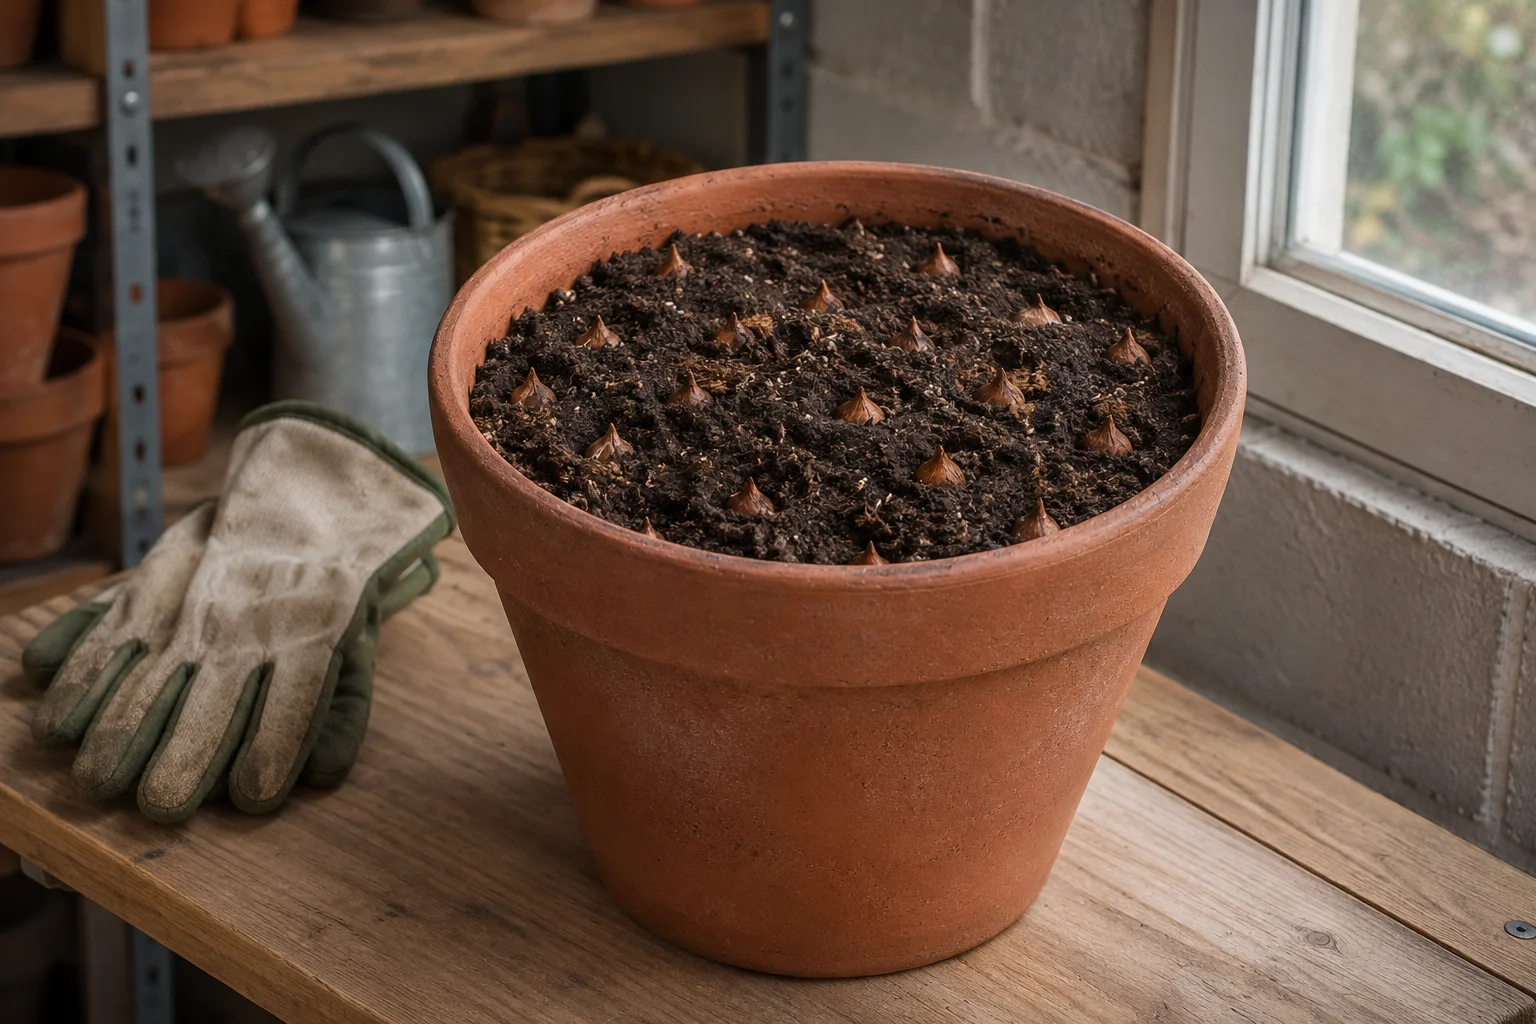
For winter, move the pots somewhere cold but sheltered: an unheated garage, shed or cold frame where temperatures don’t drop below 20°F works well. Bring the pots back into the light when shoots appear in late winter. For wrapping and grouping pots that have to stay outside, follow the steps in how to winterize potted plants on a balcony.
Tulip Timeline: Fall to Spring
Once the bulbs are in, the season runs on its own. Expressed by stage rather than date, because your calendar depends on climate:
- Planting (soil below 60°F): roots grow while the soil is cool but workable.
- Winter chill (about 10 to 16 weeks of cold): flower buds form inside the bulb; the bed needs no care beyond mulch.
- Late winter to early spring: shoots appear; early leaves in March or early April are normal.
- Bloom: mid to late spring, depending on variety and weather.
- After bloom: snap off faded flowers and leave the leaves. Tulip foliage dies back about five to six weeks after flowering; don’t braid, fold or cut it early, because it’s feeding next year’s bulb.
Expect garden tulips to fade over a few seasons. In Arkansas, most selections last only two or three years, so many gardeners top up the display each fall. For a porch display next autumn, the fall front porch planter ideas pair well with a pot of bulbs tucked underneath.
Common Mistakes
- Planting by the calendar in a warm fall. A September date means little if the soil is still in the 60s; check the thermometer first (see the climate section).
- Chilling bulbs next to apples. Fruit in the same fridge drawer can spoil the flowers before you ever plant.
- Planting too shallow. Bulbs a few inches down sit in soil that swings in temperature and are easier for squirrels to find; measure from the base as in Step 4.
- Picking a wet spot. A low corner that puddles after rain will rot bulbs over winter no matter how well you time it.
- Cutting leaves after bloom. Tidying too early starves next year’s flower.
Troubleshooting
Leaves Came Up in Fall
Fall shoots usually mean the bulbs went into warm soil or a long warm spell followed planting. Leave them alone, add an extra inch of mulch around them, and let winter slow them down; the leaf tips may brown, but the bulb often still flowers. Next year, wait for a cooler soil reading.
Short Stems or Flowers Close to the Ground
The most likely cause is too little cold. Short chilling leads to shorter stems and blooms close to the ground, which is common in warm-winter areas or with bulbs planted very late. Planting too shallow can also play a part. In warm climates, use pre-chilled bulbs next season.
Bulbs Dug Up or Missing
Fresh holes, scattered papery skins or half-eaten bulbs usually point to squirrels, chipmunks or other rodents. Replant any intact bulbs and add the wire from Step 7.
Soft, Mushy Bulbs or No Shoots in Spring
Dig up one bulb. If it’s soft, smells sour or shows mold, the cause is usually poor drainage or a bulb that was damaged before planting. Move next year’s planting to higher, better-drained ground or a raised bed, and buy firm bulbs.
Good Blooms the First Year, Few After
This is normal for many tulips, especially in warmer areas, where they behave more like annuals. Let the foliage die back fully each year, and plan to add fresh bulbs every fall for a dependable show.
Frequently Asked Questions
What month should I plant tulip bulbs?
It depends on your climate. In cold northern areas, plant from mid-September through October; Iowa State calls October the ideal month there. In milder southern areas such as south Arkansas, plant from late October to mid-December. A soil reading below 60°F at planting depth is a better signal than any date on the calendar.
Do tulip bulbs need to be chilled before planting?
Not where winters are cold. Plant them in fall and the ground does the chilling for you. In very warm areas such as most of Florida, the soil never gets cold enough, so buy pre-chilled bulbs or chill them in the refrigerator for two to four months before planting in winter. Keep them in a paper bag away from fruit while they chill.
Can I plant tulip bulbs in spring?
Dry, unplanted bulbs are usually best discarded by spring, because they no longer get the winter chill they need to flower. A potted tulip bought in bloom is different: after the flowers fade you can plant it outdoors, but Iowa State notes that most forced tulips do not bloom again once planted out.
Do I need to fertilize tulip bulbs when I plant them?
Often not. A soil test is the best guide, and many soils, including most in Minnesota, already hold plenty of phosphorus. If your test shows a need, Iowa State suggests about one tablespoon of bone meal for each individual planting hole.
Should I dig up tulips after they bloom?
No, you can leave them in the ground to flower again. Wait until the leaves have yellowed and withered (see the timeline), and lift and divide clumps only if they become crowded and stop blooming well, which can happen every three to four years. If you do lift them, do it just after the foliage dies back.
How many tulip bulbs fit in one pot?
Plan on five to seven tulip bulbs in a 6-inch pot, set close together with the pointed tips up. A wider pot simply takes more bulbs at the same spacing. Make sure there’s a drainage hole, and follow the winter storage steps in Tulips in Pots.
Can I plant tulip bulbs that have started to sprout?
Yes, if the bulb is still firm. Plant it at the normal depth with the sprout pointing up, and handle it gently so the shoot doesn’t snap. A bulb that feels soft, hollow or moldy is better discarded, since it is unlikely to flower.
What Actually Matters
Deciding when to plant tulip bulbs comes down to the soil, not the calendar. A reading below 60°F at planting depth is the signal, whether that lands in early October in the North or mid-December in the South. If you’re late, firm bulbs still have time as long as the ground isn’t frozen.
The rest is depth and drainage: 6 to 8 inches for large tulips, in soil that never sits wet. In very warm winters, buy pre-chilled bulbs and enjoy them as a one-season display.
This week, push a thermometer into your bed. If it reads in the 50s or lower, plant this weekend. For more seasonal ideas, browse the Flower Garden guides.
Sources
- University of Arkansas Cooperative Extension Service – Planting Fall Bulbs (FSA-2096) – soil temperature before planting, Arkansas planting windows and late cutoff, drainage, bulb depth, bed depth, pH, foliage die-back, how long tulips persist.
- Iowa State University Extension and Outreach – Selecting and Planting Spring-Blooming Bulbs – October timing in Iowa, fall emergence from warm soil, planting into December, depth and spacing for large and species tulips, grouping, bone meal, rodent wire.
- UF/IFAS Extension Gardening Solutions – Tulips – pre-chilling two to four months and winter planting in Florida, one-season bloom.
- University of Wisconsin-Madison Extension – Forcing Bulbs – ethylene from stored fruit, fridge chilling temperature, minimum 20°F storage for potted bulbs, freeze-thaw rot.
- ASPCA Animal Poison Control – Tulip – toxicity to dogs, cats and horses, toxin concentrated in the bulb, clinical signs.
- USDA Agricultural Research Service – Plant Hardiness Zone Map – zone lookup by ZIP code.
- University of Minnesota Extension – Planting bulbs, tubers and rhizomes – Minnesota planting window, depth adjustments for sandy and clay soil, warm foundation soil, 2 to 3 inches of mulch, leaving leaves until yellow.
- University of Minnesota Extension – Growing bulbs indoors – minimum pot depth of 6 inches, keeping potted bulbs moist and unfrozen.
- Iowa State University Extension and Outreach – How to Force Spring-Flowering Bulbs Indoors – five to seven tulips per 6-inch pot; most forced tulips do not rebloom outdoors.
- University of Missouri Extension – Plant them in the fall – 10 to 14 weeks of cool weather for flower bud formation, drainage test drain rates.
- N.C. Cooperative Extension, Pamlico County Center – Planting Spring Bulbs in November – soil below 60°F, 12 to 16 weeks of chilling, short stems from short chilling, tulips as annuals in eastern North Carolina.