
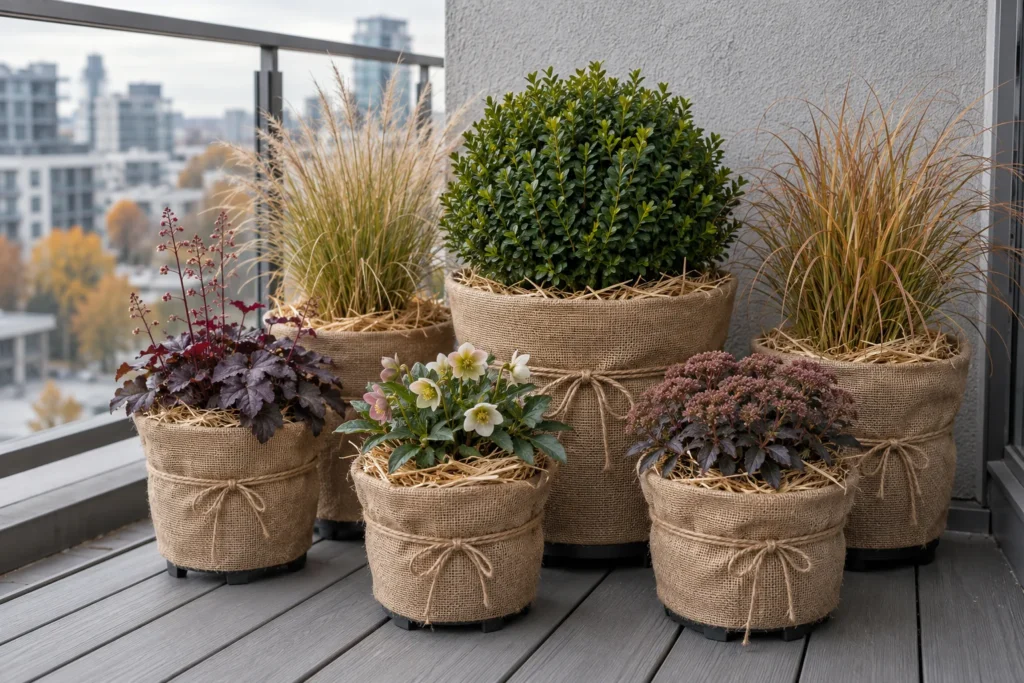
The forecast app flashes a frost warning for Thursday night. You step out onto the balcony with your coffee and count: a lavender, two ornamental grasses, a rosemary you are weirdly attached to, the pothos (Epipremnum aureum) that has been “summering” outside since June, and a chilli pepper still holding a few red pods. There is no yard to bury anything in and no garage to drag it all into.
Learning how to winterize potted plants on a balcony comes down to one shift in thinking: in a pot, the roots are the part that freezes first, so that is the part you protect. This guide walks you through sorting every pot into the right pile, then watering, grouping, wrapping and checking the ones that stay out, plus bringing the tender ones inside without bringing pests along.
Table of Contents
At a Glance
- A pot can usually stay outside only if the plant is rated about two USDA zones colder than where you live.
- Roots in a container are far less cold-hardy than the stems and can get almost as cold as the air, so insulate the pot, not just the leaves.
- Group the hardy pots against your most sheltered wall, wrap their sides and mulch the soil before the hard freezes arrive.
- Bring tropical plants in once nights sit in the 50s°F, after a rinse and a pest check.
- Water before the freeze, check moisture through winter and take the wraps off gradually in spring.
Short on time this weekend? Do Step 1 (sorting) and Step 3 (bringing tender plants in) first; those are the plants a single cold night can finish off.
What You’ll Need
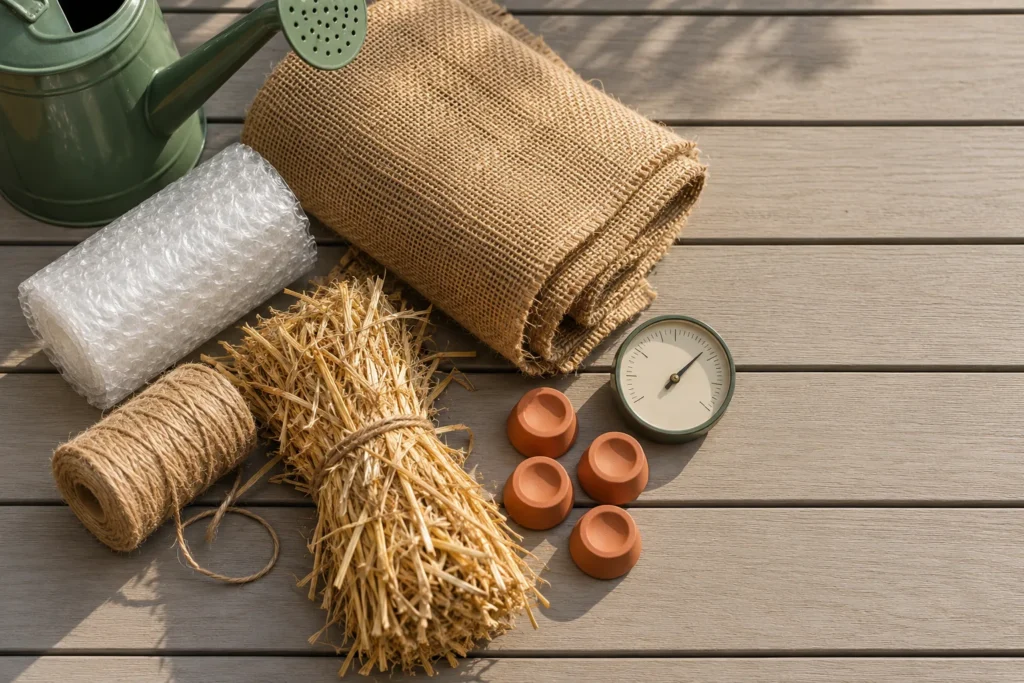
Most of this kit is low-cost, and some of it is probably already in a closet. Choose wraps you can tie on firmly, because balcony wind will find anything loose.
Essentials
- Burlap, an old moving blanket or a frost cloth for the outer wrap
- Bubble wrap or another insulating layer for the pot sides
- Jute twine or soft garden ties to hold everything in place
- Mulch for the soil surface: straw, shredded leaves or bark mulch
- A watering can and a cheap indoor/outdoor thermometer
- Pot feet or small blocks so drainage holes stay clear
Optional
- A plastic storage tote or larger pot to nest a small pot inside, with insulation packed between the two
- A grow light for tropical plants headed indoors to a dim room
- A spray nozzle or shower head for rinsing plants before they come inside
If you have a dog or cat that chews, keep bubble wrap and packing peanuts on the inner layer, fully covered by burlap, or skip them for straw and leaves. Pick plain mulches you can identify rather than unknown bagged blends.
Before You Start
Start with three quick checks: your hardiness zone, the name of every plant, and what your building allows. Ten minutes here decides which pots get wrapped, which get moved, and which simply get emptied.
Find your zone. Type your ZIP code into the USDA Plant Hardiness Zone Map. Each zone reflects the 30-year average of the coldest winter night in your area, and zones are 10°F apart, with half zones (5a, 5b) splitting each into 5°F steps. Write your zone on a sticky note; you will compare every plant tag against it.
Know why pots need extra help. A plant’s zone rating describes that plant growing in the ground, where soil insulates its roots. In a container, roots are much less cold-hardy than the shoots, and an unprotected root ball can drop close to the air temperature. So a shrub that shrugs off winter in a park bed can lose its roots in a pot on the 6th floor.
Name every plant. Dig out the nursery tags, or look each plant up by its botanical name. You need the hardiness zone for each one. If a plant has no tag and you can’t identify it, treat it as tender until you know more.
Check your building and your balcony. Read your lease or building rules for anything about weight, items on railings and coverings. Grouping pots concentrates weight in one spot, and soaked soil is heavy, so keep clusters near the wall and away from the outer edge. Nothing should sit on or hang over the railing in winter wind. If you live high up, our list of wind resistant plants for a high-rise balcony explains why exposure up there is so different from ground level.
Timing for fall. Tender plants come first, as soon as nights cool off (Step 3 has the numbers). Hardy pots get watered, grouped and wrapped later, once they are dormant and before the soil in the pots freezes solid. In mild-winter areas, the tender-plant step may be most of the work; run every outdoor pot through the zone check in Step 1 anyway.
How to Winterize Potted Plants on a Balcony, Step by Step
Seven steps, in the order you will actually do them. The first three happen in early fall; steps 4 to 6 happen just before the hard freezes; step 7 runs all winter.
Step 1: Sort Every Pot Into Stay, Shelter or Bring Inside
Sorting first saves you from wrapping a plant that was never going to make it outdoors. The working rule from extension horticulturists is simple: to be safe, go two zones colder with containerized plants. If you live in zone 6, a potted perennial rated to zone 4 or colder is a good candidate to stay out with protection.
| Plant group | Examples | Where it winters | What to do |
|---|---|---|---|
| Hardy, rated 2+ zones colder than you | Many shrubs, ornamental grasses, hardy perennials | Outside, grouped and wrapped | Steps 4 to 7 |
| Borderline, rated your zone or 1 zone colder | Shrubs and perennials at the edge of their range | Unheated, enclosed space (20 to 45°F), or the most sheltered outdoor spot with heavy wrapping | Step 4, then move or wrap |
| Tender or tropical | Pothos, monstera (Monstera deliciosa), tropical hibiscus, chilli peppers | Indoors, in bright light | Step 3 |
| Annuals and finished vegetables | Summer annuals, tomato plants | Compost bin | Step 2 |
The middle row is where balcony gardeners struggle, because most apartments lack a garage. Any space that stays cold but not brutally cold works: an unheated storage locker, enclosed porch or bike room. Container trees, shrubs and perennials stay dormant in cold storage between 20 and 45°F, but unheated structures can swing well outside that range, so put the thermometer in there for a week before you trust it. A warm hallway is the wrong choice; it can wake a dormant plant too early.
No sheltered space at all? Then borderline plants go in the middle of the outdoor cluster in Step 5, in the largest pot you have, and you accept a little more risk. If you are choosing new plants for winter pots, our winter planter ideas with evergreens lean on plants that suit that job.
Step 2: Clean Up, Empty and Store What You Won’t Keep
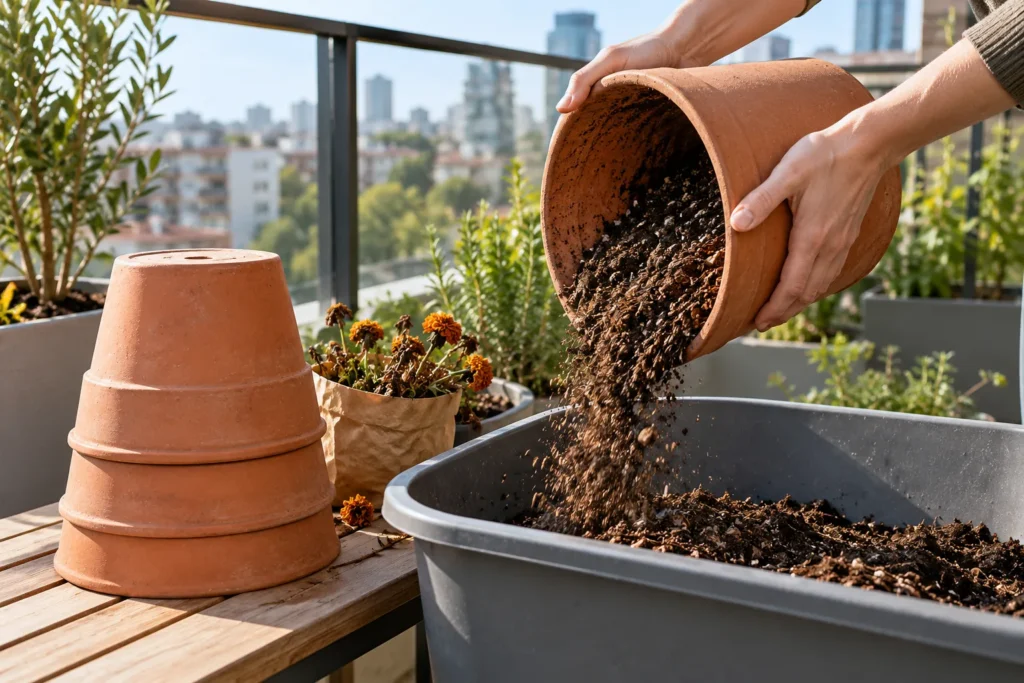
Pull spent annuals and finished vegetable plants, and compost them if your building has a bin or a drop-off. Clearing them now means less weight on the balcony and fewer pots to worry about.
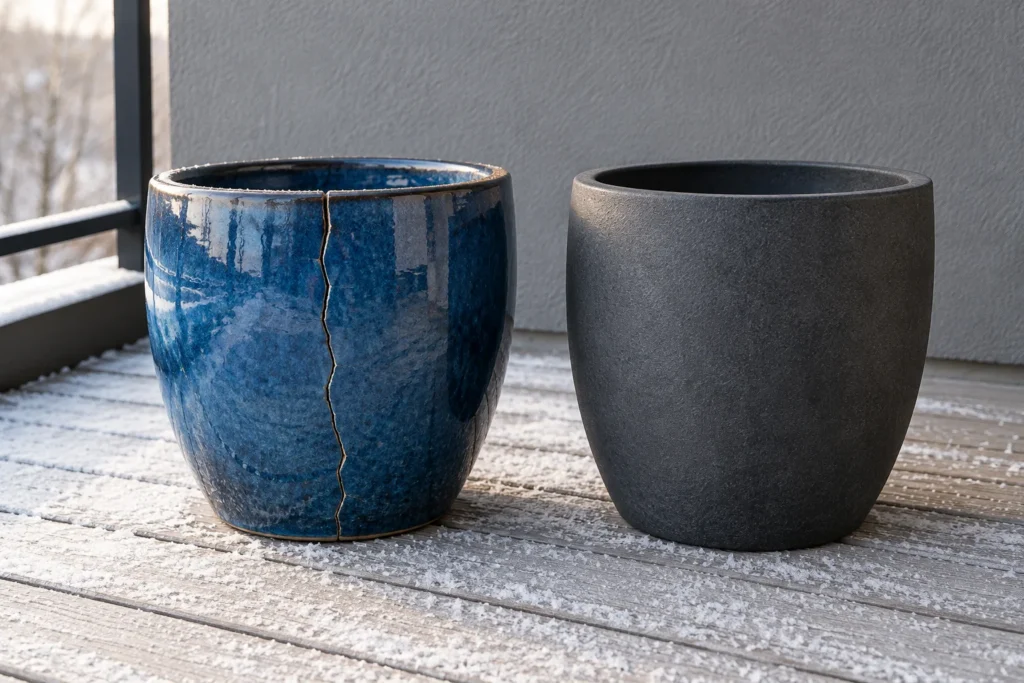
Then deal with the empty containers. Pots left full of wet soil are exposed to repeated freezing and thawing, which damages many containers. Tip out the soil, brush the pots clean and store them upside down so they don’t collect water. Clay, ceramic and glazed pots are the ones most likely to crack, so those are the first to empty and bring under cover, even if that just means stacking them in a closet.
On the plants you are keeping, snip off dead or mushy leaves and fallen debris from the soil surface. Light tidying is enough; heavy pruning can wait until spring when you can see what winter actually damaged.
Step 3: Bring Tender Plants Inside the Right Way
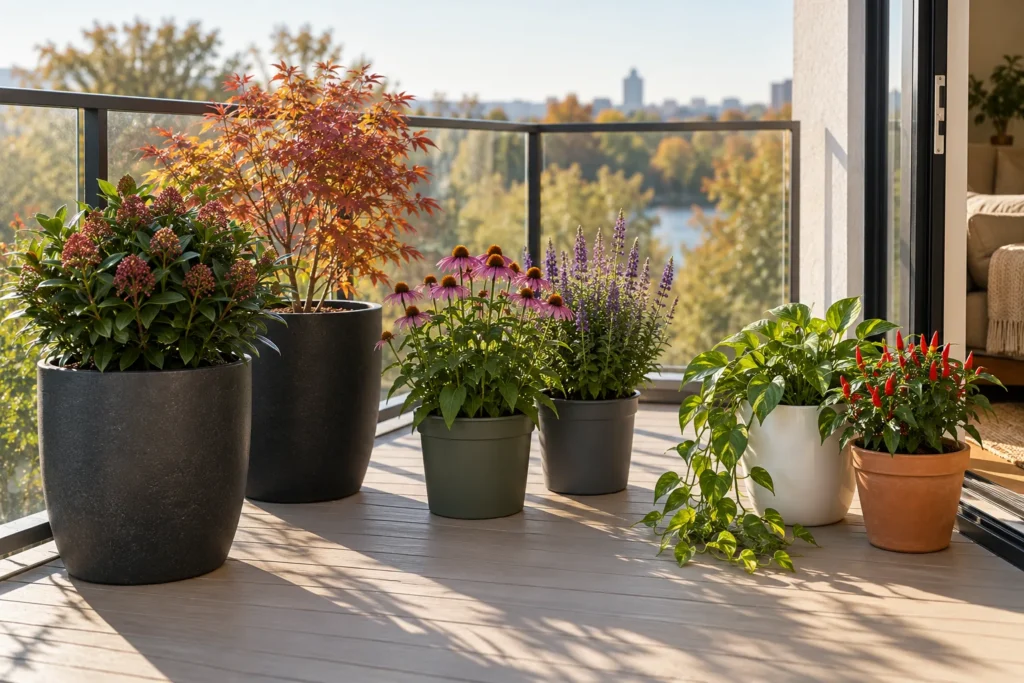
Tropical plants and houseplants can’t ride out a freeze in a pot, so they move first. The timing to aim for: move them in once nighttime temperatures dip consistently into the 50s°F. Many show damage once nights reach the mid-to-lower 40s°F, and nearly all die at freezing.
Before each plant crosses the threshold, give it a pest check and a bath outside:
- Look under leaves and along stems for webbing, white fluffy spots, sticky residue or small bumps.
- Rinse all the foliage thoroughly with a gentle spray while the pot is still outdoors.
- Let the leaves dry completely, then carry the plant in.
- Keep new arrivals away from your other houseplants for 3 to 4 weeks. Pests like mealybugs and scale often show up within about a month.
My monstera and pothos pots get this rinse on the balcony before they come back in, because spotting a pest outside is far easier than chasing it across a whole shelf of houseplants later.
Indoors, give them the brightest spot you have; indoor light is much weaker than even outdoor shade. Expect some leaf drop on plants such as tropical hibiscus as they adjust to the lower light; new growth usually replaces it. Stop fertilizing until spring, and water less often, checking that the top inch of mix is dry first. Empty saucers after watering.
Chilli peppers (Capsicum species) can come in as winter houseplants too, but they need a sunny window or a grow light, and you shouldn’t trim their roots to fit a smaller pot. Our guide to growing peppers in containers covers the spring move back out.
If you share your home with cats or dogs, place incoming plants out of reach. The ASPCA lists both pothos and monstera as toxic to cats and dogs; their insoluble calcium oxalates irritate the mouth and can cause drooling and vomiting. Check any other plant on the ASPCA list before it moves within reach.
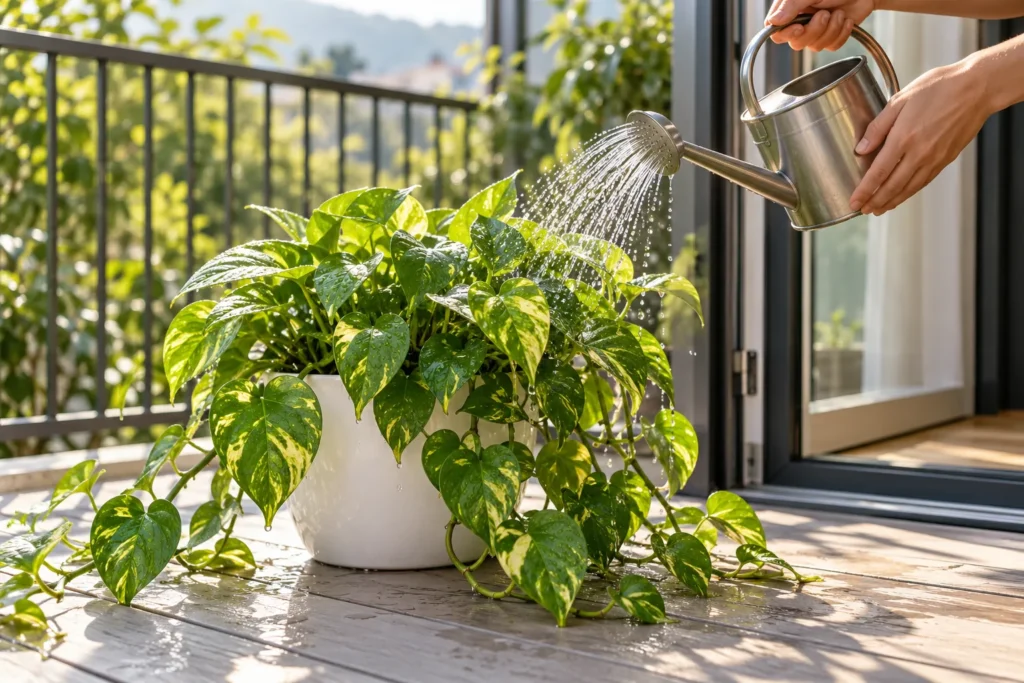
Step 4: Water Deeply Before the Soil Freezes
Every pot staying outside or going to cold storage needs a thorough soak while it can still drain, ideally on a mild day shortly before the hard freezes are forecast. Water until it runs out of the drainage holes.
This matters for two reasons. Roots keep taking up some water after the tops go dormant, and evergreens lose moisture through their needles and leaves all winter. Moist potting mix also freezes more slowly than dry mix, and water releases a little heat as it freezes, which helps buffer the root ball during cold snaps.
Don’t overdo it, though. A pot that sits soggy under a wrap invites root rot. Water deeply once, let the excess drain, and if you are about to cover the plant, let the foliage dry first.
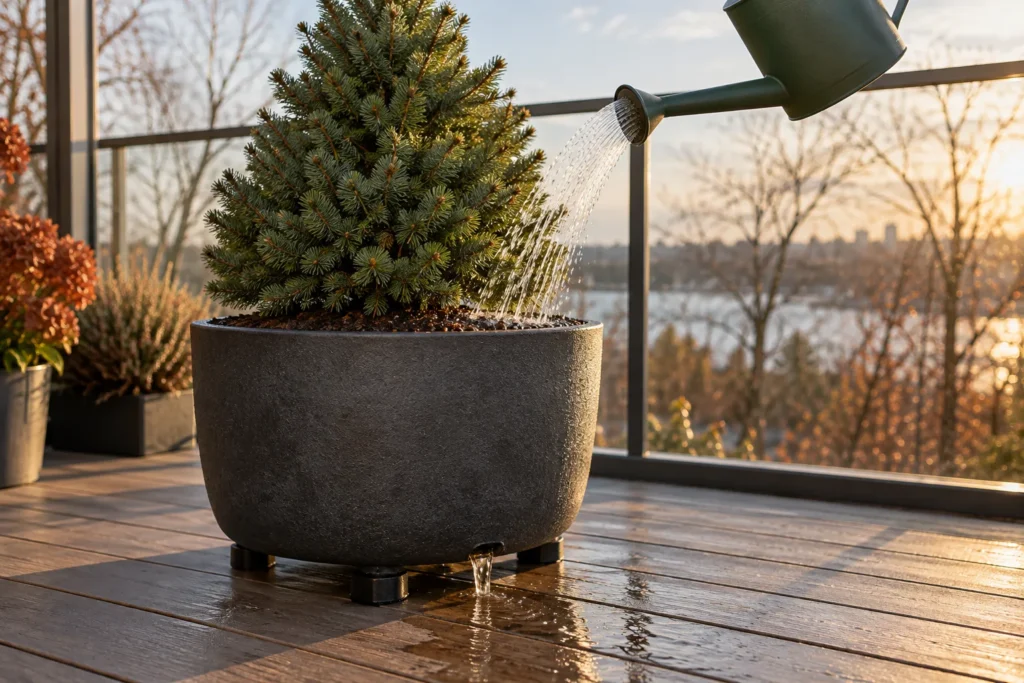
Step 5: Group the Hardy Pots Against a Sheltered Wall
One tight cluster stays warmer than a row of pots spread along the railing. Pick the most protected spot you have: against the building wall, in a corner, out of the strongest wind and, if you can choose, on a side that doesn’t get blasted by winter sun. Illinois Extension suggests the north or east side of a building, where wind and sun swings are milder.
Put the largest, hardiest pots on the outside of the group and the smaller or more borderline ones in the middle. Big containers hold more soil, and more soil protects roots better than a small pot can.
Set the cluster on pot feet or small blocks so drainage holes stay clear. A pot sitting in a frozen saucer of ice is a soggy pot, so remove saucers for the winter.
Balcony layout matters here: keep the cluster near the wall rather than the outer edge, where it is out of the wind and the weight sits closer to the building’s structure. Check that dripping water won’t run onto the balcony below.
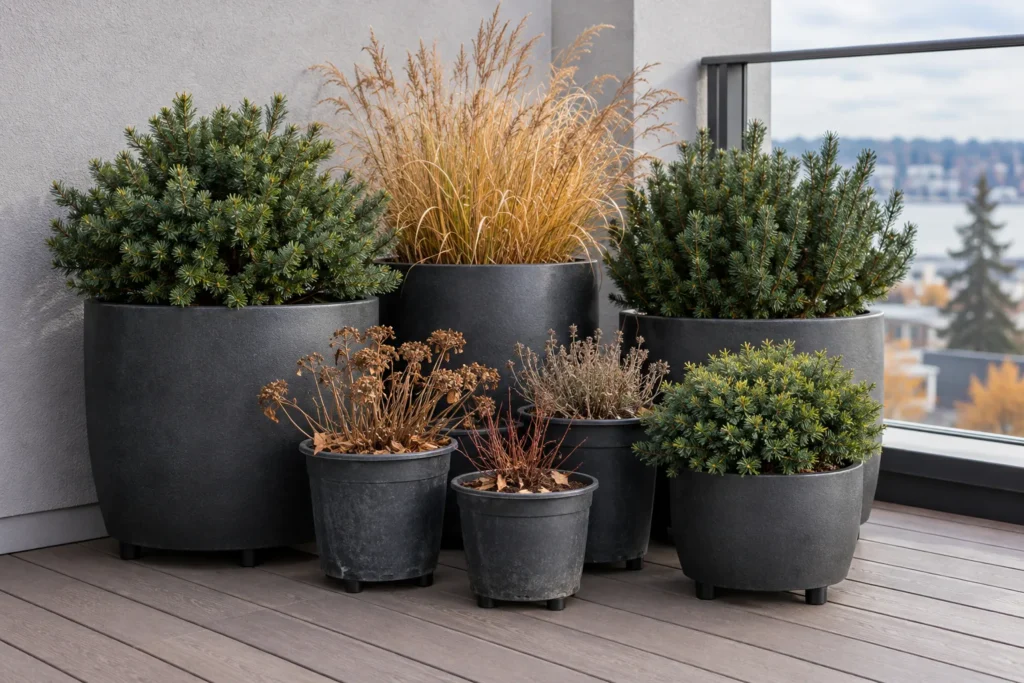
Step 6: Wrap the Pots and Mulch the Soil
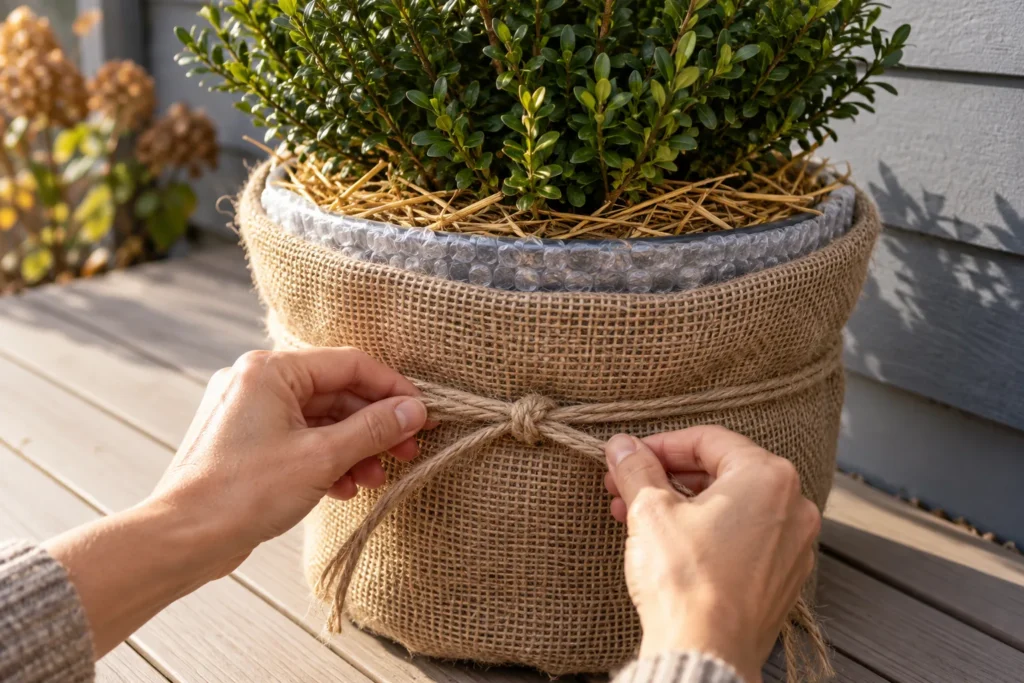
Insulation goes around the root zone, so focus on the pot sides and the soil surface. Wrap each pot, or the whole cluster, in two layers: bubble wrap or another insulating material against the pot, then burlap or a moving blanket over it, tied firmly with twine. Breakable pots from Step 2 that must stay out get the full wrap plus a plastic outer layer.
For a small pot, the nesting trick works well: set it inside a larger pot or a plastic tote and pack the gap with straw, shredded leaves or bubble wrap. Very large wooden or concrete planters can usually stay in place with just mulch on top.
On the soil, spread a layer of straw, shredded leaves or bark mulch. You can also heap straw or leaves around the whole cluster and cover it with a breathable cloth, which Penn State lists alongside evergreen boughs and thermal blankets as cover options.
There’s no rush to wrap at the first chilly night. Growers typically cover containerized perennials as late in the season as the weather allows, once temperatures are consistently in the mid-20s to around 30°F. Covering too early can keep plants warm and active when they should be settling into dormancy.
Step 7: Check and Water Through the Winter
Wrapped pots still need a quick check every few weeks, more often during dry, windy spells. Pull back the mulch and push a finger into the mix. If it is dry and the soil isn’t frozen, water on a mild day so it drains before night; if it is damp, leave it alone. Wraps can make soil dry out without you noticing, so this check is the step people skip and regret.
Plants in cold storage get the same check. Indoor plants from Step 3 need far less water than in summer; a pot that wanted daily watering in July may only need it about once a week or less in winter.
After a storm, re-tie any loose wraps and clear snow off the cluster if it is piling high against the railing.
Fall to Spring Balcony Calendar
Go by your own night temperatures and frost dates, not a calendar date; the signals below work in any zone.
| When | Signal to watch | Balcony task |
|---|---|---|
| Early fall | Nights dropping into the 50s°F | Sort pots (Step 1), rinse and bring tender plants in (Step 3) |
| Mid to late fall | First frosts; hardy plants going dormant | Empty finished pots (Step 2), deep water (Step 4), group (Step 5) |
| Before the hard freeze | Nights consistently in the mid-20s to about 30°F | Wrap and mulch (Step 6) |
| Winter | Dry or windy spells, thaws | Moisture checks and watering on mild days (Step 7) |
| Late winter warm spells | Pots staying above about 40°F for days | Loosen or open wraps so plants don’t overheat or rot |
| Spring | New growth starting, hard frosts over | Remove covers gradually; move tender plants out once nights warm |
Spring unwrapping deserves patience. Take covers off gradually over a week or two so plants can re-acclimate, and keep the burlap handy in case a late cold night shows up.
Common Mistakes
- Trusting the plant tag as-is. The zone rating assumes the plant is in the ground. In a pot, use the two-zone margin from Step 1.
- Wrapping the leaves and forgetting the pot. A frost cloth over the top does little for roots in an exposed container; insulate the sides and soil.
- Leaving glazed or clay pots full and exposed. These are the containers most likely to crack in freeze-thaw cycles.
- Wrapping and walking away. Dry soil under a wrap goes unnoticed until spring. Set a reminder for the Step 7 check.
- Parking pots on the railing or outer edge. It’s the windiest, most exposed spot and the riskiest place for weight and falling items.
- Bringing a tropical plant straight onto the houseplant shelf. Skip the rinse and quarantine and you may bring pests in with it.
Troubleshooting
Leaves dropping after a plant came indoors
Some leaf drop right after the move is a common reaction to the sudden fall in light, especially on tropical hibiscus and weeping fig. If the stems stay firm and new leaves appear, it is adjusting. If the soil stays wet for days, overwatering in lower light is the more likely cause; let the top inch dry before watering again. A very dim room may need a grow light.
Bugs showing up weeks after bringing plants inside
This is exactly why the 3 to 4 week quarantine exists. White cottony clusters point to mealybugs; fine webbing and speckled leaves suggest spider mites. Keep the plant isolated and treat it before it rejoins the others; our guide to dealing with mealybugs indoors walks through the options.
A pot cracked over winter
Breakable pot materials (see Step 2) are the most likely to crack through freezing and thawing, especially when left full of wet soil or sitting in water. Repot the plant into a sturdier container in spring, and next fall empty or fully wrap and cover pots made of these materials.
Evergreen foliage turning brown in late winter
Browning on potted evergreens can come from dry roots combined with drying wind and sun, because the foliage keeps losing moisture through winter. Check whether the soil was dry during Step 7 checks and whether the plant sits in a windy, sunny spot. Water on the next mild day, move the pot further into shelter, and wait for spring growth before cutting anything.
Musty smell or mold under the wrap
The pot is too wet or the cover has stayed sealed through warm weather. Open the wrap on a dry day, let the soil surface air out, and only water again when the finger test says so.
Plant leafed out early under its cover
A warm spell can wake a wrapped plant before spring is settled. Open the cover during the day so it isn’t forced further, and keep the cover on hand for cold nights until frosts are over.
Frequently Asked Questions
Do I still need to water balcony pots in winter if it snows?
Often, yes. A balcony above you, the building wall and your wraps can all keep snow and rain from reaching the soil, so pots can sit dry for weeks. Do the finger check from Step 7 during thaws, and water only on a mild day when the mix isn’t frozen.
Can I leave terracotta pots outside over winter?
Empty is safest. Terracotta, ceramic and glazed pots are the ones most prone to cracking in freeze-thaw weather, so tip out the soil and store them upside down under cover. If a plant has to stay in one, wrap the pot fully, cover it so rain can’t soak the clay, and keep it off any saucer.
Can I bring a hardy potted shrub into my warm apartment for winter?
It’s usually a poor swap. Hardy shrubs and perennials are meant to rest through winter, and a cold space between about 20 and 45°F keeps them dormant. A heated room with weak window light tends to push soft growth instead. If you have no cold storage, keep the plant outside in the middle of your wrapped cluster.
Will a frost cloth over the top protect my potted plants?
Only partly. A cloth over the foliage helps on a light frost, but in an exposed container the root ball can get nearly as cold as the air, and roots are the less hardy part. For hardy plants left out all winter, insulate the pot sides and mulch the soil as in Step 6.
When can I move my plants back to their summer spots?
Hardy pots can come out of their huddle once new growth starts and the danger of a hard frost has passed; unwrap them over a week or two. Tropical plants wait until nights are reliably mild again, then go back out to their usual spots.
What Actually Matters
Out of everything here, the sort in Step 1 does the most work. Once each pot sits in the right pile, the rest is just a matter of protecting roots: water before the freeze, huddle the hardy pots out of the wind, wrap the sides and keep an eye on moisture.
The priority this week is the tender group. Those plants can be lost in one cold night, while hardy pots can wait for later in fall.
So today, look up your zone, line up your plant tags and make three piles on the balcony floor. If dwarf fruit trees are part of your setup, our guide to dwarf fruit trees in patio containers has winter plans for each tree.
Sources
- USDA Agricultural Research Service – USDA Plant Hardiness Zone Map (2023 update) – how zones are defined, 10°F zones and 5°F half zones
- Penn State Extension – Overwintering Plants in Containers – two-zone rule, watering before freeze, grouping and cover materials, nesting pots, clay and glazed pot cracking, large planters, gradual uncovering
- UMass Amherst Center for Agriculture, Food, and the Environment – Overwintering Containerized Perennials – root vs shoot hardiness, root ball temperature, freeze-thaw risk, water releasing heat as it freezes, covering timing, removing covers above 40°F
- Iowa State University Extension – How can I over-winter container grown trees and shrubs? – cold storage between 20 and 45°F, unheated structures varying
- Iowa State University Extension – How and when do I bring my houseplants back indoors before winter? – nights in the 50s°F, cold damage in the 40s°F, rinsing, 3 to 4 week isolation, light and leaf drop, no winter fertilizing
- University of Illinois Extension – Overwintering potted plants – moist media freezing more slowly, sheltered north or east side, emptying and storing pots upside down
- University of Illinois Extension – Overwintering Perennial Patio Containers – larger containers protecting roots, grouping in a sheltered corner
- University of Nebraska-Lincoln Extension in Lancaster County – Bringing Houseplants Indoors – pest inspection, top inch dry before watering, reduced winter watering
- ASPCA Animal Poison Control – Golden Pothos and Ceriman (Monstera deliciosa) plant pages – toxicity to cats and dogs, insoluble calcium oxalates, signs
- University of Maryland Extension Home and Garden Information Center (via Ask Extension) – overwintering ornamental peppers indoors – bright window or grow light, no root pruning, emptying saucers.