
It’s October, and you’re holding a mesh bag of garlic bulbs at the garden center, wondering whether those papery cloves will really turn into fat bulbs if you push them into cold soil right before winter. It feels backwards. Most of the garden is shutting down, and here’s a crop asking to go in.
That timing is exactly why garlic works. Learning how to plant garlic in the fall comes down to a few decisions made in one afternoon: the right cloves, the right week, the right depth and a thick blanket of mulch. Get those right and garlic (Allium sativum) mostly looks after itself until early summer. If you’re new to vegetables, it sits comfortably next to the other easy crops for beginners, just with a longer wait.
Table of Contents
At a Glance
- When: in cold-winter areas, about 4 to 6 weeks before the ground freezes; in mild-winter parts of the South, anywhere from mid-October to early December.
- What to plant: seed garlic suited to your climate. Hardneck types handle cold winters better; softneck types suit mild winters and store longer.
- How deep and how far apart: pointed end up, 1 to 2 inches of soil over the tip, 4 to 6 inches between cloves.
- Winter care: 3 to 4 inches of straw or shredded leaves once the cloves are in.
- Harvest: early to midsummer, when roughly half the leaves have turned brown.
Short version for cold-winter gardeners: buy a hardneck seed garlic, plant the biggest cloves, and mulch well.
What You’ll Need
The shopping list is short, and most of it is probably already in your shed. The one item worth spending a little more on is the garlic itself.
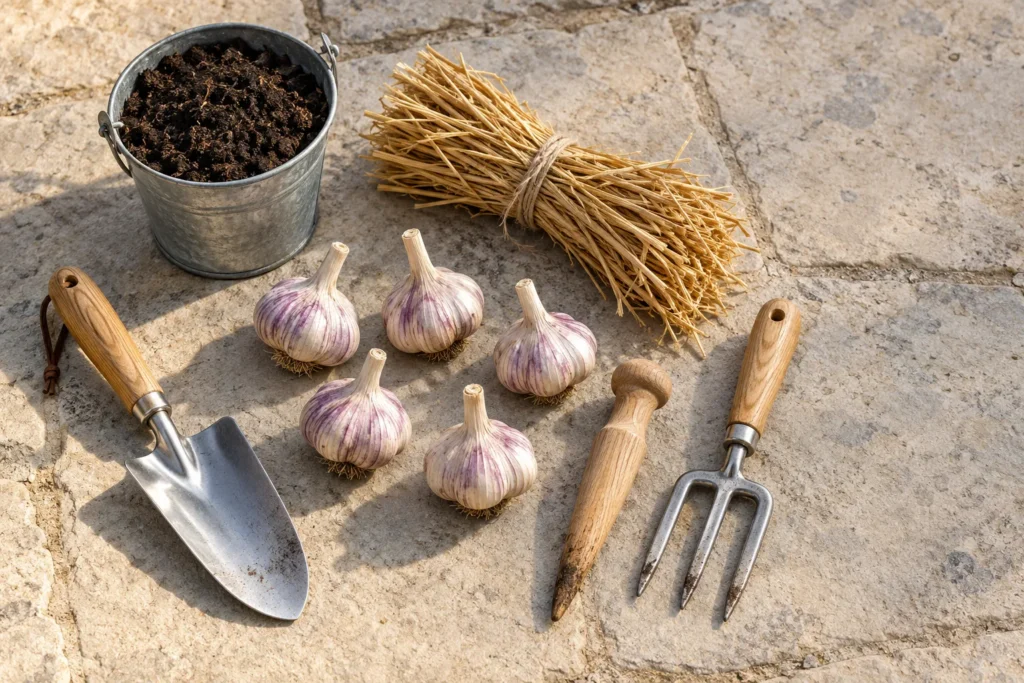
Essentials:
- Seed garlic: firm, healthy bulbs from a garlic seed supplier or a local grower. A pound goes further than you’d think, since every clove becomes a plant.
- Compost or well-rotted manure: a few inches to work into the bed. Skip fresh manure.
- Mulch: clean, weed-free straw or shredded leaves, enough for a 3 to 4 inch layer.
- A trowel, dibber or hoe: for opening holes or a furrow.
- A garden fork: for loosening the bed now and lifting bulbs next summer.
- A hose or watering can: for one good soak after planting.
Optional but handy: a soil test kit or lab test, a ruler or marked stick for spacing, plant labels if you’re growing more than one variety, and a container at least 8 to 12 inches deep if you’re planting on a balcony or patio.
Before You Start
Three choices made before you dig decide most of next summer’s harvest: the week you plant, the type of garlic you buy and the spot you pick. None of them takes long.
When to Plant Garlic in the Fall for Your Climate
Aim to get cloves in while the soil is still workable but the season is clearly turning, so they can root before winter without pushing much top growth. In cold-winter areas, University of Illinois Extension puts that window at 4 to 6 weeks before the ground freezes. In Minnesota, the target is about one to two weeks after the first killing frost, and in central Maryland it’s mid to late October.
Mild-winter gardens run later. In central Texas, AgriLife Extension guidance is to plant garlic from mid-October through early December, with harvest by June. If your ground rarely freezes, use your local extension office’s vegetable calendar instead of a northern rule.
Running late? Plant anyway if the soil can still be dug. Late cloves may not have time to root before winter, so give them a thicker layer of straw for insulation.
Hardneck or Softneck
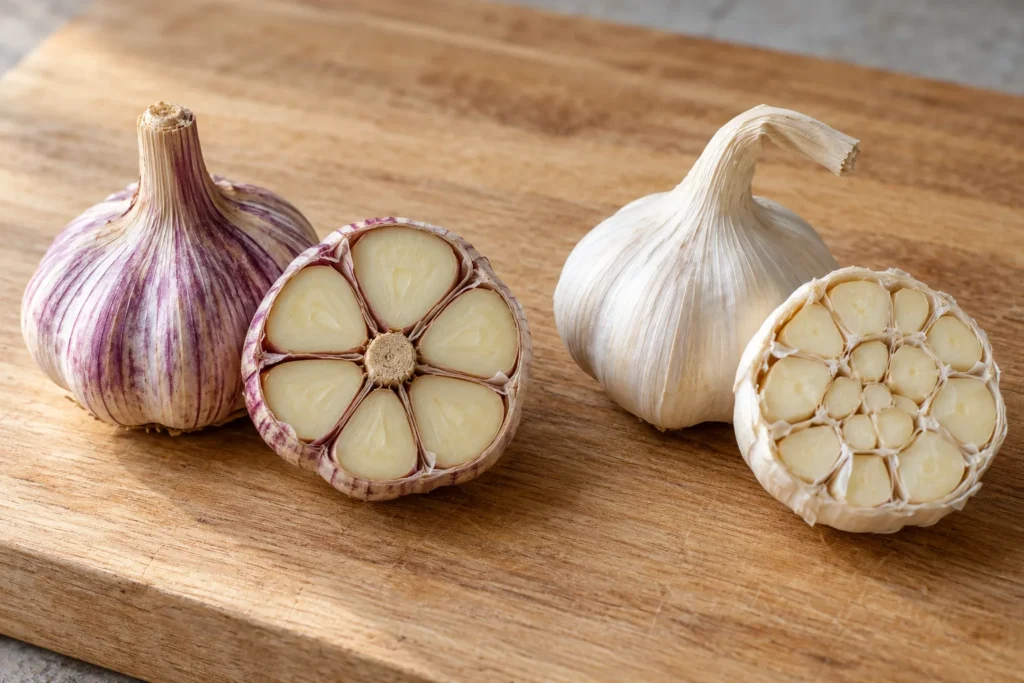
Garlic sold for planting falls into two groups, and your winters should pick for you.
| Type | Best for | Scape | Cloves and storage | Example varieties |
|---|---|---|---|---|
| Hardneck | Cold winters (more cold hardy) | Yes, a curling flower stalk in late spring | Usually 5 to 7 large cloves; shorter storage | Music, German Extra Hardy, Spanish Roja |
| Softneck | Mild winters | Usually none | About a dozen smaller cloves; stores longer, braids easily | Inchelium Red, California Early, Creole Red |
For a first fall planting in a cold-winter garden, we’d pick a hardneck because it handles freezing better and gives you scapes as a bonus crop. In mild-winter areas, softnecks tend to be the easier choice; hardnecks there may need a few weeks in the refrigerator before planting.
About supermarket bulbs: most are softneck, often grown far from your climate, and Maryland Extension advises against planting them because grocery garlic can carry disease without showing symptoms. Elephant garlic is a different case altogether; it’s a type of leek, not true garlic.
Choose a Sunny, Well-Drained Spot
Garlic needs at least 6 hours of direct sun a day, and 8 to 10 is better. It also needs soil that drains: deep, loose and rich in organic matter. Heavy clay and compacted ground give poor results, and standing water over winter is the fastest way to lose cloves to rot.
A raised bed solves most drainage problems, which is why it’s a natural home for garlic. If you’re still planning one, our guide to raised bed layout shows how to fit a garlic block in without blocking spring crops. Garlic grows best at a soil pH of about 6.0 to 7.0, so a soil test before your first planting is worth it.
How to Plant Garlic in the Fall, Step by Step
The actual planting takes an hour or two for a typical home bed. Here’s the order that keeps cloves healthy and makes winter care simple.
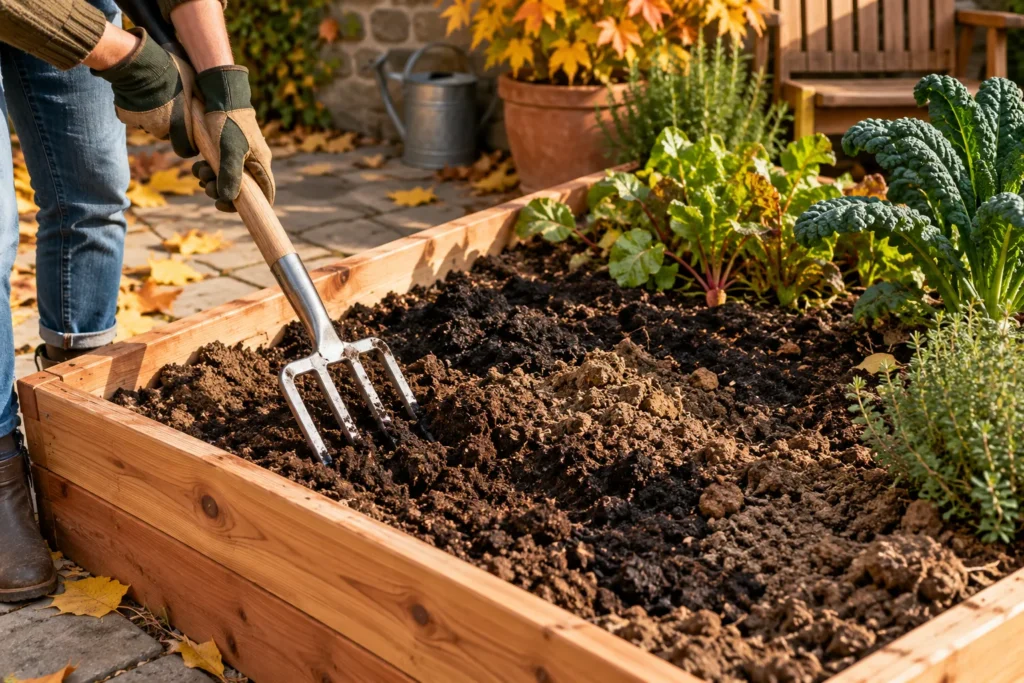
Step 1: Loosen the Bed and Add Compost
Fork or till the bed to loosen it, then work in well-rotted manure or compost. Extension guidance is to skip fresh manure for garlic beds, so leave it in the compost pile until it has rotted down. If your soil is low in organic matter and you don’t have compost, one extension rate is about 3 pounds of 10-10-10 fertilizer per 100 feet of row, which works out to roughly 5 ounces for a 10-foot row. Follow the product label and wear gloves.
Remove roots, rocks and weeds while you’re there. Garlic has a shallow root system and doesn’t compete well with weeds, so a clean start saves work in spring.
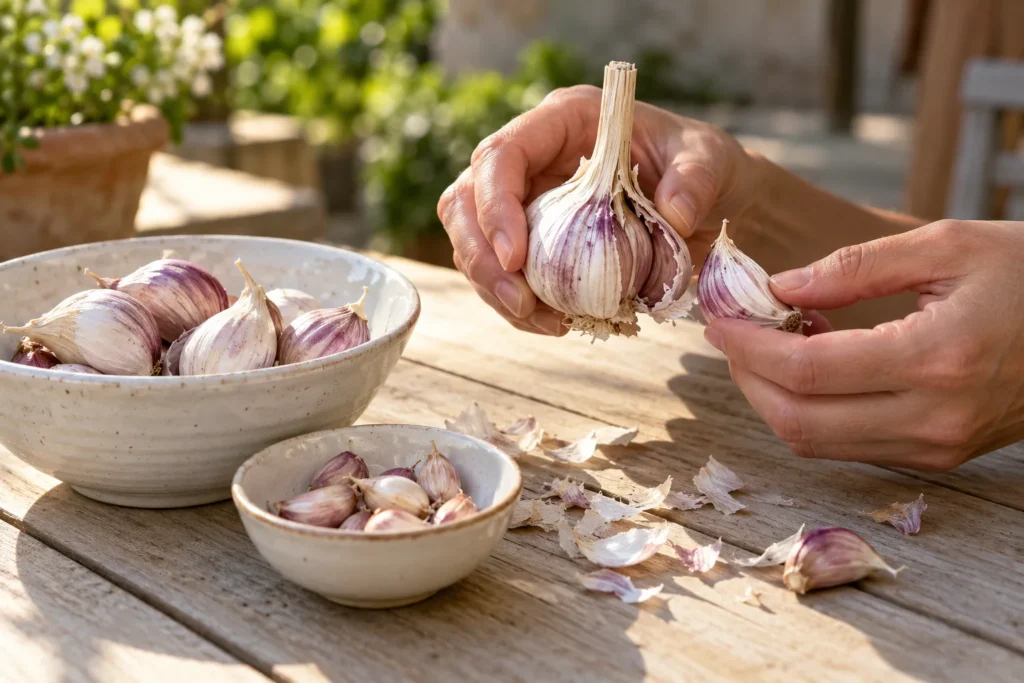
Step 2: Split the Bulbs a Day or Two Before Planting
Break the bulbs into individual cloves shortly before planting, no more than a day or two ahead, so the base plates don’t dry out. Leave the papery skin on each clove.
Then sort them. Large cloves grow larger bulbs, so plant the biggest and set aside small ones for the kitchen or for spring green garlic. Discard any clove that feels soft, shows mold or has a damaged base.
Step 3: Mark Your Rows or Grid
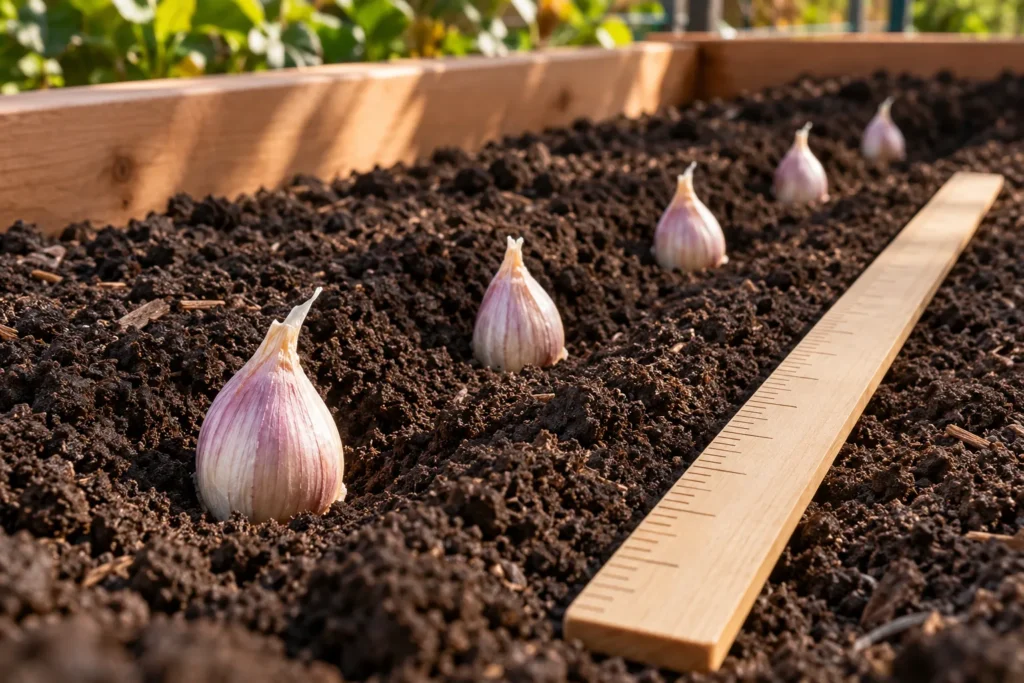
Lay out where every clove goes before you start pushing them in. In rows, space cloves 4 to 6 inches apart with rows about 15 to 18 inches apart. In a raised bed, a grid with cloves about 5 inches apart in every direction uses the space well.
Wider spacing means bigger bulbs and easier weeding. Tighter spacing works if you plan to pull some plants early in spring as green garlic, which leaves the rest room to size up.
Step 4: Plant Each Clove Pointed End Up
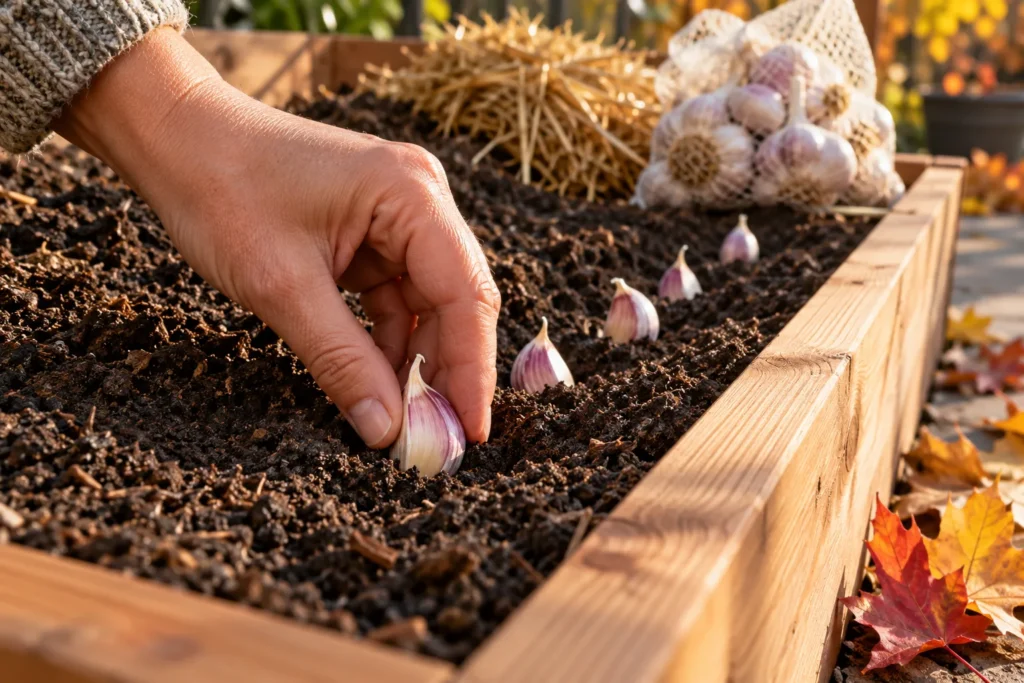
Open a furrow or poke a hole for each clove, then set it flat base down and pointed tip up. Getting the orientation right matters most with hardnecks; a clove planted upside down has to curl its shoot around to reach the surface.
Depth is where climate matters. In most gardens, aim for 1 to 2 inches of soil over the tip, which puts the base about 2 to 3 inches down. In very cold northern gardens, some growers go deeper, to around 4 inches, for extra protection; if you go that deep, keep the mulch layer in Step 6 thick and well drained.
Step 5: Cover and Water In
Backfill the furrow or holes and firm the soil gently with your palm so each clove sits in good contact with the soil. Then water the bed thoroughly once.
That soak settles the soil and helps roots start. If the fall turns dry, water for a couple of weeks after planting, then let winter take over. Roots and some shoots begin growing before the hard freeze, but most green shoots won’t show until spring.
Step 6: Mulch Generously
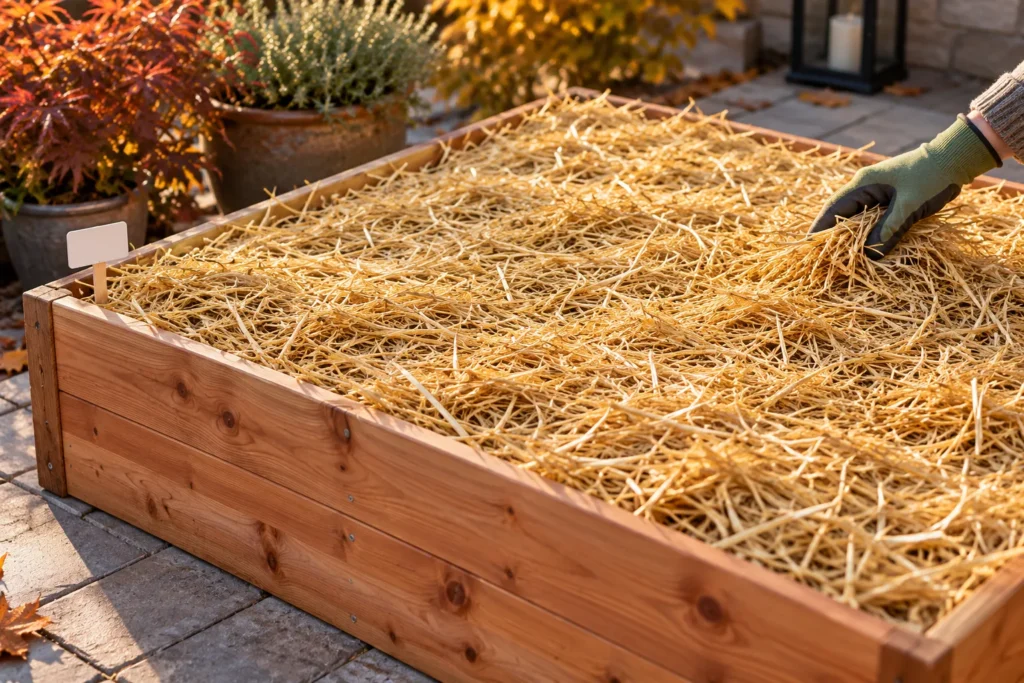
Spread 3 to 4 inches of clean straw or shredded leaves over the bed. University of Minnesota Extension explains that this layer evens out winter and early spring temperature swings and keeps weeds down. That stability also prevents frost heaving, where repeated freezing and thawing pushes cloves up out of the soil.
Use weed-free straw rather than hay, which is full of seeds. If you’re in a mild-winter area, a thinner layer is enough for weed and moisture control.
Step 7: Planting in a Container (Balcony or Patio Option)
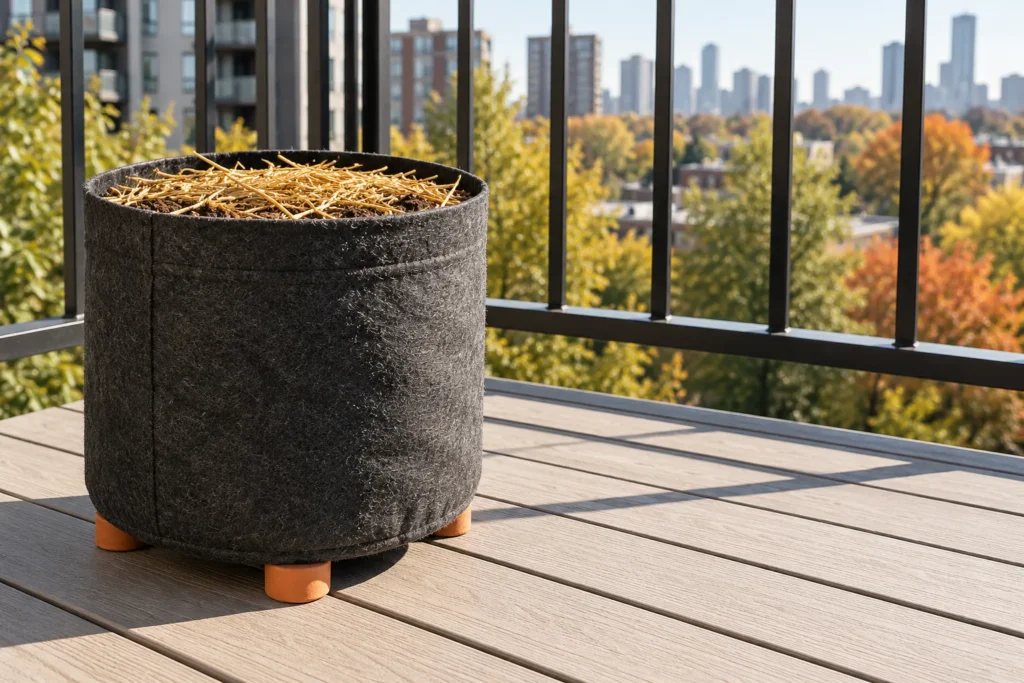
No yard? Garlic will grow in a pot if you give it depth, drainage and sun. Use a container at least 8 to 12 inches deep with drainage holes, filled with loose, well-draining potting mix rather than garden soil. Plant cloves 2 to 3 inches deep and 4 to 6 inches apart, the same orientation as in the ground, and top the pot with an inch or two of straw or leaves.
Set the pot where it gets at least 6 hours of direct sun and raise it on pot feet so it doesn’t sit in water over winter. Keep the mix evenly moist but not soggy, watering less in winter. In hard-freeze areas, a sheltered spot against a wall gives the pot some extra winter protection. For more crops that suit the same setup, see these container vegetable ideas for beginners.
If you share your space with pets, keep the pot and any loose cloves out of reach. The ASPCA lists garlic as toxic to dogs, cats and horses, so ask your vet promptly if a pet chews on bulbs or leaves.
Fall-to-Summer Timeline
Fall-planted garlic takes about 250 to 270 days from planting to harvest, so most of its season happens while you’re thinking about other crops. This calendar shows what’s going on and what you need to do, by season and plant stage rather than exact dates.
| When | What’s happening | Your job |
|---|---|---|
| Fall, after planting | Roots grow; a few shoots may appear | Water once, mulch, then leave it |
| Winter | Dormant under mulch | Check that mulch hasn’t blown away; press heaved cloves back in |
| Early spring | Shoots emerge (often March or April in the North) | Pull back or thin mulch once hard freezes are over; start weeding |
| Spring, shoots about 6 inches | Fast leaf growth | Side-dress with a nitrogen fertilizer; water about 1 inch a week |
| Late spring | Hardnecks send up curling scapes | Snap off scapes once they curl and eat them |
| Early to midsummer | Lower leaves brown; bulbs fill out | Stop watering 2 weeks before harvest; dig when about half the leaves are brown |
Spring feeding: garlic has moderate to high nitrogen needs, but late feeding works against you. In Minnesota, the cut-off is the first week of May, because later nitrogen can delay bulbing; in warmer regions, check your local extension calendar for the equivalent date. Use a product labelled for vegetables at the label rate.
Watering: about 1 inch a week during spring growth, more often in sandy soil. If a wet spring keeps the soil saturated, pull the mulch back to let it dry.
Harvest and curing: lift bulbs with a fork, don’t pull them by the stem. Dig a test bulb first; it’s ready when the cloves fill their skins. Harvested too early, bulbs stay small; too late, the cloves start to separate. Cure whole plants with leaves attached in a dry, airy spot out of direct sun for about 3 to 4 weeks, then trim the roots and cut the stems about half an inch to an inch above the bulb.
Storage: cool, dry and ventilated, in mesh or paper bags. The ideal is 32 to 38°F at about 65% relative humidity, where bulbs typically keep 6 to 9 months. Save your largest bulbs to replant next fall.
Common Mistakes
- Planting grocery-store garlic. It may suit the wrong climate or carry disease. Buy seed garlic (see Before You Start).
- Waiting for spring. Spring-planted garlic usually makes smaller bulbs. Fall is the main planting season for a reason.
- Planting in a wet spot. Cloves sitting in soggy soil all winter rot. Choose a raised bed or mound the row if water collects.
- Skipping the mulch in cold areas. Bare soil freezes and thaws repeatedly, which lifts cloves out of the ground.
- Feeding late or forgetting to weed. Late nitrogen delays bulbing, and spring weeds crowd shallow garlic roots fast. Both are covered in the timeline.
Troubleshooting
No Shoots by Mid-Spring
Dig carefully at one planting spot. A firm clove with roots just needs time, especially if it was planted late or deep. A soft, mushy or moldy clove rotted, usually from waterlogged soil or diseased planting stock; replant that area with a different crop and choose a better-drained spot and fresh seed garlic next fall.
Cloves Sitting on Top of the Soil
That’s frost heaving. Press the cloves back in as soon as the ground is soft enough, cover them, and add mulch. Next year, mulch right after planting.
Yellowing Leaves in Spring
Yellow tips can have several causes. If the soil is soggy, waterlogging is the likely culprit. If plants are pale overall and the soil is dry and poor, they may need nitrogen (within the window in the timeline). If plants yellow and wilt from the base, check the stems for onion maggots, which bore into them, and contact your local extension office for an identification and control advice. In early summer, gradual yellowing of the lower leaves is normal ripening.
Small Bulbs at Harvest
Common causes are small planting cloves, late or spring planting, too little sun, crowding, weed competition, late nitrogen or harvesting too early. Compare against the steps above and change one or two things next season rather than everything at once.
Bulbs Split Open or Cloves Falling Apart
The bulbs stayed in the ground too long. Next year, start test-digging once the lower leaves brown and harvest when about half the leaves are still green.
Frequently Asked Questions
Can I Plant Garlic in Spring Instead?
You can, but expect smaller bulbs than from a fall planting. Illinois Extension notes that spring planting works only if the cloves are refrigerated for about 8 weeks first. If you missed the fall window, plant as soon as the soil can be worked.
How Much Garlic Should I Buy to Plant?
A pound of hardneck seed garlic is usually about 6 to 7 bulbs with 6 to 7 cloves each, so roughly 35 to 50 plants. At 4 to 6 inches apart, that fills about 15 to 20 feet of row. For a sense of the return, Maryland Extension puts the yield at 5 to 9 pounds of garlic per 10-foot row.
Can I Replant Cloves From My Own Harvest?
Yes. Set aside the largest, healthiest bulbs after curing and plant their biggest cloves next fall. Skip any bulb with soft spots, mold or damaged wrappers, since many garlic diseases travel on the cloves.
What Is Green Garlic?
Green garlic is young garlic pulled in spring before the bulb forms, with a flavor like mild onion with a hint of garlic. To get some without losing your main crop, plant a few rows closer than usual in fall and thin every other plant in spring, leaving the rest at about 5 inches apart to bulb up.
What Are the Little Bulbs on Top of a Garlic Scape?
Those are bulbils, small aerial cloves that form when the flowers on a hardneck scape abort. Snapping scapes off once they curl, as the timeline suggests, stops them forming and encourages larger bulbs underground.
What Actually Matters
Most of garlic’s success is decided this fall. Buy seed garlic that suits your winters, plant the biggest cloves pointed end up in a sunny, well-drained spot, and cover the bed with a thick layer of straw before the cold sets in.
If you only do one thing this week, check your timing: find your typical ground-freeze date or ask your local extension office, and get the cloves in during that window. Then let the bed sleep until spring, when shoots will be the first green in the garden. If you want a second fall project for a balcony, potatoes in containers or bags follow a similar plant-and-wait rhythm next spring.
Sources
- University of Minnesota Extension – Growing garlic in home gardens – planting time after first frost, depth, pH, mulch, watering, nitrogen timing, harvest and curing, onion maggot
- University of Minnesota Extension – Last chance to plant garlic – late planting, spring emergence, watering after planting
- University of Illinois Extension – Garlic information sheet – planting window before ground freeze, depth, row and bed spacing, fertilizer rate, frost heaving, variety names
- University of Maryland Extension – Garlic – planting stock, sun hours, days to maturity, clove size, storage conditions
- University of Vermont Extension – Growing Great Garlic – deeper northern planting, hardneck and softneck clove counts, spring nitrogen timing, wet-spring mulch
- Texas A&M AgriLife Extension, Travis County – In Austin’s October Vegetable Garden – mild-winter planting window and softneck varieties
- Ask Extension (Washington State University resources) – Growing garlic in a container – container depth, spacing, mulch and sun for pots
- ASPCA Animal Poison Control – Toxic and Non-toxic Plants: Garlic – toxicity to dogs, cats and horses.