
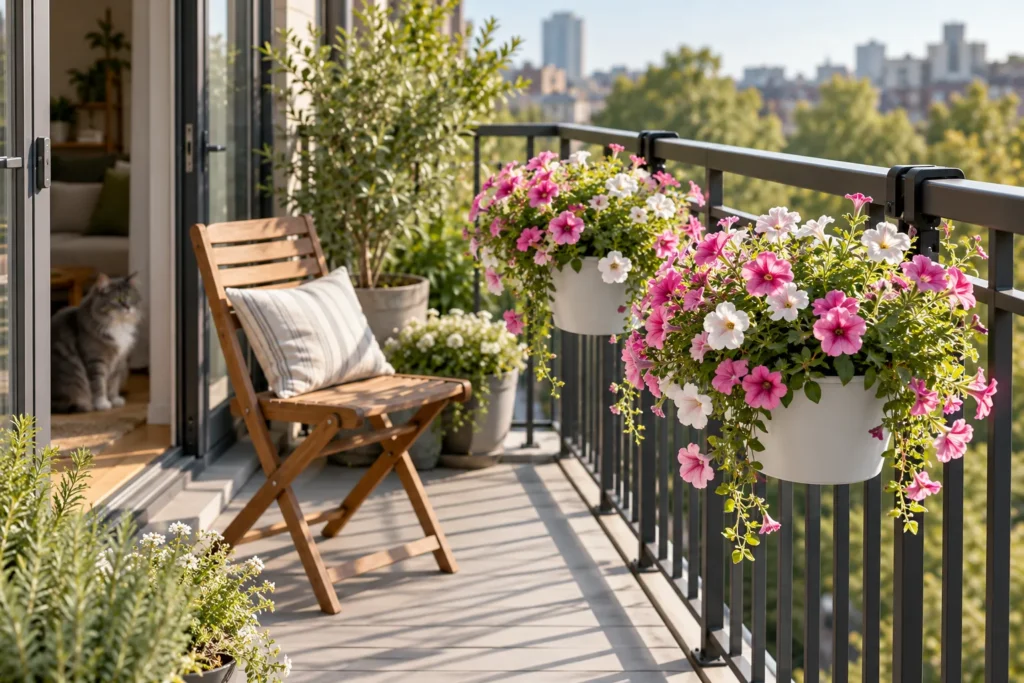
Your balcony fits one folding chair and a watering can, and every hanging planter you’ve saved seems to start with a drill your lease won’t allow. Meanwhile the railing sits bare, and the air above it is doing nothing at all.
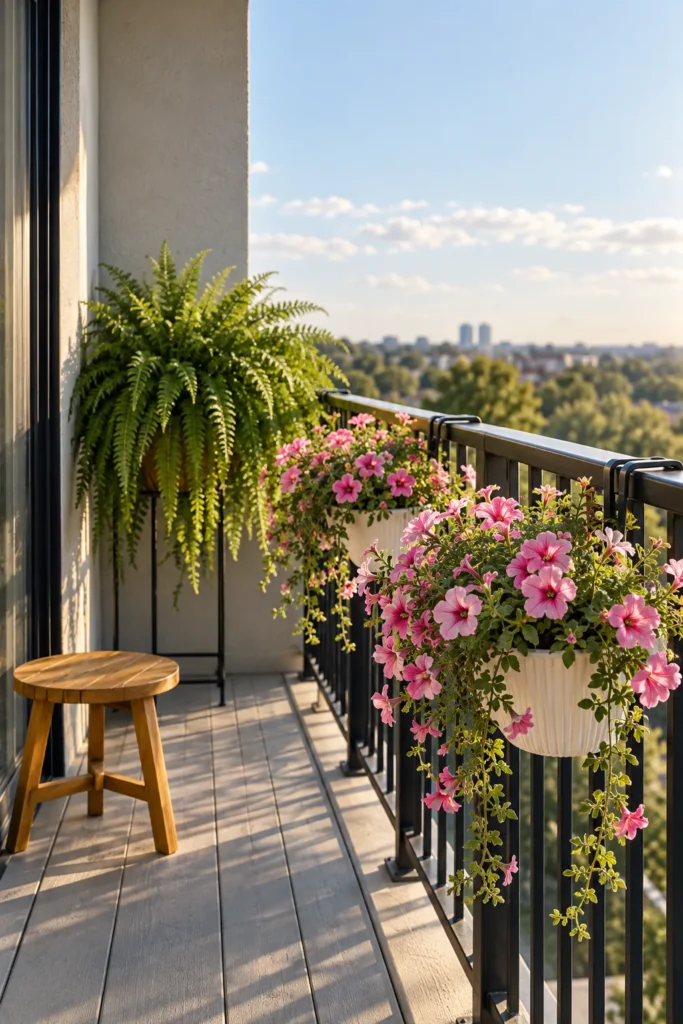
Look up instead of down. These hanging garden ideas for tiny balcony spaces use the railing and the open air overhead, built around one core project you can finish in a weekend: pick a safe hanging point, line and plant a basket so it fills out, then keep it watered without soaking the neighbor below.
Every option here works without putting holes in the building, and the plant picks lean toward homes with cats and dogs. If you’d rather cover a wall than the air, the no-drill vertical garden wall build pairs well with everything below.
The first two steps cost nothing, and they’re where most basket problems get prevented.
Table of Contents
At a Glance
- Start with one or two baskets on a railing bracket or a freestanding plant stand. Neither needs a single hole in the building.
- A watered basket weighs far more than the dry one you carried home, so buy hardware rated well above that wet weight and hang it where drips land on your own floor.
- Match plants to the direct sun your balcony really gets: petunias for full sun, Boston fern or spider plant for shade.
- Baskets dry out much faster than floor pots, so plan on a daily finger check in warm weather.
- Give new plants 7 to 10 days of hardening off, and hang them once frost danger has passed where you live.
Quick pick: this setup suits renters with a sturdy railing or a small open floor corner. On a windy upper floor, wait until you can tether the basket or keep it low on a stand near the wall.
What You’ll Need
Most of this setup is low-cost, and the only part worth paying more for is the hardware that holds the weight. Gather everything before planting day so the basket goes from bag to hook in one session.
- A hanging basket with drainage holes. Plastic baskets hold moisture longer. Wire frames come in more sizes and look lighter, but they need a liner. A bigger basket holds more mix, so it dries more slowly than a small one.
- A liner for wire baskets. Coir or sphagnum moss, plus a sheet of plastic you can poke holes in. A clean, empty potting-mix bag works.
- Soilless potting mix made for containers (Step 4 explains why).
- Slow-release fertilizer for planting day, and a water-soluble fertilizer for feeding later in the season.
- A hanging point: a railing bracket or hook, a freestanding stand, or one of the other options in the table below.
- S-hooks and a short tether, such as a length of cord or a small carabiner, to stop swinging in gusts.
- A drip tray or saucer that fits under or clips onto the basket.
- A watering can with a long spout, or a sturdy step stool if the basket will hang above shoulder height.
- Gloves for handling potting mix and fertilizer.
Your hanging point shapes almost everything else, including how big a basket you can use and how easy it is to water. Here’s how the four renter-friendly options compare.
| Option | Needs drilling? | Best for | Watch out for | Cost level |
|---|---|---|---|---|
| Railing bracket or hook | No | Sturdy flat or square railings | Thin, rounded or wobbly rails; the rated load on the package | Low-cost |
| Freestanding plant stand | No | Leases that ban attaching anything | Tipping in wind; takes a little floor space | Mid-range |
| Existing ceiling hook installed by the building | No, already in place | Covered balconies that already have one | Unknown rating, so ask management first; harder to water up high | Low-cost, S-hook only |
| Tension rod | No | Covered balconies with solid walls or posts at both ends | Slipping under wet weight; light baskets only | Low-cost to mid-range |
Step-by-Step
Six steps take you from a bare railing to planted baskets, and the first two happen before you buy anything.
Step 1: Check Your Lease, Load and Drip Path
Start with your lease or building rules. Many buildings limit what can attach to railings, ceilings or exterior walls, so look for wording about fixtures, drilling or items hung over the edge. If the language is vague, ask the property manager by email so you have the answer in writing.
Next, think about weight when wet. Potting mix soaks up water, and a moist 20-inch container can weigh about 100 pounds. A hanging basket is smaller, but the same thing happens on a smaller scale: the basket you lift dry in the store is much lighter than the one hanging from your bracket after a good watering. Buy hardware with a rated load well above the heaviest your watered basket could be.
Balcony structure matters too. Projecting balconies, the kind that stick out from the building with nothing underneath, often carry strict weight limits. That’s one more reason to begin with one or two baskets and add more once you know how they behave.
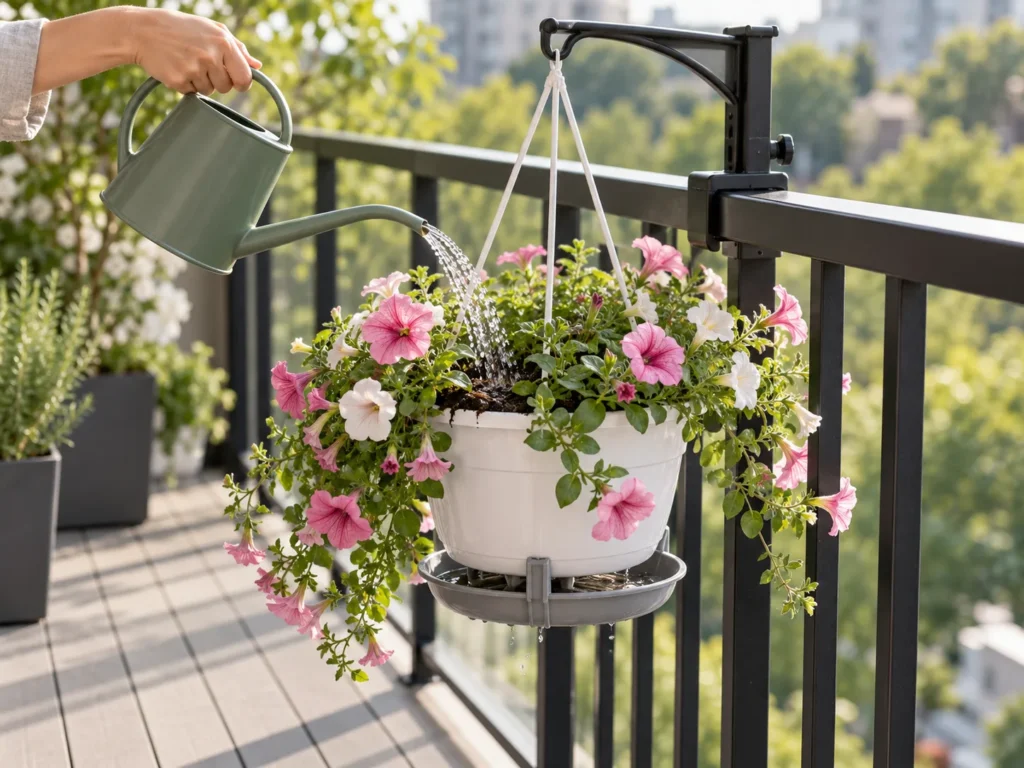
Finally, trace the drip path. Water that runs out of a basket lands somewhere, and on an upper floor that might be your downstairs neighbor’s table. Put a saucer or drip tray under every basket, and hang baskets on the balcony side of the railing so runoff, and any basket that slips, stays on your own floor.
These checks apply to every container project in a rental. A wooden pallet planter runs through the same lease and weight questions if you want a floor-level project later.
Step 2: Map Your Sun Hours and Wind
On a clear spring day, check your balcony every hour or two and note when direct sun reaches the spot where the basket will hang. Railings, overhangs and the building next door can cut light sharply, so count the hours at basket height, since that’s where the leaves will be.
Use that count to narrow your plant choices. Six or more hours of direct sun counts as full sun, which flowering basket plants such as petunias need, and warm-season edibles generally want 6 to 8 hours. With less than that, shade-tolerant foliage plants are the better match; the plant table under Variations sorts them by light.
Heat adds to the picture. Concrete and masonry absorb sun and radiate it back, so a south- or west-facing balcony with a concrete floor can feel hotter than the forecast.
Then watch the wind. Wind dries plants quickly and can lift or swing lightweight containers, and the higher you live, the more exposed a balcony tends to be. Notice which corner stays calm when the rest of the balcony is gusty, since that’s your best hanging spot.
Last, look up. An overhang or the balcony above you blocks rain, so baskets under cover depend entirely on you for water. That helps during a soggy spring and is easy to forget in a dry week.
Step 3: Choose a No-Drill Hanging Point
With your lease, load and light in mind, pick one option from the hang-point table. For a first basket, we’d start with a railing bracket over an overhead hook, because it keeps the weight low and within easy reach of a watering can.
Test the bracket before any plant goes on it. Clamp or hook it on, then press down and sideways with your hand; it should sit flat against the rail without rocking. If your railing is shallow, rounded or wobbly, use a freestanding stand instead, because a bracket that slides when the basket is dry will slide further once it’s wet.
Height is the next decision. Hang the basket at or slightly below eye level so you can see the top of the mix and water without stretching. A basket hung higher can still work, but you’ll water partly by feel, and the planting layout changes, as Step 5 explains.
Add a tether if your balcony catches gusts. Run a short cord or small carabiner from the basket hanger to a second point on the railing or stand so the basket can’t spin or swing into the glass door. On a stand, set the base near the wall, where wind is usually calmer, and put the heaviest basket on the lowest arm.
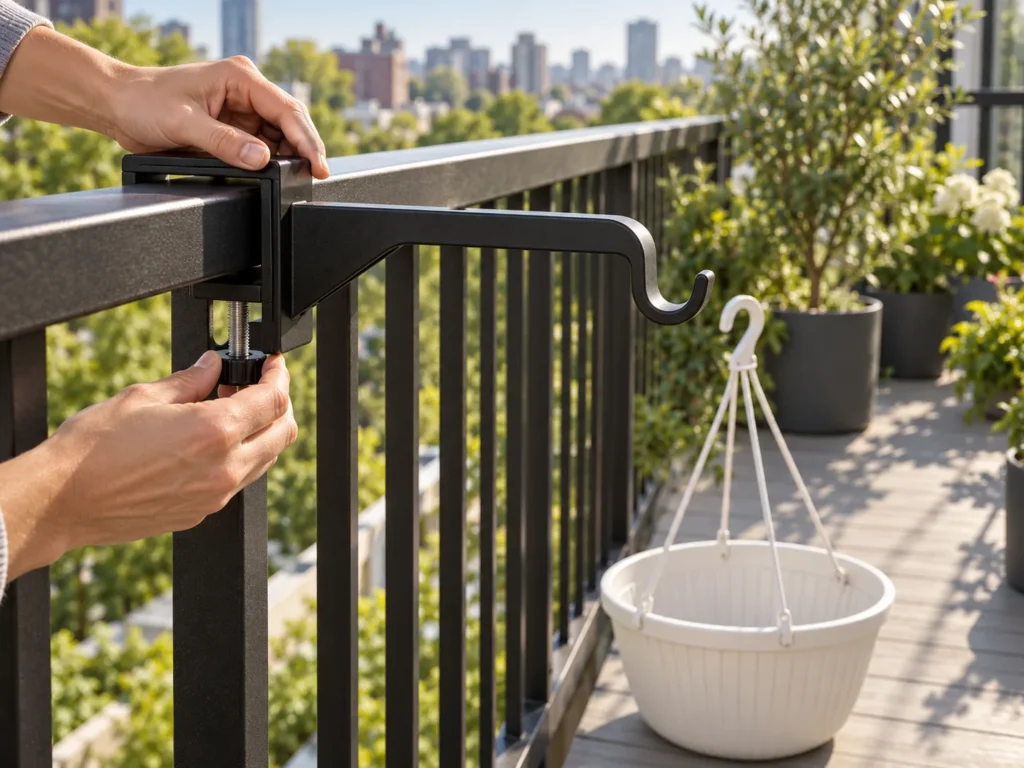
Step 4: Line the Basket and Fill It With Potting Mix
Check for drainage holes first. A plastic basket needs holes in the base; if yours has none, choose a different basket, because water pooling at the bottom starves roots of air. Skip any gravel or pebble layer too, since coarse material at the bottom takes up root space without improving drainage.
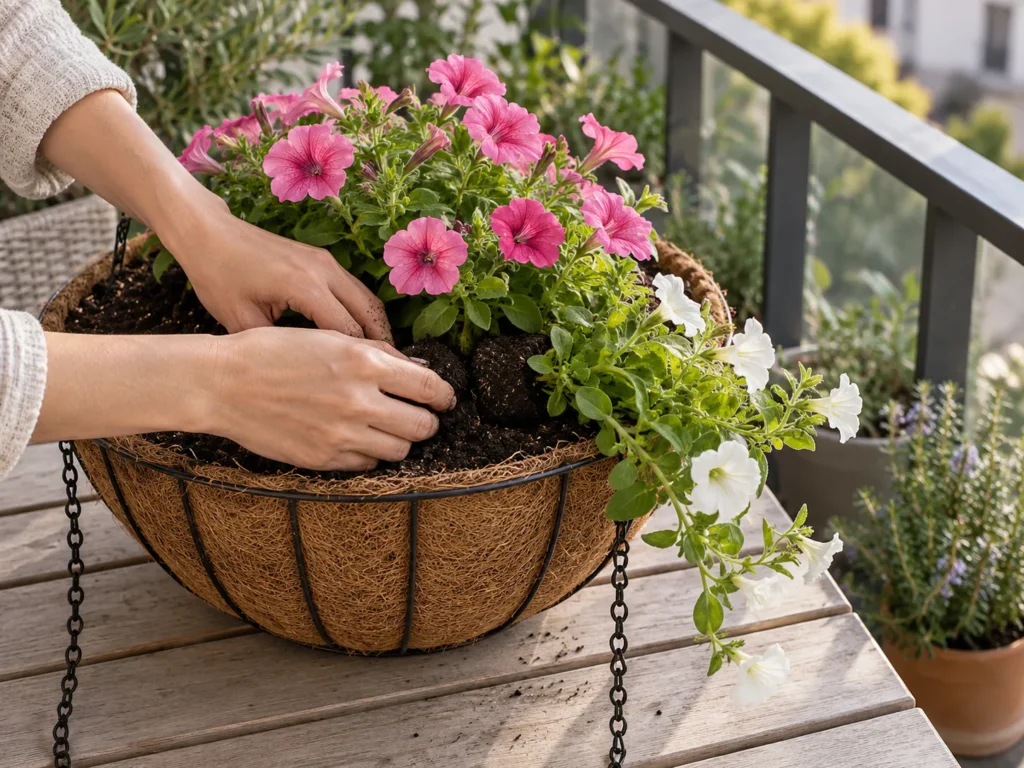
For a wire basket, press a layer of moistened sphagnum moss about 1 inch thick against the frame, or fit a pre-shaped coir liner. Lay a sheet of plastic inside the liner, poke several holes in its bottom for drainage, and trim it just below the rim so it stays hidden.
That plastic sheet is the cheapest upgrade in the whole build. Moss and coir let water evaporate through the sides, and the plastic slows that loss, so the basket stays moist longer between waterings. We’d add it to every wire basket on a sunny balcony, since the extra hours of moisture matter most there.
Fill with a soilless potting mix made for containers, never garden soil, which is heavy and compacts in a basket. Mix in slow-release fertilizer at the rate on its label. A typical product lasts 3 to 4 months, which carries most baskets into summer before liquid feeding takes over (see How to Use It).
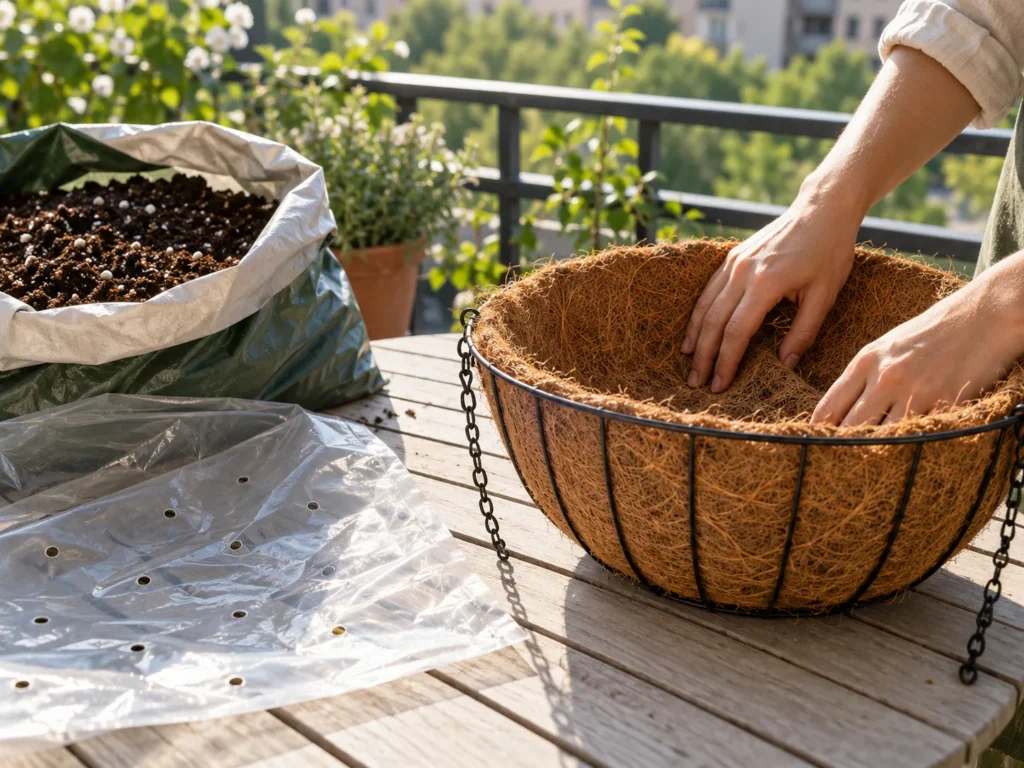
Step 5: Plant Tall in the Center, Trailers at the Edge
Moisten the mix and fill the basket until the surface sits about 1 inch below the rim. That gap gives water room to pool and soak in rather than spill over the edge.
Pick plants that share the same light needs, using your count from Step 2. A sun-loving petunia and a shade fern in one basket means one of them struggles wherever it hangs.
Baskets look full because they’re planted closer together than you’d space plants in a bed. For a basket at or below eye level, set one upright or mounded plant in the center, then ring the edge with trailing plants tilted slightly outward so they spill over the rim. If the basket hangs high, where you’ll mostly see it from below, leave out the upright and use only rounded and trailing plants.
Firm the mix gently around each root ball so no air pockets remain, keeping the top of each root ball level with the surface. Then water slowly with a half-strength solution of water-soluble fertilizer until it drains from the bottom. That first drink settles mix around the roots while the slow-release pellets start working.
Before hanging, lift the freshly watered basket once. This is about as heavy as it will get, so it’s a good moment to compare it with the hardware rating you checked in Step 1. Then set it on a tray in a sheltered spot for the final step.
Step 6: Harden Off and Hang After Frost Danger Passes
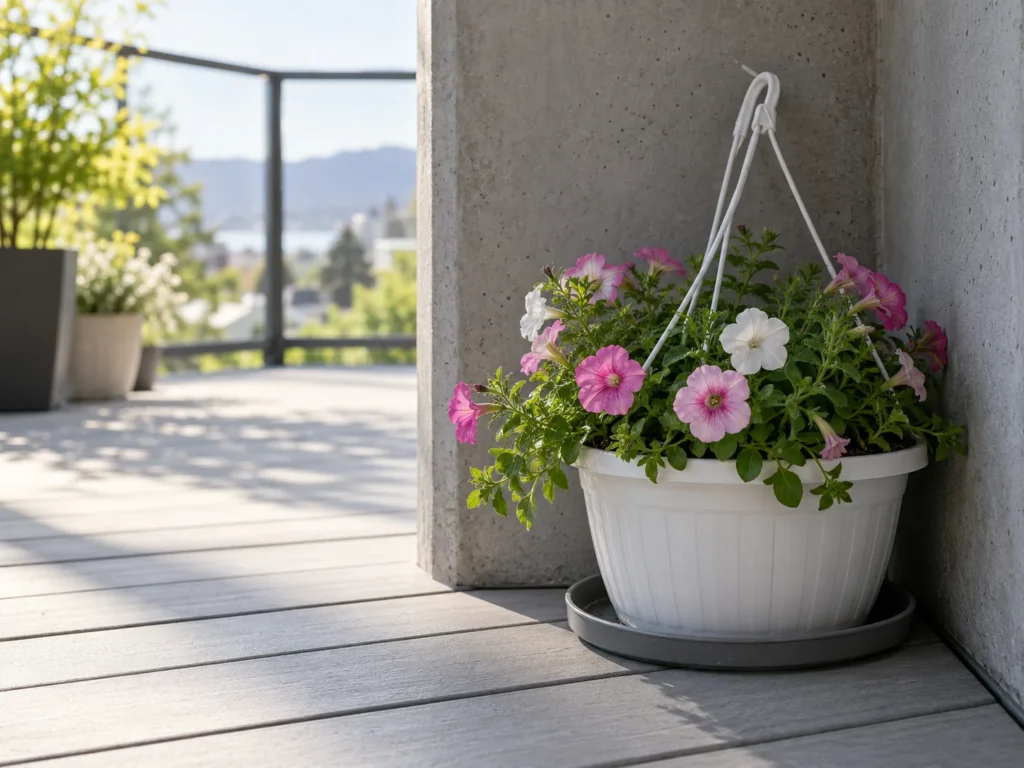
Plants raised in a greenhouse or indoors need time to adjust to sun, wind and cooler nights. Over 7 to 10 days, start the basket in a shaded, sheltered corner for a few hours a day, then give it a little more sun and wind each day until it stays out full time. Bring it inside on any cold night during that stretch.
Timing depends on where you live. Hang tender plants such as petunias once your area’s frost danger has passed; your county extension office can give you the local average last-frost date. Frost-tolerant pansies (Viola × wittrockiana) can go out 1 to 2 weeks earlier, which makes them a handy early-spring basket while you wait.
A USDA hardiness zone describes the average coldest winter temperature in an area. It’s useful for perennials, but it won’t give you a spring planting date, and it averages out microclimates. A balcony sheltered by the building or warmed by concrete can run warmer than the map suggests, while an exposed corner can run cooler.
Houseplants moving outdoors follow the same routine. Spider plants should stay above 45°F, so keep them inside until nights stay reliably warmer than that.
If it’s still early spring where you are, use the wait to buy hardware and test your hanging point.
How to Use It
A hanging basket asks for more attention than a floor pot, mostly because air moves around it on every side. Plan on a quick daily look in warm weather and a short weekly routine.
Water by feel. Push a finger into the mix, and when it feels dry about 1 inch below the surface, water slowly until it runs out the bottom. A 10-inch basket typically needs water every 1 to 2 days, and in summer heat that becomes daily, sometimes twice a day.
Smaller baskets and windy spots dry fastest, so check those first.
A basket that dries out completely shrinks away from its sides, and water then races straight through without soaking in. Fix it with a rescue soak: set the whole basket in a tub of water for 1 to 2 hours, then lift it out and let it drain. Iowa State Extension advises never leaving it longer than 2 hours.
Start liquid feeding once the slow-release fertilizer from Step 4 begins to fade. Use a water-soluble fertilizer at half strength every two weeks, following the product label. Nasturtiums are the exception, covered in the edible variation below.
Deadhead flowering plants weekly by pinching off faded blooms just below the flower. The basket stays tidy and keeps producing new buds through the season.
A simple care rhythm:
- Daily in warm weather: finger test, water if dry, empty the drip tray.
- Weekly: deadhead, and check that the hook, bracket and tether still sit tight.
- Every two weeks: half-strength feed for flowering baskets.
- After a gusty day: look for torn stems and a bracket that has shifted.
Troubleshooting
When a basket looks off, start with what you see, then rule causes in or out before changing your routine.
| What you see | Likely causes | How to tell | Fix |
|---|---|---|---|
| Limp leaves by afternoon | Dry mix from heat or wind; less often, soggy mix | Dry 1 inch down points to thirst; still wet points to drainage | Water thoroughly, or use the rescue soak if the mix has pulled away; if wet, clear the drainage holes |
| Water pours straight through | Mix has shrunk from the sides | A visible gap between mix and liner | Rescue soak, then check daily |
| Leafy, with few flowers | Too little sun, spent blooms left on, or extra fertilizer on nasturtiums | Recount sun hours; look for faded blooms | Move to a brighter spot, deadhead weekly, ease off feeding nasturtiums |
| Pale and sparse by midsummer | Nutrients used up | 3 to 4 months or more since planting | Begin half-strength feeding every two weeks |
| Basket swings or spins, stems battered | Wind exposure | Damage shows up after gusty days | Tether it, hang it lower, or move it to a stand near the wall |
| Neighbor mentions drips | No tray, or watering too fast | Water escapes past your floor | Add a drip tray, water slowly, move the basket inboard |
If a plant stays limp in wet mix and makes no new growth a week after you’ve corrected watering, replacing it is usually quicker than nursing it.
Variations: Hanging Garden Ideas for Tiny Balcony Setups
Once one basket is working, these variations change the look, the light or the menu without changing the method.
Railing-Hook Basket Row
Two or three small baskets on separate railing brackets turn a bare rail into a green edge without touching the floor. Give each basket its own bracket, leave enough space that leaves don’t rub, and run the same load and drip checks from Step 1 on every one. Small baskets dry faster than one large basket, so this layout suits someone who’s home most days. For combinations that adapt well to a railing row, browse these front porch container ideas.
Freestanding Stand for Balconies You Can’t Touch
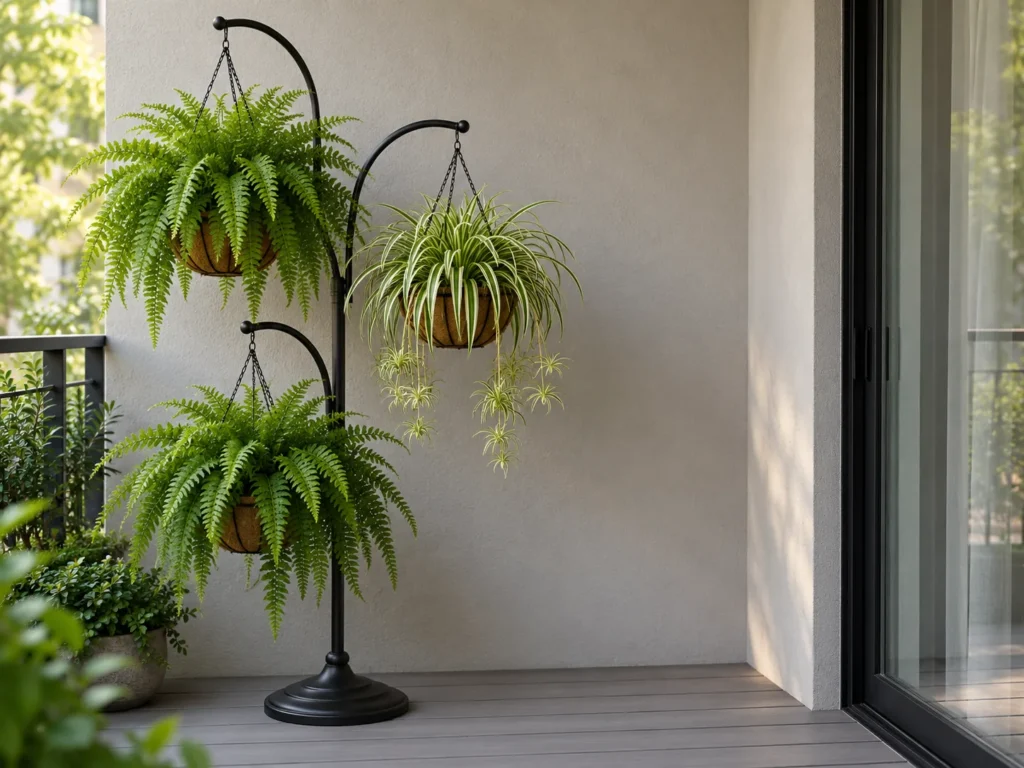
When the lease rules out anything attached to the railing or ceiling, a freestanding stand with hanging arms holds baskets with nothing fixed to the building. It works well in a shaded corner planted with Boston fern and spider plant, and it carries indoors easily on a cold night. Place and weight it as described in Step 3, then tether it if the corner catches wind.
Pet-Safe Hanging Basket
In an apartment shared with a cat and a dog, I’ve noticed that anything trailing within reach gets sniffed, batted and sometimes chewed. Hang baskets above paw height and away from furniture a cat can launch from, and choose plants with a non-toxic listing.
Before buying any plant, look up its exact name on the ASPCA toxic and non-toxic plants list; the table below shows how the main basket plants are listed. Lantana (Lantana camara), English ivy (Hedera helix) and golden pothos (Epipremnum aureum) are listed as toxic to both, so skip them in a pet household, since trailing stems hang down into reach.
A non-toxic listing still has limits. As the ASPCA points out, any plant can cause mild stomach upset if a pet eats enough of it, so even a listed plant belongs out of reach. A pet that chews leaves and then seems unwell needs a call to your vet.
| Plant | Light | Mature size | Pet note |
|---|---|---|---|
| Petunia (Petunia × hybrida) | Full sun | 4 to 12 in tall, 24 to 48 in wide | Listed non-toxic to dogs and cats |
| Boston fern (Nephrolepis exaltata) | Indirect light or shade | 2 to 3 ft tall and wide | Listed non-toxic to dogs and cats |
| Spider plant (Chlorophytum comosum) | Indirect light or shade; no direct sun | 1 to 1.5 ft tall | Listed non-toxic to dogs and cats |
| Nasturtium (Tropaeolum majus) | Full sun to part shade | Varies by variety | Keep out of reach; see below |
Boston fern wants mix that stays evenly moist and never dries out, so it’s the plant that benefits most from the plastic liner in Step 4.
Edible Hanging Basket, With One Honest Skip
If you want one edible basket, we’d start with nasturtium, because it trails on its own, handles full sun to part shade, and both its flowers and leaves are edible. Go easy on fertilizer: extra feeding gives you more leaves and fewer flowers. If a basket holds only nasturtiums, skip the every-two-weeks feed and let the slow-release mix carry it. Treat it as a plant to keep away from pets, and check with your vet if your cat or dog likes to chew greens.
The honest skip is strawberries. They look charming in a basket on Pinterest, but Iowa State Extension finds hanging baskets hard to maintain for strawberries: the mix dries out fast (see How to Use It), and warm basket soil tends to shrink the fruit. The plants also need at least 6 hours of direct sun. For berries, grow strawberries in pots instead, where the container can sit in the sunniest spot on the floor.
Frequently Asked Questions
Can I grow herbs or vegetables in a hanging basket?
Can a spider plant or Boston fern hang on a sunny balcony?
Can I reuse the potting mix next spring?
What do I do with fern and spider plant baskets in fall?
Will drips from a hanging basket stain the floor below?
What Actually Matters
If you remember three things, make them weight, water and the plant label.
A basket is at its heaviest right after watering, so the hook, the railing and the person below all rely on the checks you made before buying. Water is the everyday job, and a finger in the mix tells you more than any calendar. The plant label, matched against the ASPCA list, keeps a curious cat or dog out of trouble.
This week, count your sun hours and choose one hanging point. Plant a single basket, live with it for a couple of weeks, and add a second once the watering rhythm feels easy. That empty railing won’t stay empty for long. When you’re ready for the next corner, there are more balcony garden guides for every kind of small space.
Sources
- University of Illinois Extension – Hanging Baskets – basket types, liners, eye-level and high planting layouts, feeding every two weeks
- Clemson Cooperative Extension HGIC – Hanging Baskets and Window Boxes (HGIC 1154) – drainage, moss liner thickness, soilless mix, weight when wet, finger test, watering and feeding frequency, petunia size
- Oregon State University Extension – Hanging Baskets (10-Minute University) – plastic liner, no coarse bottom layer, slow-release duration, rim level, layout, watering a 10-inch basket, weekly deadheading
- Iowa State University Extension – How often should I water plants in hanging baskets? and How to Grow Strawberries in Containers – hot-weather watering, rescue soak limit, strawberries in baskets, sun needs
- University of Maryland Extension – Growing Vegetables in Containers – wet container weight, saucers above neighbors, sun hours for warm-season crops, heat from concrete
- Nebraska Extension in Lancaster County – Care for New Bedding Plants – hardening off, frost timing, early pansies
- USDA Agricultural Research Service – How to Use the Maps – hardiness zones and microclimates
- Royal Horticultural Society – Roof Gardens and Balcony Ideas – wind, weight limits on projecting balconies, overhangs blocking rain
- ASPCA Animal Poison Control – toxic and non-toxic plant pages and Do You Know Which Flowers and Plants are Toxic to Pets? – pet status of each plant named, stomach upset caveat
- NC State Extension Gardener Plant Toolbox – Chlorophytum comosum, Nephrolepis exaltata, Tropaeolum majus – light, size, temperature, hardiness zones, moisture and winter watering, edibility, fertilizer and pet notes