The first watering looks harmless. Then a muddy trickle reaches the balcony edge, just as you remember the neighbor downstairs. Learning how to grow potatoes in containers or bags starts with a better plan for the space beneath the plants, not just the potatoes themselves.
You don’t need a garden bed. A properly draining container, certified seed potatoes, loose potting mix, and enough direct sunlight can support a small crop. But a fabric bag can dry out quickly, a crowded pot can disappoint, and a shady balcony cannot be fixed with extra fertilizer.
This guide walks through six practical steps, from checking your balcony to sorting the harvest. It also explains where beginners often lose time: weak drainage, too many seed pieces, endless hilling, and guessing when the potting mix needs water.
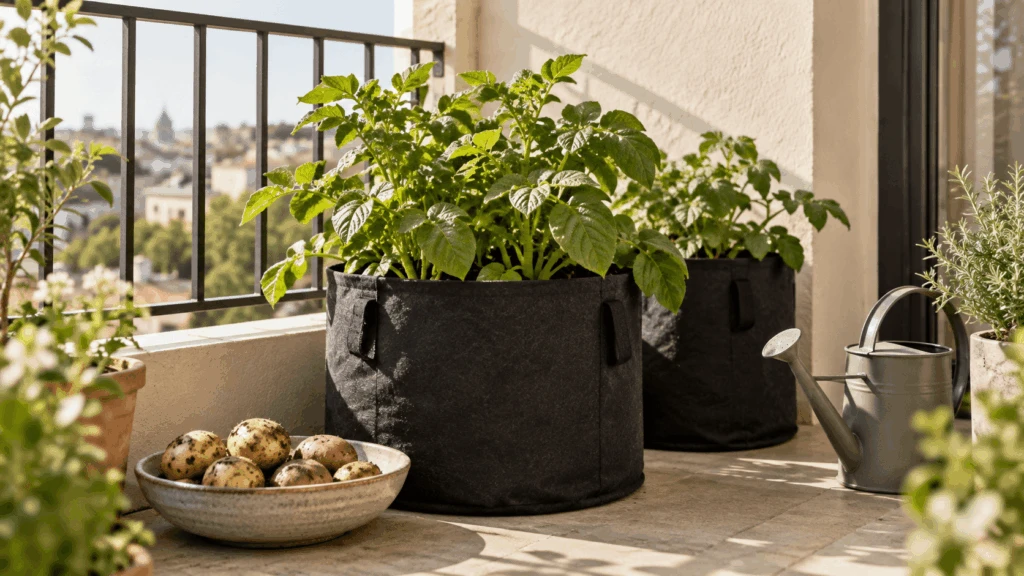
Table of Contents
TL;DR: The Simple Way to Grow Potatoes in a Bag
Start with a well-drained, opaque 10-gallon grow bag in a spot that receives at least six hours of direct sun, provided your balcony can safely hold its wet weight. Plant certified seed potatoes in loose mix, add more mix as the stems grow, and keep moisture steady rather than watering by the clock. Harvest when the potatoes reach the stage you want.
- Container: A 10-gallon fabric bag is a manageable starting point, though other sizes work with adjusted plant numbers.
- Planting: Give each seed piece room and cover it with potting mix, leaving headspace for later hilling.
- Care: Check the top 1-2 inches of mix; water thoroughly if dry, then empty collected runoff.
- Harvest: Take tender new potatoes earlier or wait for natural foliage dieback for mature tubers.
My practical pick: Start with one standard bag, not a towering stack. Skip this project for now if sunlight, structural support, drainage, or pet access cannot be managed safely.
Jump to: Supplies | Balcony checks | Six steps | Mistakes | Troubleshooting | What matters
What You’ll Need to Grow Potatoes in Containers
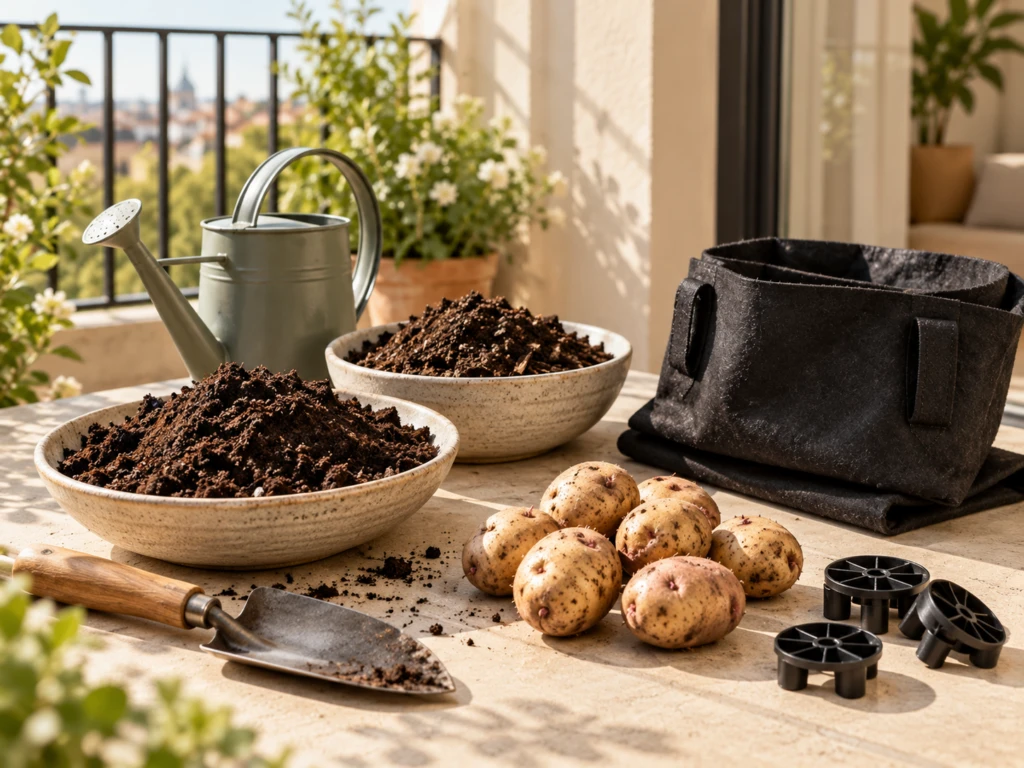
If you are learning how to grow potatoes in containers or bags, begin by choosing enough root-zone volume; the shopping list itself is short. Choose a stable container that blocks light from reaching the developing tubers, a loose growing medium, and seed potatoes intended for planting. Add a few inexpensive tools to manage water and harvest without turning the balcony into a muddy worksite.
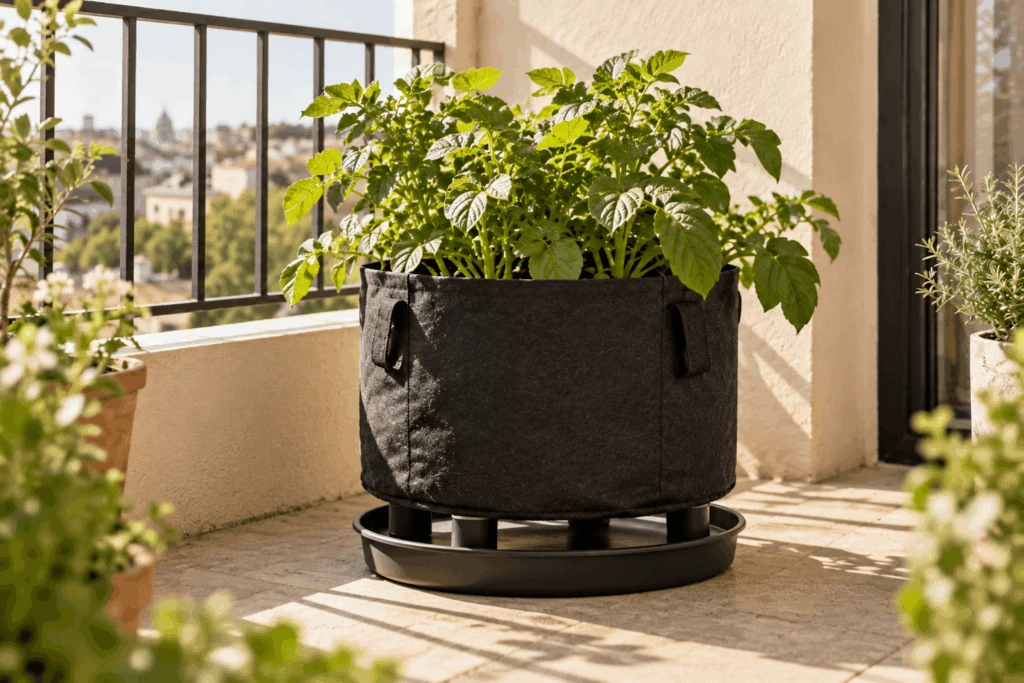
- Opaque planter or fabric bag: A 10-gallon container is a reasonable beginner choice; drainage holes are essential.
- Certified seed potatoes: Buy firm, healthy planting tubers of a variety suited to your local season.
- Potting mix and finished compost: Use airy container medium, not dense soil excavated from a yard.
- Watering can: A gentle spout helps soak the medium without exposing seed pieces.
- Hand trowel and optional gloves: Useful for planting, topping up the mix, and lifting new potatoes.
- Appropriate fertilizer: Check whether your potting mix already includes nutrients before adding more.
- Pot feet and removable runoff tray: The container must drain freely while keeping water off neighboring balconies.
- Clean tarp: Spread it on the floor at harvest to contain soil and find small tubers.
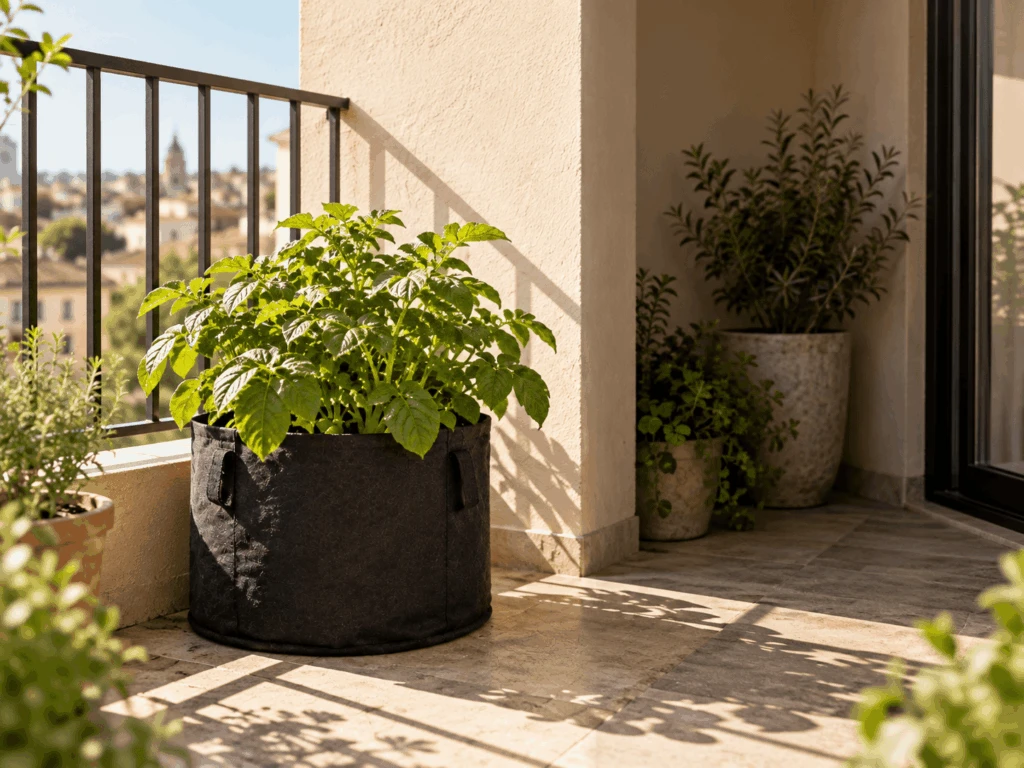
Which size is best? The University of New Hampshire Extension describes containers of roughly 10-15 gallons as a practical ideal and suggests allowing about five gallons of growing medium per plant. Smaller containers can be trial crops, but they leave less room for roots and water.
| Container option | Best use | Main trade-off |
|---|---|---|
| 5-gallon pot | One small trial plant | Limited volume and faster drying |
| 10-gallon fabric bag | One or two plants with sufficient spacing | Moisture needs frequent checking |
| 15-gallon or larger container | More room for a modest crop | Heavy when filled and watered |
| Extra-tall tower | Not a yield shortcut | Uneven wetness and wasted height |
For a setup that doesn’t require drilling or permanent fixtures, keep the bag on the floor and build around it. A single crop can fit among budget-friendly balcony garden ideas without adding another shelf or stand.
Takeaway: Spend your attention on growing volume, drainage, and healthy seed potatoes before accessories.
Before You Start: Check Your Balcony and Planting Conditions
Before filling a bag, anyone learning how to grow potatoes in containers or bags should check direct sun, building rules, and safe runoff collection. Wet potting mix weighs far more than an empty fabric bag. A container that seems easy to lift in the store may be difficult to move safely after planting and watering.
Check the light: Potatoes prefer full sun. Count the hours when direct sunlight actually reaches the planned bag, rather than judging by how bright the balcony looks from indoors. The University of Maryland Extension gives at least six hours as full sun and notes that eight to ten hours is preferable for the crop.
Buildings can cut off midday light even on a sunny-looking balcony. If the space gets only two or three hours, choose a different crop or location; more fertilizer will not compensate for a potato plant that cannot photosynthesize enough.
Check the weight and rules: Ask your property manager or building authority about floor loading, planter limits, and drainage requirements. Never place a heavy, wet potato bag on a railing, an improvised bracket, or an unsupported shelf; if structural capacity is uncertain, wait for an answer before planting.
The University of Maryland Extension’s container guide recommends proper drainage holes, raising containers when needed, and emptying saucers so water does not collect beneath roots. Gravel at the bottom doesn’t fix poor drainage; it uses growing space and can worsen waterlogging.
Look for a spot sheltered from sudden gusts, with a level base and an accessible route for lifting the harvest later. You can borrow practical floor-layout ideas from apartment balcony garden ideas while still following your own building’s rules.
Check the season: Potatoes grow well during cool conditions and are vulnerable to prolonged freezing weather. Rather than following a generic spring date, use your local frost forecasts and planting guidance; the University of Maryland Extension identifies a soil temperature of at least 45 degrees Fahrenheit as a planting reference.
A bag against a sun-heated concrete wall may also experience warmer root conditions than one a few feet away. If your balcony becomes extremely hot in summer, examine plants for hot, sunny balconies instead of assuming potatoes will tolerate every high-temperature spell.
Check children and pets: The edible potato is the harvested tuber, not the green foliage, sprouts, or berries. The North Carolina Extension Gardener Plant Toolbox identifies Solanum tuberosum as a concern for cats, dogs, and children, and cautions against eating the green plant parts.
If a cat regularly chews leaves, a floor-level bag is not a suitable unsupervised project unless the plant can be reliably separated. A pet that may have eaten foliage or green potato material needs prompt advice from a veterinarian; Pet Poison Helpline includes potato foliage among nightshade ingestion concerns.
Takeaway: A sunny balcony that can safely handle the wet bag and contain runoff is a good candidate. If light, loading, or pet access fails that check, change the plan before buying supplies.
How to Grow Potatoes in Containers or Bags: Step-by-Step
There are six main jobs: set up drainage, prepare the planting material, plant at a workable depth, manage light and moisture, hill modestly, and harvest gently. Following them in order is easier than trying to correct a heavy, badly placed bag later. The goal is a manageable crop in one container, not an improbable mountain of potatoes.
Step 1: Choose the Container and Set Up Safe Drainage
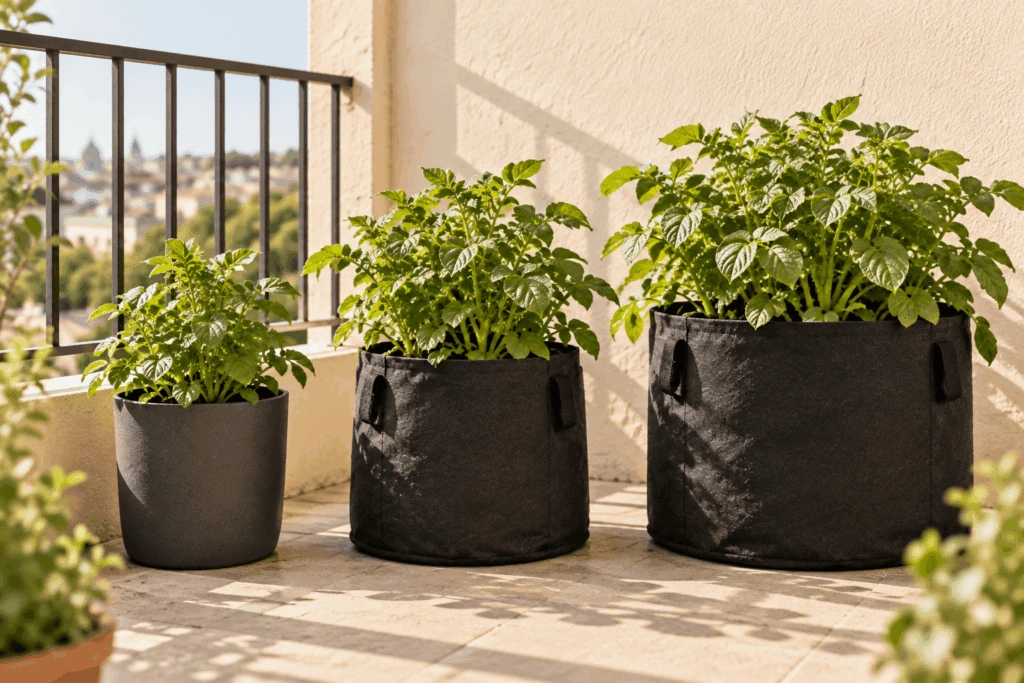
Put the empty bag in its intended location before adding soil. A wide base, stable floor, and accessible watering route matter more than the appearance of the container. For an apartment, I recommend a plain opaque 10-gallon fabric bag with a properly managed collection tray over a tall tower.
Check the bottom and sides for drainage. Fabric can release water through its walls and seams, while rigid pots need unobstructed holes; do not assume a decorative outer pot will drain by itself. If using a suitable repurposed container, choose food-safe material with no history of chemical storage and make drainage openings where appropriate.
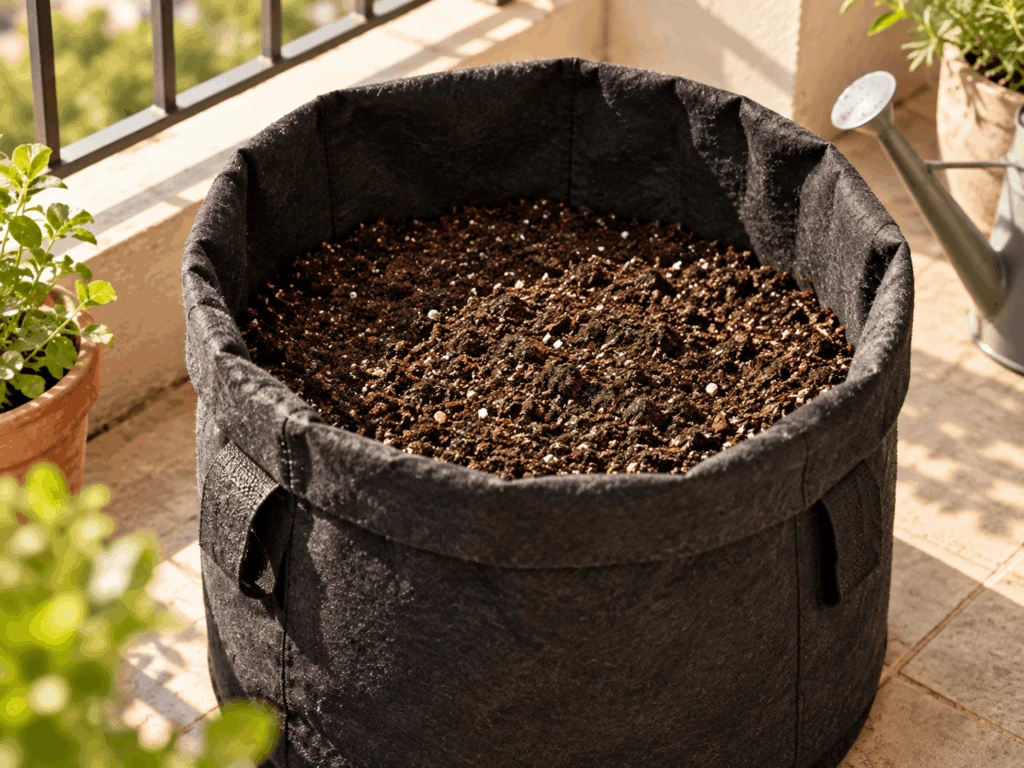
Raise a rigid planter slightly with stable pot feet if the drain holes would otherwise be blocked. Place a removable tray below to catch runoff, but empty it after watering. A potato bag sitting permanently in a pool of water can develop poorly aerated root conditions, even if the container started with excellent drainage.
Small-space alternative: You can browse DIY planter ideas for visual inspiration, but a potato-growing container must still be structurally sound, food-safe, sufficiently opaque, and able to drain.
Step check: The empty bag is stable, permitted, out of pet reach, and able to drain into a removable tray.
Step 2: Prepare the Seed Potatoes and Potting Mix
Buy certified seed potatoes instead of planting an unknown potato from the kitchen. Planting stock is sold with disease-risk controls; supermarket potatoes may carry infections even when they look healthy, and some have been treated to discourage sprouting. A small, firm seed potato with a suitable eye can be planted whole.
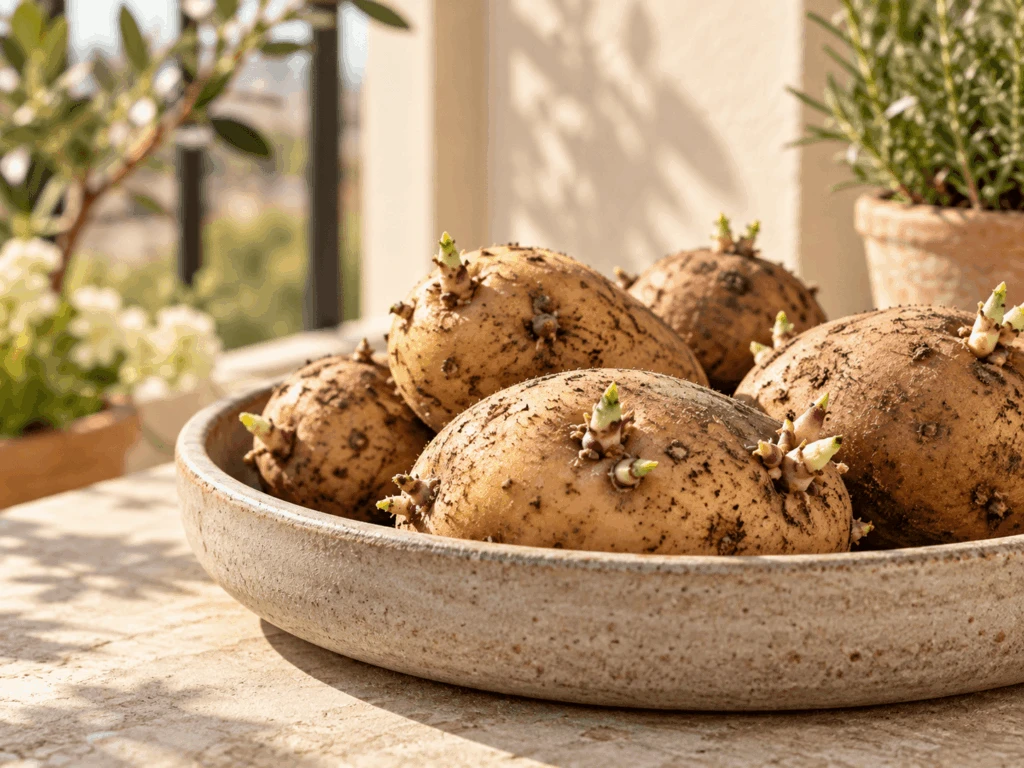
Look for the eyes, which are small buds embedded in the skin. Optional chitting means allowing the potato to develop short, sturdy sprouts before planting. Different seed suppliers use different timing instructions, so follow the guidance for the variety you’ve purchased rather than trying to grow long, fragile shoots.
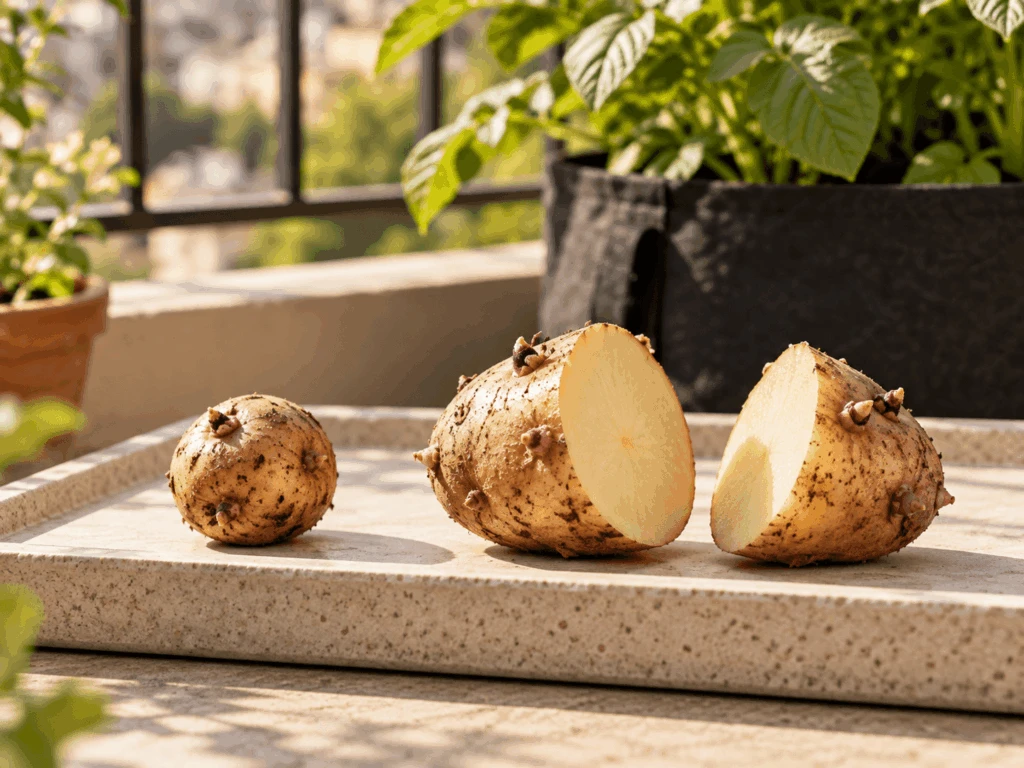
If a seed potato is large, divide it into manageable pieces with at least one healthy eye each. The University of New Hampshire Extension suggests cut pieces about 1-2 inches across and allowing them to dry for 24-48 hours to reduce rot risk. Use a clean cutting tool and discard any pieces that are soft or show signs of disease.
For the mix, combine a quality loose soilless potting medium with finished compost, or use a ready-made container mix appropriate for edible crops. The University of New Hampshire Extension offers a half-and-half potting mix and compost example; the exact choice depends on the product’s ingredients and how it behaves when wet.
Variety decision: Yukon Gold, Kennebec, Red Norland, and some fingerling types are names you may encounter, but seed availability and maturity periods differ. Choose a locally suited variety and check its expected harvest window; there is no universal best potato for every balcony or climate.
Step check: Seed pieces are sound, and the medium holds some moisture while still draining freely.
Step 3: Plant the Seed Pieces at the Right Depth
Begin with a loose base layer of about 4-6 inches of moistened potting mix in a typical grow bag. Lay your seed pieces on top with the eyes or short sprouts facing upward; if a piece was cut, its cut face will generally rest downward. Cover them with roughly 3-5 inches of mix, adjusting to the instructions supplied with the seed and to your container’s available depth.
Don’t fill the entire bag to the rim now. You need space to add fresh mix around the stems as they grow, and you need a little clear rim space for watering. If the bag is tall and flexible, roll the sides down at first, then gradually unfold them when adding more medium.
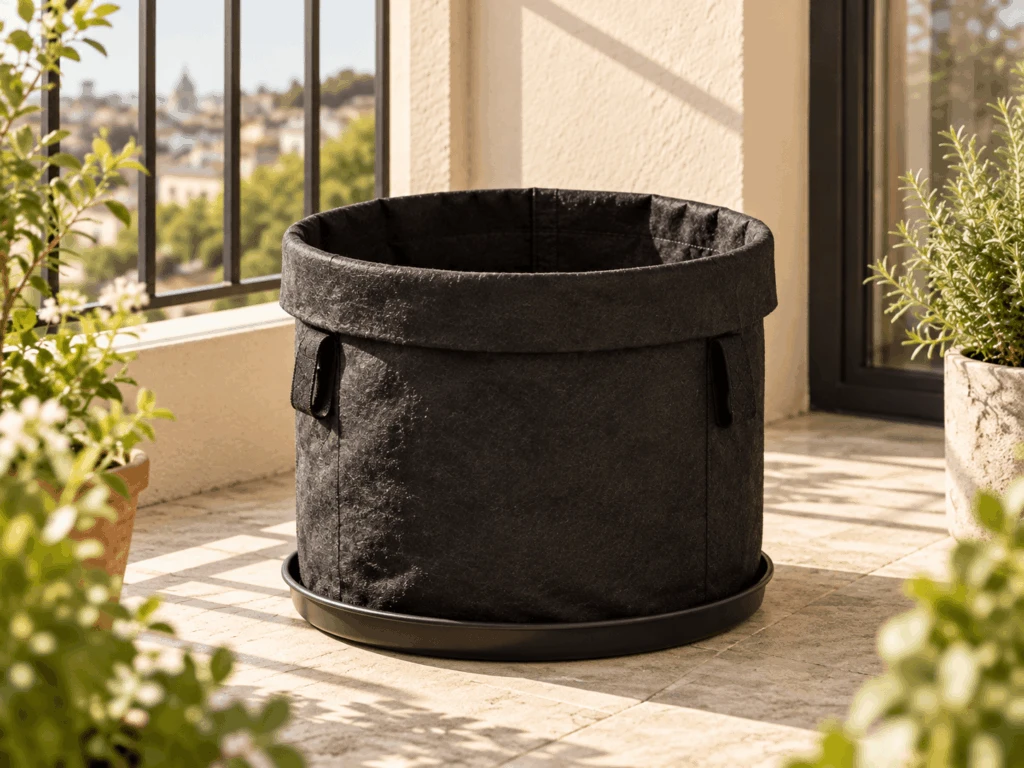
How many seed pieces? For a 10-gallon bag, one well-placed plant is a conservative choice; two may work if the container is broad enough to allow adequate spacing. Aim for approximately 8-12 inches between seed pieces where possible, and avoid treating a narrow bag as if it were a wide garden bed.
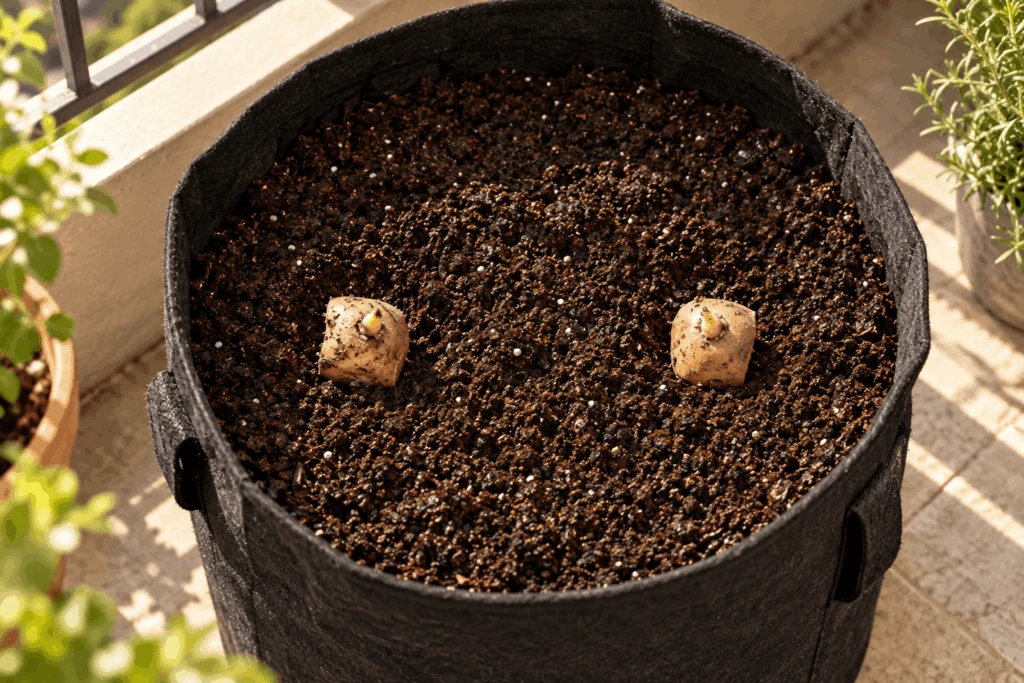
Once the potatoes are covered, water gently until the medium is evenly damp and excess moisture can escape. Don’t flood the bag to compensate for planting dry mix. A thoroughly moistened starting layer is easier to manage than a deeply dry core surrounded by water running down the sides.
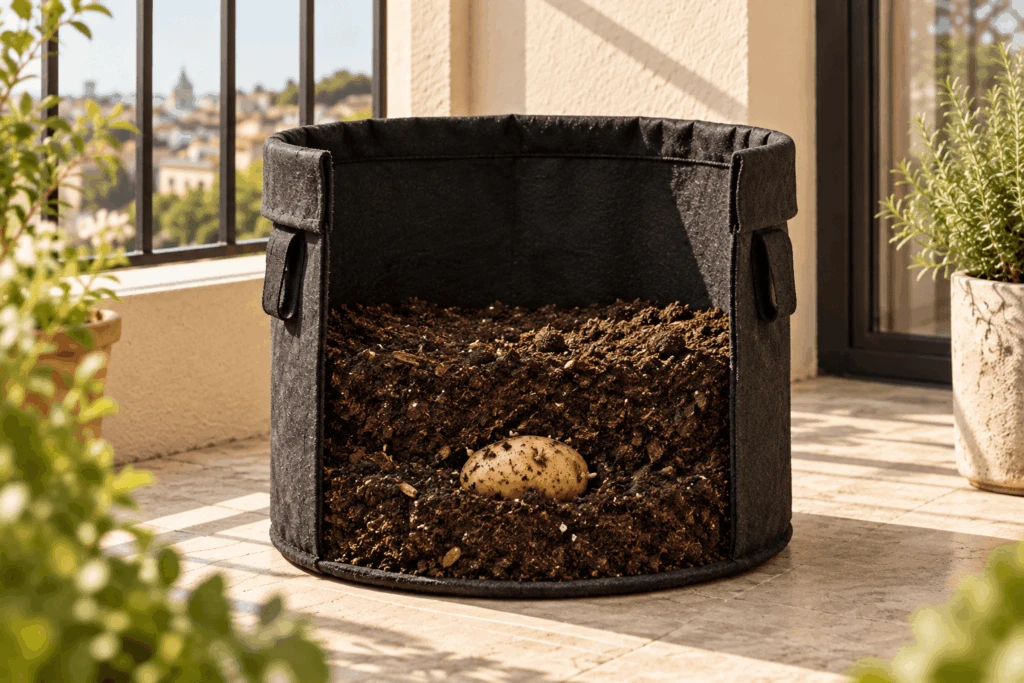
Knowing how to grow potatoes in containers or bags includes resisting one tempting shortcut: more seed potatoes do not automatically mean more potatoes to eat. A crowded container divides a small supply of light, moisture, and nutrients among too many plants.
Step check: Seed pieces have eyes, room to grow, proper covering, and headspace for later additions.
Step 4: Manage Sunlight, Watering and Spring Weather
Put the planted bag where it will receive at least six hours of direct sun, then watch the changing pattern through the season. As surrounding trees leaf out or the sun angle shifts, a good spring spot can become a shaded summer spot. Also check reflected heat from walls and stone surfaces, especially when the weather warms.
Potato sprouts may take time to appear, depending on planting temperature, seed condition, and variety. Keep the mix lightly moist during that period, not saturated. If a frost is forecast after shoots emerge, follow local protection guidance and use a breathable garden cover temporarily, removing it when conditions are suitable.
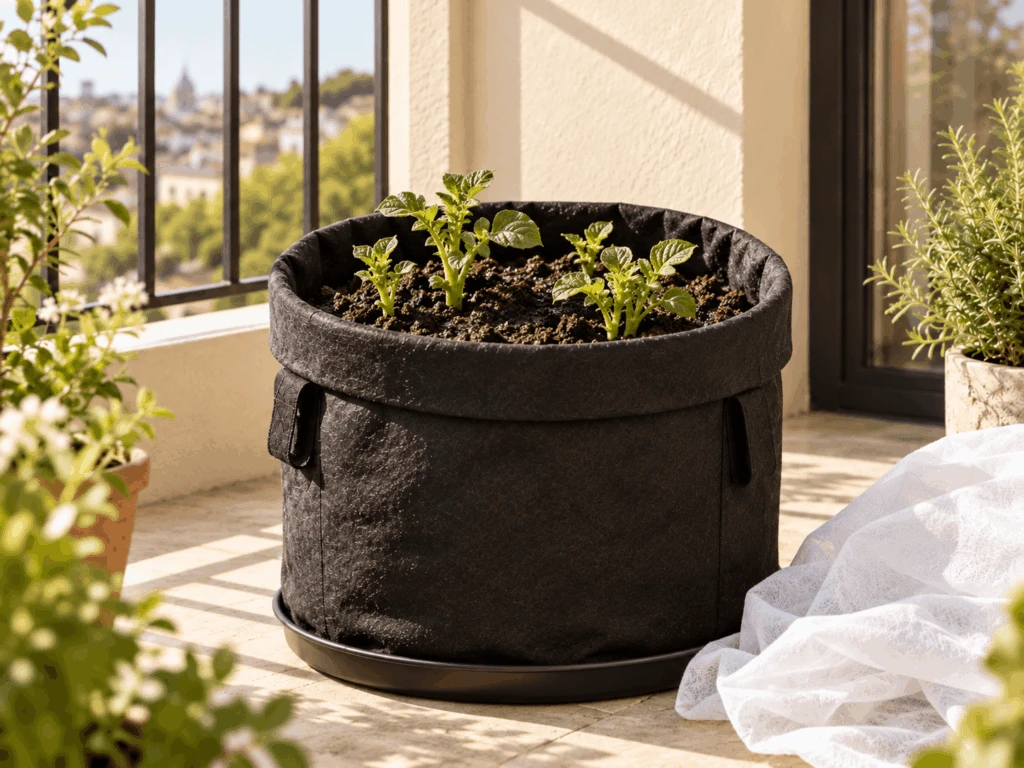
Water by touch, not by weekday. Push a clean finger or narrow soil probe about 1-2 inches into the surface. If the mix is dry there, water gently at the base until some drains through; if it still feels damp, check again later.
The University of New Hampshire Extension recommends this same moisture-depth test for container potatoes.
A fabric bag on hot concrete can dry differently from one shaded by an overhang, even if both were watered yesterday. On warm or windy days, look daily to see whether watering is needed, but don’t automatically water daily. The important distinction is between checking every day and watering every day.
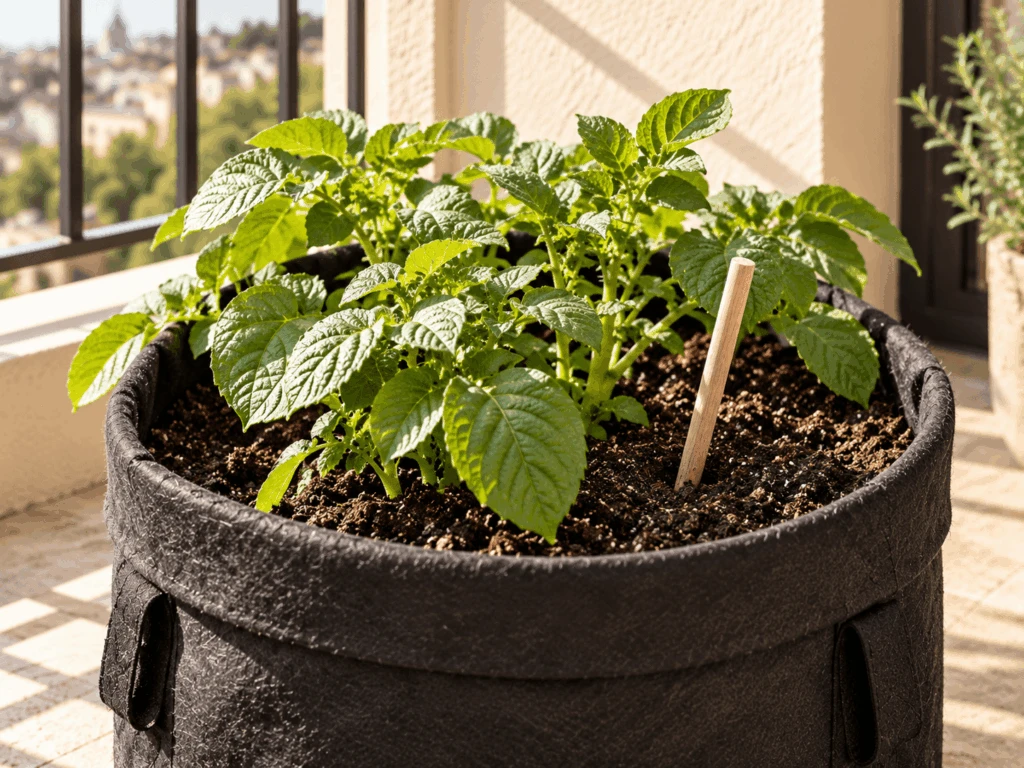
Container watering lessons transfer to other edibles, including growing tomatoes in pots, although the crops differ in growth and feeding needs. For potatoes, keep the mix evenly moist during active tuber development and avoid letting the bag stay soaked.
Step check: Leaves receive enough light, the plant is protected when weather demands it, and watering follows actual moisture.
Step 5: Hill the Potato Plants Without Overdoing It
Hilling means adding potting mix around the lower stems as the potato plants grow. It helps keep developing tubers covered so light cannot reach them and turn the skin green. Wait until shoots have grown enough to leave plenty of leaves above the new soil line, then add mix gently without crushing stems.
Rather than burying the whole plant, add a few inches at a time and keep an active leafy top exposed. University of New Hampshire Extension describes leaving around six inches of visible foliage when adding mix as the season progresses. Unfold the bag rim only as needed and stop when you have reached a sensible fill level beneath the top edge.
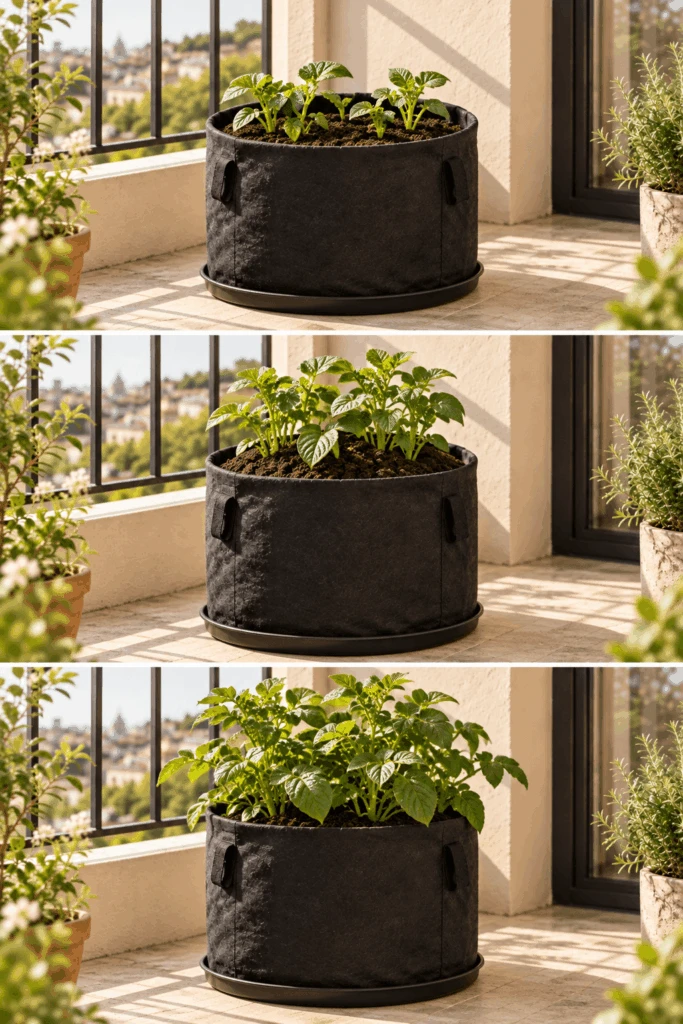
Why not build an ever-taller potato tower? Tubers form on specialized underground stems called stolons, mostly near the original planting zone, rather than appearing without limit along a growing column. The University of Maryland Extension cautions that potato towers usually don’t work as advertised. For a bigger harvest than a bag allows, see how potatoes fit into a beginner raised bed layout.
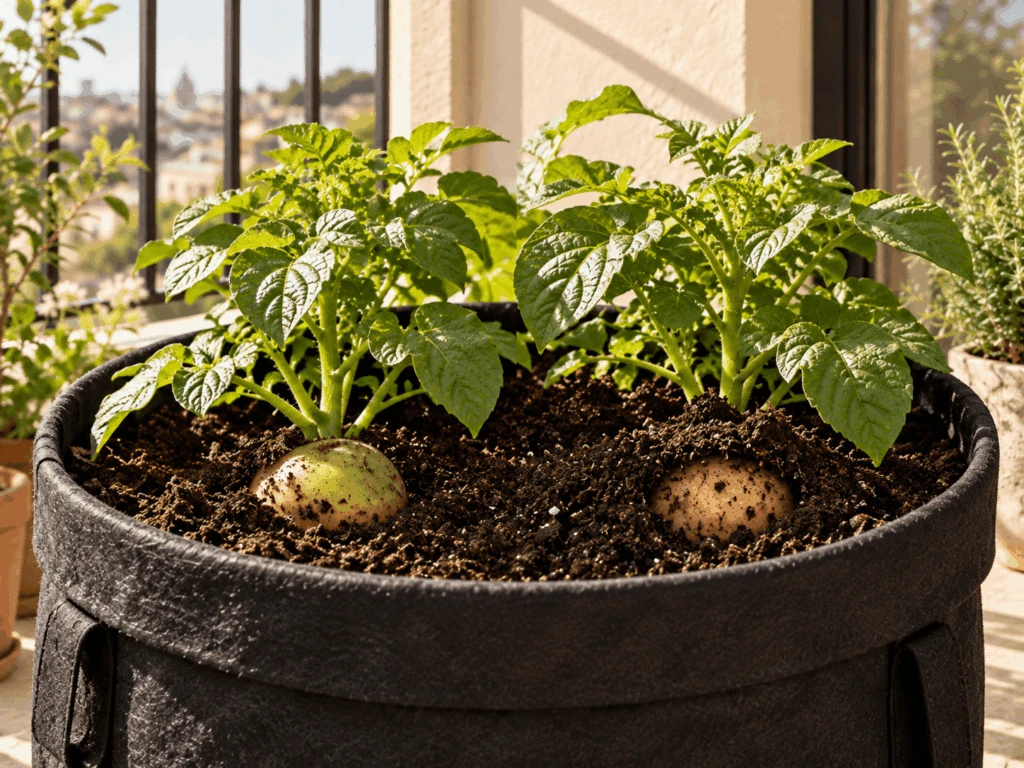
When deciding how to grow potatoes in containers or bags, focus on protecting developing potatoes from daylight, not endlessly increasing the soil column. If a tuber peeks through the surface during active growth, cover it promptly with loose mix and continue monitoring nearby soil for erosion.
Step check: All forming tubers stay covered, the top foliage remains exposed, and the bag is not filled beyond a workable level.
Step 6: Harvest, Sort and Store the Potatoes
New potatoes and mature potatoes are two different harvest goals. Small, thin-skinned new potatoes may be available after the plants begin flowering, often around six to eight weeks after planting under favorable conditions. Mature storage potatoes generally take longer, and the natural yellowing and drying of the tops is a more useful sign than the date on a calendar alone.
Choose a dry-enough day to work neatly and spread a clean tarp on a supported floor surface. Gently loosen the bag or tip it onto the tarp, then sift through the mix by hand or with a small trowel. Work slowly so you don’t slice, bruise, or miss smaller tubers near the edges.
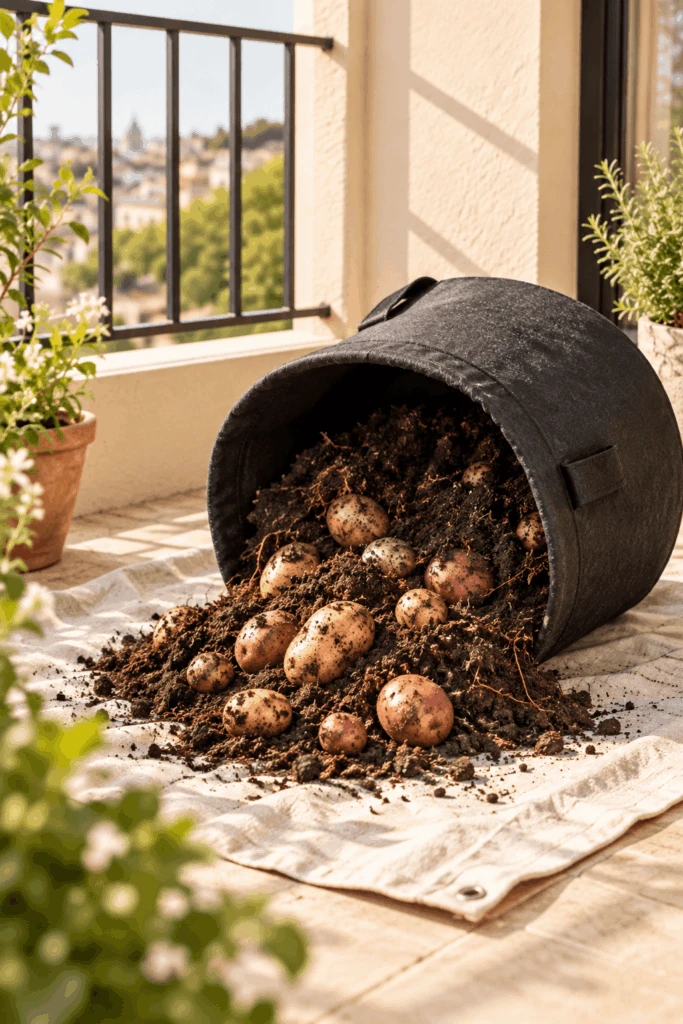
Brush off loose, dry soil rather than scrubbing storage potatoes clean immediately. Keep them out of sunlight while sorting, because prolonged light exposure promotes greening. New potatoes have delicate skins and are best used soon, while sound, mature tubers store longer under appropriate cool, dark, well-ventilated conditions.
Discard spoiled, badly damaged, or green potatoes, including those that are green beneath the skin. North Carolina Extension warns that green parts and sprouts contain toxic potato alkaloids, including solanine. Do not treat peeling or cooking as a reliable way to make a substantially green potato safe.
If your first bag produces only a small bowl, that isn’t automatically a failure. Light, weather, seed vigor, container volume, and watering all affect the crop. A one-bag experiment provides useful information about your site without requiring an entire row of plants or a promise of huge yields.
Step check: The crop is gently lifted, unsafe tubers rejected, and usable potatoes kept away from light.
Common Mistakes to Avoid
Most mistakes while learning how to grow potatoes in containers or bags begin with decisions made before the leaves appear. Too many seed pieces, a blocked drain, dense soil, or a sunny-looking spot that is shaded for most of the day can limit growth before the first hilling. Fixing the underlying condition matters more than adding another product.
- Overcrowding: Three or four seed pieces in a narrow bag restrict roots. Plant fewer or choose a wider container.
- No runoff plan: Muddy water reaches neighbors. Use pot feet and an emptied collection tray.
- Standing water: A full tray keeps roots wet and attracts mosquitoes. Empty it after watering.
- Heavy garden soil: Dense soil traps water and limits oxygen. Use loose potting mix.
- Watering by habit: Weather changes moisture needs. Feel the mix before watering.
- Overfeeding: Extra nitrogen may favor leaves. Follow the label and consider existing mix nutrients.
- Over-hilling: Tall soil towers dry unevenly. Stop at a workable level with foliage exposed.
- Ignoring light: Measure direct sun hours. Move the bag only if the new surface is safe.
- Exposed potatoes: Re-cover tubers as soil shifts, and discard green potatoes at harvest.
Takeaway: Fewer plants in the right mix, with enough light and free drainage, beat an oversized setup that becomes difficult to manage.
Troubleshooting: Why Your Container Potatoes Aren’t Growing Well
Learning how to grow potatoes in containers or bags includes recognizing trouble early. Start with direct checks: moisture, drainage, temperature, sunlight, and crop maturity. Yellow leaves do not always mean disease, and wilted leaves do not always mean thirst.
Avoid diagnosing blight or prescribing a spray from one symptom or photo.
| Symptom | Check first | Reasonable next action |
|---|---|---|
| No shoots appear | Planting age, soil coldness, wetness, seed-piece condition | Allow suitable time; inspect gently if delay is excessive and rot is suspected. |
| Wilting while mix is wet | Blocked drainage, saturated core, foul smell | Stop automatic watering; clear drains and get local advice if decline continues. |
| Leaves turn yellow | Crop age, even dieback, soil moisture, unusual leaf lesions | Near maturity, yellowing may be normal; earlier or patchy decline needs investigation. |
| Large leaves but few tubers | Sun hours, crowding, excess nitrogen, growing season | Improve light where possible; review plant count and fertilizer use next season. |
| Tubers turn green | Whether developing potatoes were exposed to daylight | Cover any still-growing exposed tubers; reject green potatoes at harvest. |
| Holes, beetles, or dark leaf spots | Visible insects, eggs, spread and pattern of lesions | Identify the pest or disease using local extension guidance before treatment. |
Brown or spotted leaves? Insects such as Colorado potato beetles can chew foliage, while fungal and other diseases may produce spots or blight-like symptoms. Maryland Extension lists several potato pests, and North Carolina Extension notes that late blight can damage both foliage and tubers.
If you suspect serious disease, seek local extension help and follow applicable disposal guidance rather than mixing an unverified home pesticide.
For detailed crop and container guidance, the research references used here are University of New Hampshire Extension’s potato container guide, Maryland Extension’s potato planting guide, Maryland Extension’s container vegetable guide, North Carolina Extension’s species profile, and Oregon State University Extension’s simple bag method.
Takeaway: Diagnose the growing conditions before reacting to one symptom, and get qualified local help when disease or pet exposure is possible.
FAQs
Can you grow potatoes successfully in containers or bags?
Yes, potatoes can grow in containers or bags when they have enough sunlight, proper drainage, suitable growing medium, and healthy seed potatoes. Container size and moisture management strongly affect results.
What size container is best for growing potatoes?
A 10-gallon container or fabric grow bag is a practical starting point for many beginners. Larger containers may provide more growing space but also become heavier when filled and watered.
How much sunlight do container potatoes need?
Potatoes generally perform best with several hours of direct sunlight each day. The exact requirement depends on growing conditions, season, and local climate.
How often should you water potatoes in grow bags?
Water based on soil moisture rather than a fixed schedule. Check the upper layer of the growing mix and water when it becomes dry while avoiding constantly saturated conditions.
Do potato plants need hilling in containers?
Yes, adding more growing mix around developing stems can help keep tubers covered and protect them from light exposure. Avoid creating extremely tall soil towers.
When are container-grown potatoes ready to harvest?
New potatoes may be harvested earlier, while mature potatoes are usually harvested after foliage naturally begins yellowing and drying.
What Actually Matters
A good potato crop begins with one simple decision: put a well-drained container in a spot with enough sun, then water according to the mix rather than habit. All the hilling tricks in the world cannot rescue roots left saturated or leaves left in deep shade. A modest, healthy plant is a better sign than an impressively tall bag.
Start with one 10-gallon bag and an appropriate number of certified seed pieces. Take note of your light hours, how often the medium actually dries, and what you harvest. Those observations will help you adjust the next crop without turning this season into a giant experiment.
If you’d like another compact edible project afterward, consider growing strawberries in pots, while checking its different light and watering needs. For now, the right goal is a crop you can care for consistently in the space you have.
And when that first watering heads toward the edge, your collection tray is already underneath. That’s a much better way to begin.