
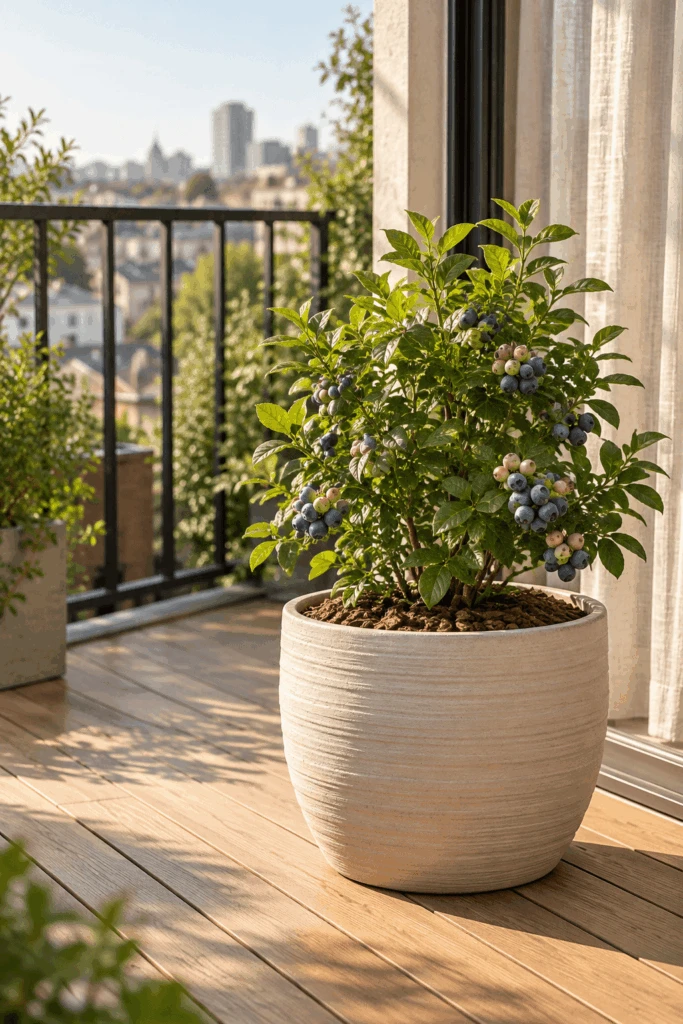
A blueberry bush in a pot looks like the easiest fruit you will ever grow. Buy the plant. Buy the soil. Water it. Wait.
Then spring two arrives, the new leaves come in pale yellow with stubborn green veins, and the bush sets about nine berries.
Learning how to grow blueberries in containers starts with one decision most beginners skip: picking a variety that matches the winter you actually have. Pot size, soil mix and watering all matter enormously. None of them rescue a bush that will never get the cold it needs.
The good news is that a pot solves the single hardest problem in blueberry growing. Soil pH. You are not fighting your native ground. You are building the exact conditions the plant wants, in a container you can move.
Table of Contents
At a glance
- Variety first, pot second. Chill hours decide whether you get fruit at all.
- Go bigger than feels sensible. University of Maryland Extension advises that mature plants need a container at least 24 inches deep and roughly 24 to 30 inches wide.
- No garden soil. Texas A&M AgriLife recommends an acidic soilless media such as peat moss, composted pine bark, or a 50/50 mix of the two.
- Water quality counts as much as watering. UW-Madison Horticulture notes that collected rainwater is ideal and usually softer and lower in pH than well water.
Best overall for a balcony: one compact cultivar in a 20 gallon pot, plus a second cultivar in its own pot if you have room. Best for a railing-sized space: a true dwarf like ‘Top Hat’, grown mostly as an ornamental with a modest crop. Avoid if: your outdoor space gets under four hours of direct sun, or you have nowhere to leave the pot outdoors through winter.
What this guide covers
- What You’ll Need
- Pick a Variety That Matches Your Climate
- How to Grow Blueberries in Containers: The 8 Steps
- Year One Care Calendar
- Overwintering Without a Yard
- Common Mistakes Beginners Make
- Troubleshooting
- Harvesting
- What Actually Matters
- Sources
What You’ll Need
You need a large container with drainage holes, an acidic soilless mix, an acid-forming fertilizer, mulch, and a way to water with soft water. That is the whole list. Nothing here is specialist equipment, and most of it is sold in any garden centre that stocks azaleas.
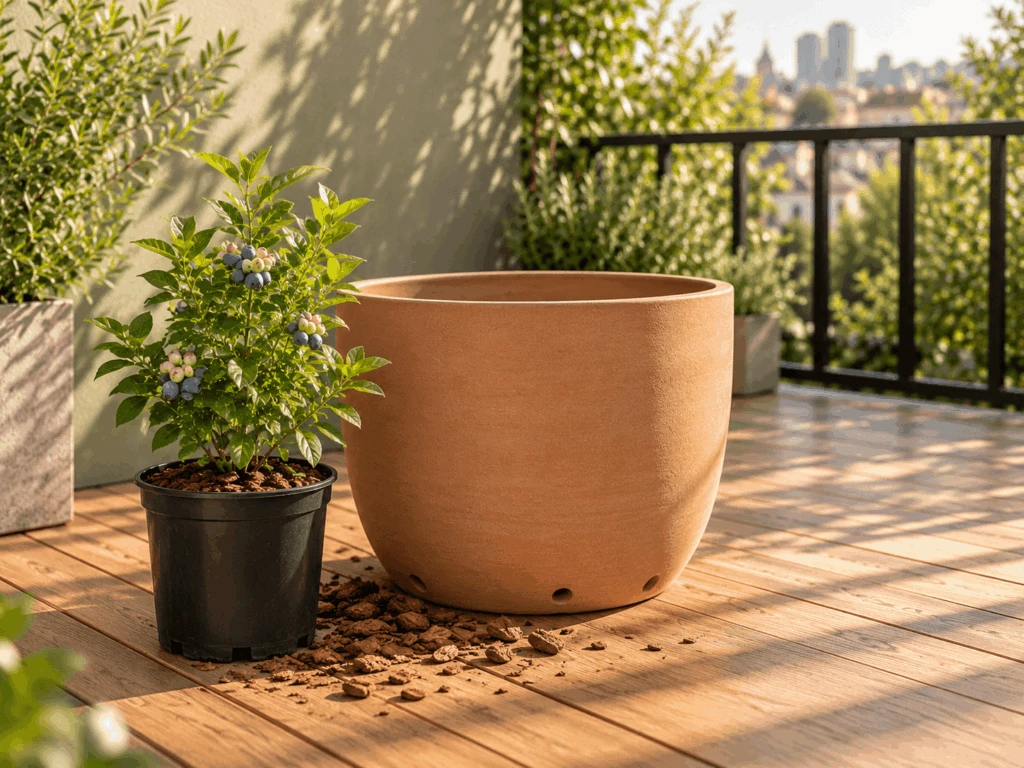
Start with the container. Texas A&M AgriLife’s container guide calls for a 20 to 30 gallon pot with drainage holes in the bottom, and UMD Extension puts the mature requirement at about 24 inches deep by 24 to 30 inches wide.
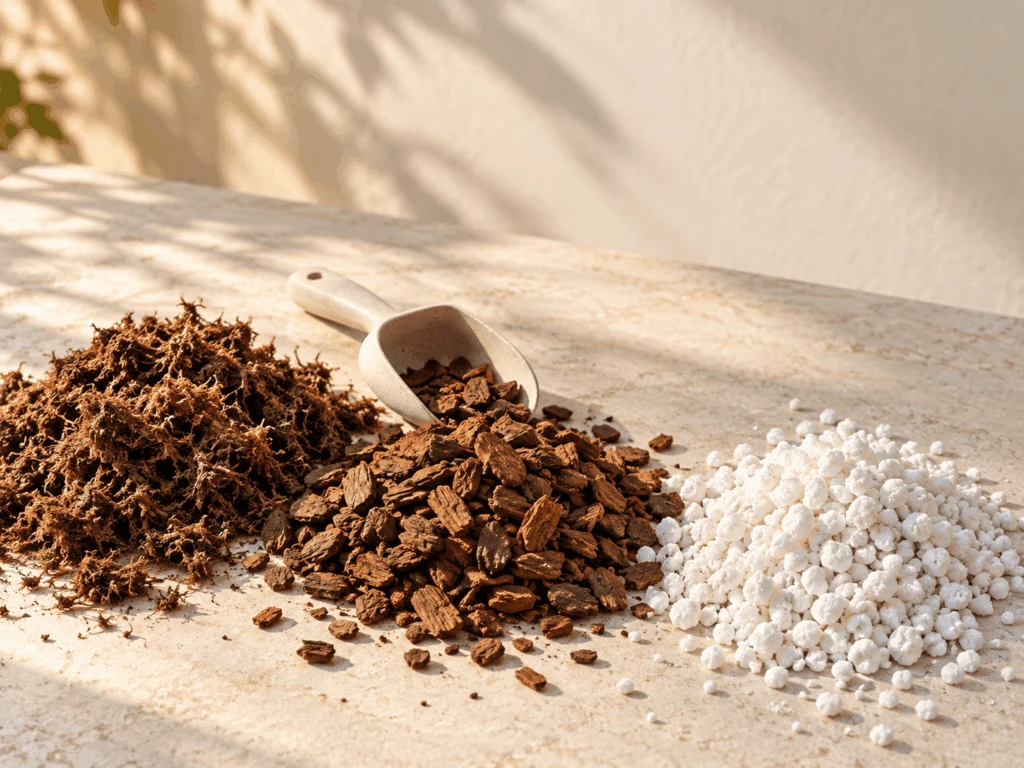
For the growing medium, buy the ingredients separately rather than a bag of general potting soil. Sphagnum peat moss and shredded or composted pine bark are the two workhorses. Perlite or coir can go in the mix if drainage looks tight.
Tools worth owning before you plant:
- A 20 to 30 gallon container with real drainage holes, in a light colour rather than black
- Sphagnum peat moss and shredded or composted pine bark, roughly equal parts
- Perlite, if your mix feels heavy and slow to drain
- An acid fertilizer that supplies nitrogen in ammoniacal or urea form, never nitrate
- Pine bark or pine needle mulch, enough for a two to four inch surface layer
- A simple soil pH test kit, the kind sold for rhododendrons and azaleas
- Bird netting or floating row cover, bought before the berries colour up
- Bricks or pot feet, so a pot on a hard surface can actually drain
- A wheeled plant caddy if you will ever need to move the pot
On budget: a plain nursery-grade resin planter costs very little and works fine, a glazed stoneware pot sits in the mid-range, and a cedar barrel planter is the premium option that also insulates better. Spend the money on volume, not on finish. If you are kitting out a whole space at once, these small balcony garden ideas are worth a look first.
Buy the netting in the same shopping trip as the plant. Nobody has ever bought it early enough.
Pick a Variety That Matches Your Climate
Chill hours decide which blueberry will fruit for you, and they are the one specification beginners never check. UC Cooperative Extension defines chilling hours as the accumulated hours between 32 and 45 degrees Fahrenheit that a plant needs in order to produce fruit. A cultivar that wants 800 chill hours in a region that delivers 300 will leaf out weakly and flower poorly, year after year, no matter how good your soil mix is.
The flip side also bites. A 150 hour low-chill variety planted somewhere with hard winters can break dormancy too early and lose its flowers to a late frost.
Type matters too. UF/IFAS notes that because vigorous rabbiteye blueberries get so large, southern highbush may be the better choice for container production. For colder zones, UW-Madison Horticulture recommends half-high cultivars such as ‘Northblue’, ‘Northsky’, ‘Polaris’ and ‘Chippewa’, which are hardier and stay relatively short.
| Cultivar | Chill hours | Mature height | Container fit |
|---|---|---|---|
| ‘Top Hat’ | Low bush type | 1 to 2 ft | Smallest pots, ornamental crop |
| ‘Sunshine Blue’ | 150 | 3 ft | Excellent, mild winters |
| ‘Misty’ | 150 | 4 to 6 ft | Good, needs a big pot |
| ‘O’Neal’ | 200 | 4 to 6 ft | Good, needs a big pot |
| ‘Bluecrop’ | 800 | 4 to 6 ft | Cold regions only |
Pollination is the second question. UW-Madison reports that most blueberry cultivars are self-fruitful, with ‘St. Cloud’ and ‘Polaris’ as exceptions, but that growing more than one cultivar improves pollination and increases yield and berry size. UMD Extension makes the same point for containers: a second variety in a separate pot, blooming at the same time, raises your harvest.
I recommend buying two compact cultivars rather than one large one, purely because two three-foot bushes fit a balcony far better than a single six-foot shrub. Get the chill hours right first and almost everything downstream becomes maintenance.
How to Grow Blueberries in Containers: The 8 Steps
Here is how to grow blueberries in containers from the nursery pot to the first real harvest, in the order the work actually happens. Each step has its own failure mode, which is why they are separated rather than compressed. Late winter to early spring is the planting window Texas A&M AgriLife recommends.
Step 1: Check your chill hours and buy the right bush
Look up the average winter chill for your area, then buy a cultivar rated at or below it. Local extension offices and county master gardener programmes publish this; a nursery tag alone is not enough, because the same tag ships nationwide.
Buy from a nursery rather than a supermarket display. UF/IFAS advises choosing plants with well-developed root systems that are not pot bound, roughly 1.5 to 2 feet tall.
Step 2: Choose the pot
Pick a 20 to 30 gallon container with drainage holes, and avoid black. UW-Madison Horticulture specifically warns against black containers because they absorb heat, which drives faster moisture loss.
If your plant is still small, UMD Extension suggests starting in a smaller container and repotting as it grows, ideally in late summer or early fall so roots establish before winter. UW-Madison describes the same progression, starting around five gallons and moving up to a 16 or 20 inch pot or a barrel.
If your pot sits on concrete or tile: raise it on bricks. UMD Extension recommends this so water can actually leave the pot. Any DIY planter pot ideas you use still need to meet the same volume and drainage requirements.
Step 3: Mix the acidic growing medium
Do not use garden soil or standard potting compost. Texas A&M AgriLife is explicit: fill the container with acidic soilless potting media such as peat moss, composted pine bark, or a 50/50 mixture, and do not use field soils.
UW-Madison gives two workable recipes: one part sphagnum peat moss to one part shredded pine bark, or two parts coir to two parts peat moss to one part perlite. UMD Extension suggests a 50-50 mix of potting soil and peat moss, wetted thoroughly before it goes in the pot.
Target pH sits low. UF/IFAS puts the blueberry range at 4.0 to 5.5, UW-Madison calls 4.5 to 5.0 ideal, and UC Cooperative Extension says plants thrive between 4.8 and 5.2.
Step 4: Plant it
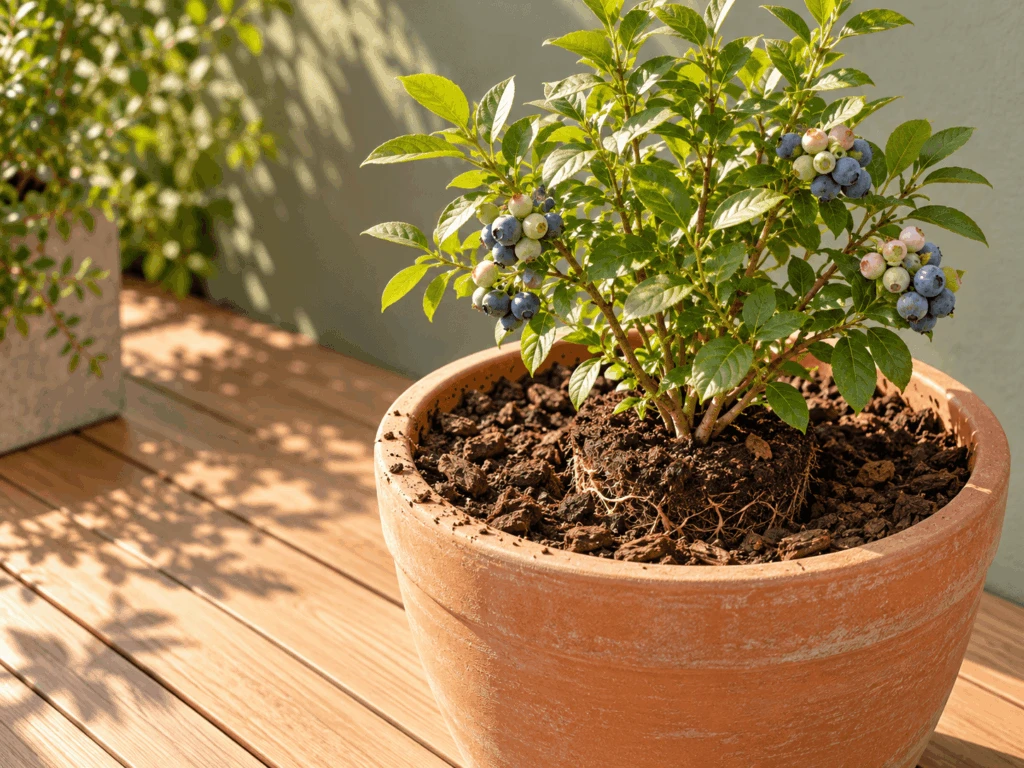
Set the plant at the same depth it grew at in the nursery, then water it in well. Both Texas A&M AgriLife and UMD Extension give the same instruction, and UF/IFAS repeats it for in-ground planting. Burying the crown deeper does not help and invites rot.
If the root ball is tight, UMD Extension advises teasing the roots gently so they will expand into the new medium. Wet the mix thoroughly before it goes into the pot rather than after.
Finish with mulch. Texas A&M suggests a four inch layer of organic mulch such as sphagnum peat moss, pine bark or pine needles, while UW-Madison recommends two inches of pine bark or chipped hardwood bark to conserve moisture.
Step 5: Place it for sun
Blueberries need full sun, with some protection from the harshest afternoon heat. UMD Extension says to place containers in full sun but notes that protection from late afternoon sun may be necessary, and UC Cooperative Extension recommends a sunny location with afternoon shade.
On a balcony this is a mapping exercise. Check the spot at mid-morning, midday and late afternoon on one clear day and write down what you see. A south or west rail usually wins; a single north-facing aspect rarely produces fruit.
If your only space is a hot west-facing balcony: the plant will take the light but the pot will cook. Shade the container itself rather than the foliage, and look at what else survives there using this guide to full-sun balcony plants.
Weight is the other constraint nobody mentions. A 20 gallon pot full of wet medium is a two-person lift and a permanent load on a structure you probably do not own, so check your lease or building rules before you commit, and put the pot on a wheeled caddy while it is still empty. More layout thinking lives in these apartment balcony garden ideas.
Step 6: Water, and check what you are watering with
Water deeply and regularly, and pay attention to the water itself. Texas A&M AgriLife advises watering deeply once or twice a week or whenever the medium is dry, and leaving it alone when the media is still moist.
The water source is the part that surprises people. Texas A&M calls for good-quality water without high levels of calcium bicarbonate or sodium, and names rainwater or air conditioner condensate as best. UW-Madison agrees that water quality matters as much as the composition of the growing medium.
Hard tap water nudges the mix alkaline over a season, which is why a bush can start perfectly and drift into deficiency by August. UF/IFAS notes that most deep well water sits above pH 7.0 and can raise soil pH quickly. A bucket under a downspout solves more problems than any fertilizer will.
UW-Madison suggests frequent light watering with an occasional heavy drench to flush accumulated salts out of the pot. UC Cooperative Extension warns that containers dry out quickly and should not be allowed to dry out completely.
Step 7: Feed with an acid fertilizer
Use an acid-forming fertilizer, apply it lightly, and apply it rarely. UMD Extension says to avoid fertilizers containing nitrates or chlorides and to fertilize containers in early spring before the leaves expand.
UC Cooperative Extension is blunter still: never use a fertilizer with nitrogen in nitrate form, as nitrates may be toxic to blueberry plants. UF/IFAS recommends ammoniacal, urea or organic nitrogen sources and points to products sold for azaleas and camellias.
Restraint beats generosity here. UF/IFAS observes that cultivated blueberries suffer more often from over-fertilization than from a lack of it, and UW-Madison warns that blueberry roots are sensitive to fertilizer salt injury.
Step 8: Pinch off the first-year flowers
Remove the flowers in the first spring so the plant can build roots instead of fruit. UMD Extension states it plainly: do not expect a harvest in year one, and on a one-year-old plant remove the flowers as they appear.
UF/IFAS gives the same instruction and the reason, which is that preventing first-year fruiting promotes strong vegetative growth and good establishment. It also notes that some southern highbush cultivars flower heavily while very young, which makes the temptation worse.
Rub them off with your thumb before fruit sets. It feels like vandalism and it buys you several far better seasons.
Year One Care Calendar
The first year of how to grow blueberries in containers is almost entirely about roots, not berries. Nothing on this calendar is dramatic, and that is the point. Adjust the timing to your own season rather than the calendar date, because a late winter in one region is early spring in another.
Late winter to early spring: plant. This is the window Texas A&M AgriLife recommends for container blueberries. Water the new plant in well and mulch the surface.
Early spring, before leaves expand: apply the acid fertilizer, following UMD Extension’s timing. Keep the rate conservative and the granules away from the crown and stems, as UC Cooperative Extension advises.
Spring, as flowers appear: remove them all. Keep the medium evenly moist while the plant pushes new growth.
Late spring through summer: this is peak watering season. Check the pot rather than the calendar, and expect to water more often during heat than you would for most container crops. If you are also growing tomatoes in pots nearby, remember the blueberry needs softer water and far less feed.
Late summer to early fall: the repotting window. UMD Extension recommends moving a growing shrub into its larger container now, so roots settle before winter.
Mid to late fall: set up winter shelter before the first hard freeze, not after it.
A full crop takes patience. UMD Extension puts it at roughly five years for plants to produce a full crop of berries.
Overwintering Without a Yard
Container blueberries must stay outdoors through winter, and they need protection from cold and wind while they are out there. Texas A&M AgriLife states that blueberries should remain outdoors during winter because they require cold weather in order to produce fruit, while also needing protection from late spring frosts.
The risk is not the chill. It is the roots. UW-Madison Horticulture explains that containers do not provide adequate insulation from the cold, so container-grown blueberries need protecting to prevent root damage.
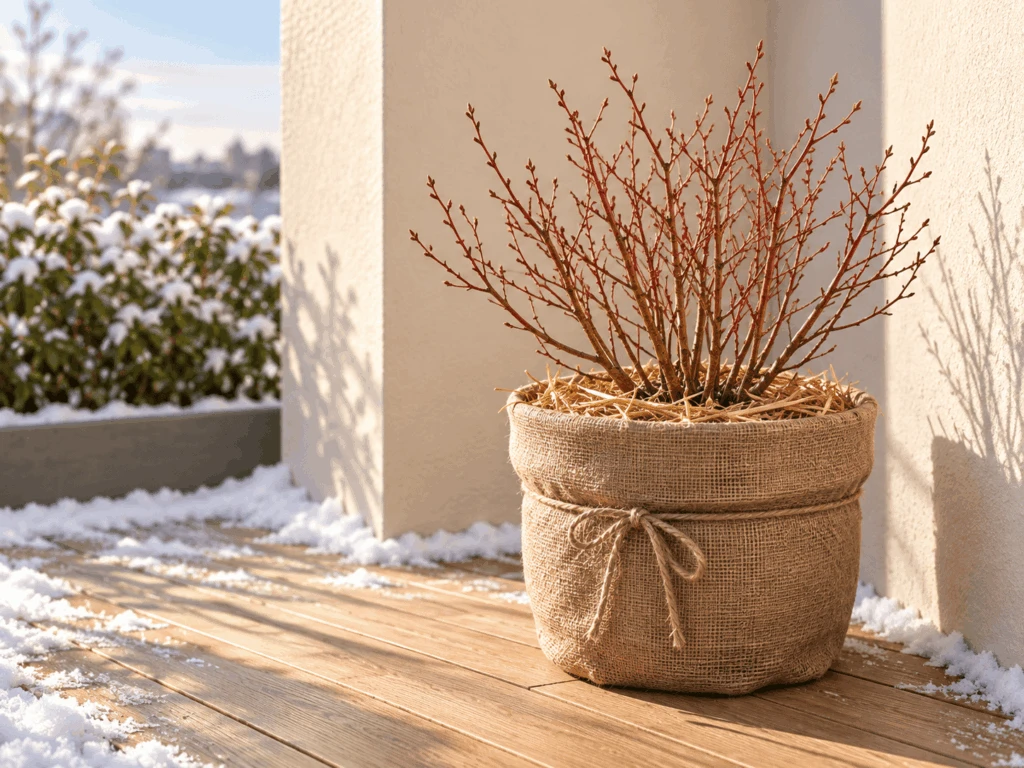
Their standard advice is to bury the pot in the ground in mid to late October where snow accumulates and the plant is shielded from winter wind, then mulch with four to eight inches of straw in mid-November or cover the bush with burlap. UMD Extension puts it more simply: from December through March the container needs a sheltered position, protected from winter winds.
If you have no ground to sink the pot into: replicate the insulation instead of the hole. An unheated garage, a stairwell, a sheltered corner against the building wall, or the pot wrapped in burlap and tucked behind a windbreak all reduce the swing in root temperature.
If your only option is a fully exposed rail: move the pot to the floor and against the wall for the season. Corners are warmer and far less windy than railings.
UW-Madison also recommends chicken wire or hardware cloth around the bushes to prevent rabbit damage, which matters more at ground level than on a third floor. In early to mid spring, bring the pot back out into full sun.
On growing blueberries indoors: do not plan on it. The dormancy and chill requirement that makes winter shelter necessary is the same requirement an indoor room cannot meet, and a houseplant blueberry will not fruit reliably.
Common Mistakes Beginners Make
Almost every failure in how to grow blueberries in containers traces back to four decisions, and all four are made before the plant goes in the pot. None of them is about effort. They are about matching conditions to a plant with narrow preferences.
Using ordinary potting compost
A general-purpose bagged compost sits far above the pH a blueberry needs, which is why Texas A&M AgriLife rules out field soils and calls for acidic soilless media. The plant will look fine for a few months and then begin to fade.
Buying a pot that fits this year’s plant
Undersized containers dry out fast and limit root volume at exactly the point when the bush should be building structure. UMD Extension’s 24 inch depth benchmark is for mature plants, not optimistic ones.
Feeding too much, or feeding the wrong thing
Nitrate-based fertilizers are the specific problem. UC Cooperative Extension says nitrates may be toxic to blueberry plants, and UF/IFAS notes that over-fertilization harms blueberries more often than underfeeding does. Read the nitrogen source on the label before you read the N-P-K ratio.
Letting the pot dry out, then flooding it
UC Cooperative Extension notes that blueberries are very susceptible to drought injury and that container mixes should not be allowed to dry out, while also being vulnerable to root rot when kept too wet. Frequent and moderate beats erratic and heavy, which is the same rhythm that works for container vegetable gardening generally.
Fix the medium, the pot size, the fertilizer type and the watering rhythm, and most of the rest of the plant’s problems never appear.
Troubleshooting
Most problems that show up while learning how to grow blueberries in containers are pH problems wearing a disguise. The symptoms differ, the cause usually does not. Work through the likely culprit before reaching for a treatment.
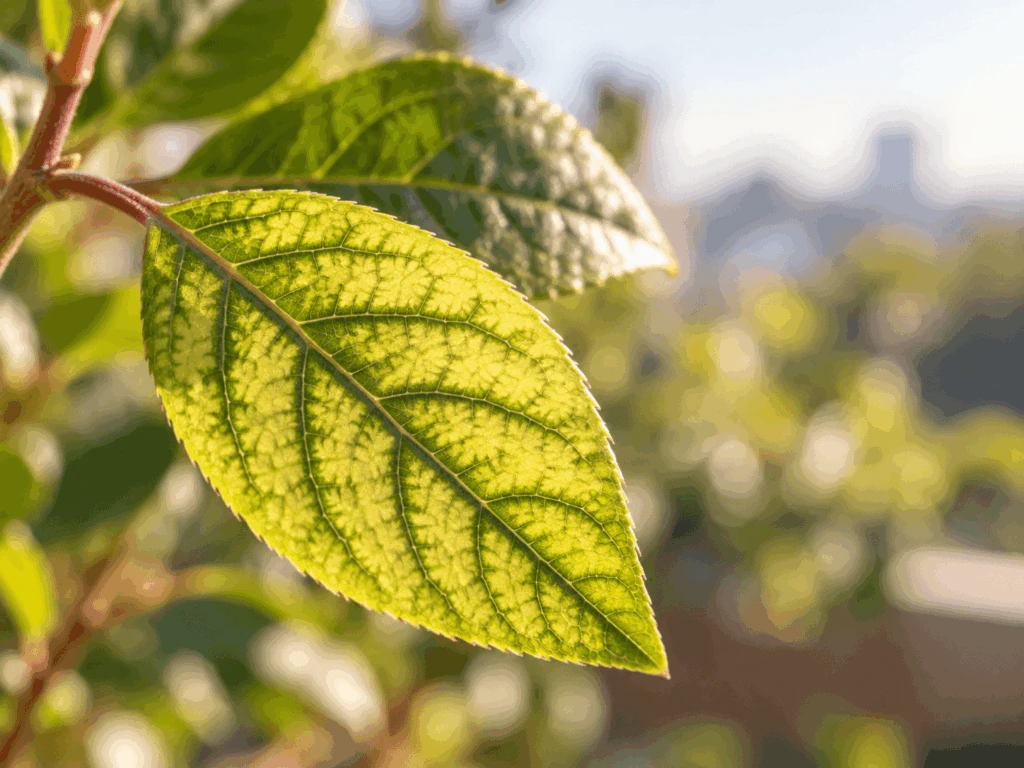
New leaves turn yellow with green veins
This is the classic signal that pH has drifted too high. UC Cooperative Extension advises that when new leaves turn yellow with green veins, you reapply an acidifying fertilizer such as ammonium sulfate.
UF/IFAS explains the mechanism: at higher soil pH, tissue levels of micronutrients including iron and zinc become deficient, and the symptoms appear on new growth while the plant loses vigour. Test the medium, then look hard at your water source.
Plenty of leaves, almost no fruit
Start with chill hours. If the cultivar’s requirement exceeds what your winter delivers, UF/IFAS notes that plants fail to flower and leaf out satisfactorily, with weak and erratic growth as a result.
Then check age and pollination. UMD Extension’s five-year timeline for a full crop means a young plant producing lightly is behaving normally, and adding a second compatible cultivar in its own pot increases yield.
Sudden wilting or collapse in summer
Look at drainage before anything else. UF/IFAS attributes many plant deaths to Phytophthora root rot where drainage is poor to marginal, favoured by excess soil moisture and high soil temperatures, and names good drainage and avoiding excess irrigation as the best defence.
Check that the drainage holes are clear and that the pot is not standing in a saucer of water.
Berries vanishing as they ripen
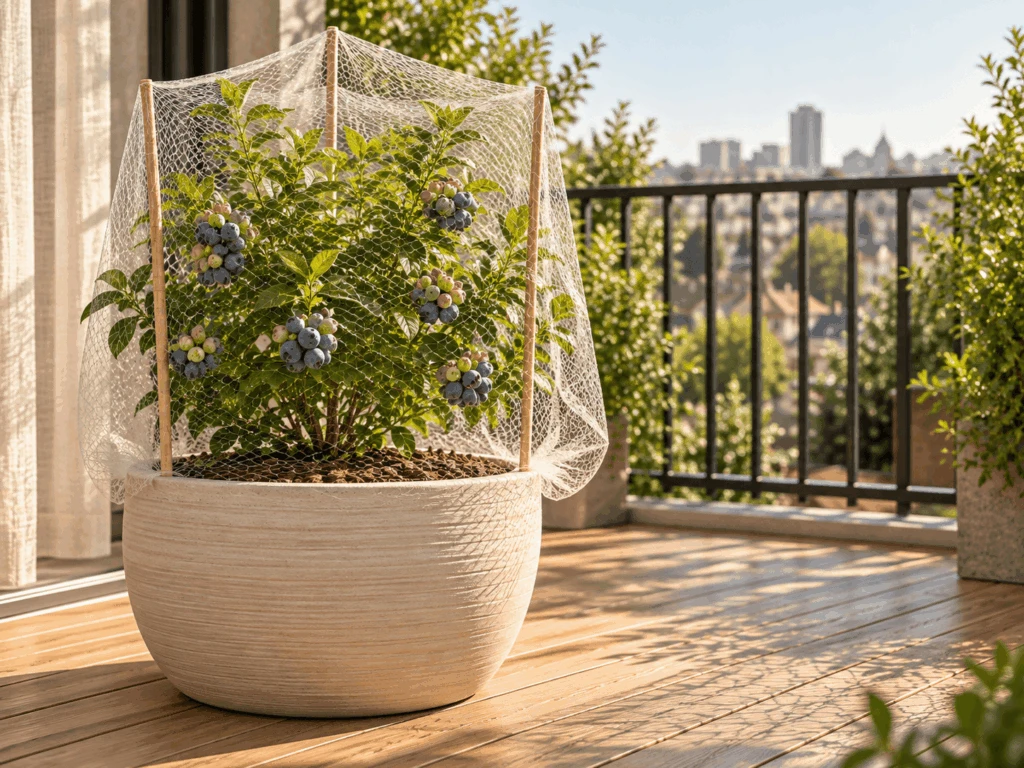
That is birds, and the fix is physical. UMD Extension recommends covering bushes with bird netting or floating row cover as soon as berries begin to ripen, and Texas A&M AgriLife names birds as a major problem in many areas, with netting as the control.
If you own a dog that grazes on the balcony, keep fertilizer granules bagged and stored indoors, and keep loose netting tidy so nothing gets tangled in it.
Diagnose in this order and you will spend far less on products you did not need.
Harvesting
Pick blueberries only when they are fully ripe on the bush, because they will not improve after picking. Texas A&M AgriLife states that the berries do not ripen further after harvest, and that leaving fruit to ripen on the bush gives maximum flavour and minimal bitterness.
Ripening is staggered rather than simultaneous. Texas A&M notes that rabbiteye blueberries ripen unevenly within a fruiting cluster, so you pick individual berries over a period of four to six weeks, going back every three to five days.
Harvest windows vary by region and type. UC Cooperative Extension puts maturity in its area between early May and early July depending on variety, while Texas A&M gives a May to July window for rabbiteye.
Colour alone is a poor test. A berry that has only just turned blue is usually still tart, and the few extra days it spends on the bush are where the sugar arrives.
If you want something that fruits in its first season while the blueberry establishes, growing strawberries in pots fills the gap well on the same balcony.
Pick late in the morning once the dew has gone, and wash the berries just before eating rather than before storing.
Frequently Asked Questions
Can blueberry bushes stay in containers year-round?
Yes, a suitable blueberry cultivar can remain container-grown throughout the year, but its roots may need seasonal protection. Cold-climate gardeners must prevent severe root exposure without disrupting normal dormancy. In mild climates, winter care differs by cultivar. Ask local extension about winter protection rather than assuming a warm indoor room is best.
Do you need two blueberry plants to get berries?
Not always. Many highbush cultivars are self-fruitful, although compatible cross-pollination can improve the crop. Rabbiteye blueberries generally require another compatible rabbiteye cultivar flowering at the same time. Check the nursery label and regional recommendations before buying a second bush, especially when balcony weight or space is limited.
Will blueberries fruit on a balcony with only four hours of sun?
They may survive and sometimes fruit with limited direct sunlight, but results depend on cultivar, climate, and seasonal exposure. Blueberries generally produce better in full sun, and too much shade reduces flowering. Track direct light where the pot will sit rather than assuming the whole balcony receives the same amount.
Can used coffee grounds make blueberry potting mix acidic?
Do not rely on them. University of Minnesota Extension advises against using coffee grounds as a blueberry pH amendment because their acidity varies and the results are unreliable. Test the growing medium and use a documented amendment method if an actual pH correction is needed.
Can you grow a blueberry bush indoors?
An ordinary bright windowsill is rarely suitable for dependable blueberry fruiting. Most commonly grown cultivars need substantial outdoor sunlight and an appropriate seasonal temperature pattern. Some specialized low-chill types are managed differently in warm regions, but that does not make a typical heated apartment a reliable fruit-production site.
How long does a container blueberry take to produce fruit?
It depends on the age and type of plant. University of Maryland Extension advises removing flowers from one-year-old plants so they establish roots and says a full crop may take about five years. An older shrub might crop sooner.
What Actually Matters
If you remember one thing, make it the chill hours. Every other variable on this page can be corrected mid-season. A cultivar that will never get the winter it needs cannot be fixed with better soil, a bigger pot or more attention.
The second thing is water, and specifically what is in it. Collected rainwater costs nothing and quietly protects the pH you worked to build, which is why both UW-Madison Horticulture and Texas A&M AgriLife raise water quality alongside the growing medium.
Start here: find your local chill hour figure, choose a cultivar at or below it, and buy the biggest container you can realistically keep in place through a winter. Then plant in late winter or early spring and leave the plant alone more than feels right.
That pale yellow leaf with the stubborn green veins is a message, not a verdict. Most people get it in year two, fix the water, and pick properly in year three.
Sources
- University of Maryland Extension, Growing Blueberries in Containers
- UW-Madison Division of Extension, Growing Blueberries in Containers (Pandian and Harbut, XHT1196)
- UF/IFAS Extension, Blueberry Gardener’s Guide (CIR1192)
- Texas A&M AgriLife Extension, Container-Grown Blueberries (HORT-PU-267)
- UC Cooperative Extension Stanislaus County, Blueberries in Your Garden