

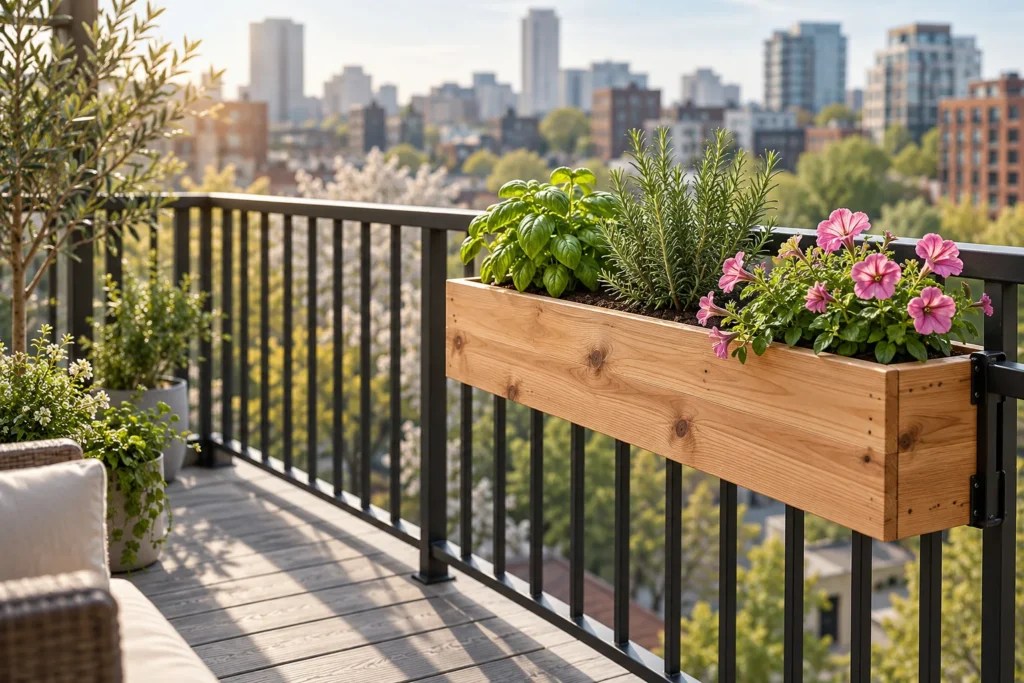
Your balcony floor is already spoken for: one folding chair, a drying rack, and a bag of potting mix you keep stepping around. The railing, meanwhile, catches the best light on the whole balcony and holds nothing at all.
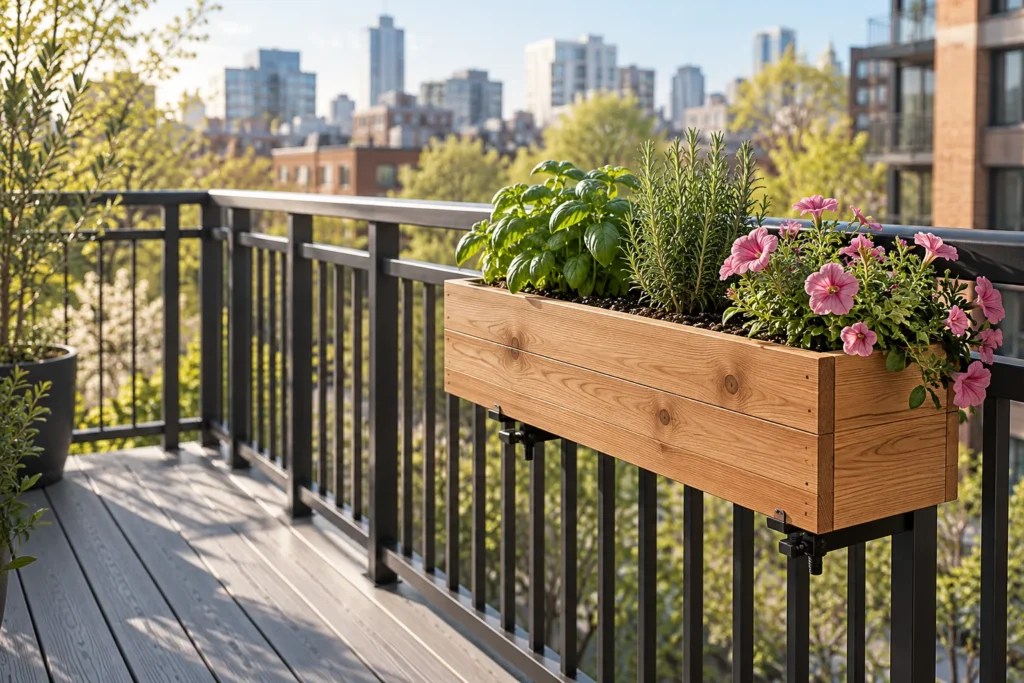
That empty strip is the easiest garden space you have. These balcony railing planter box DIY ideas start with one cedar box you can build in an afternoon, hang on the inside of the rail without a single screw in the railing, and carry out the door when your lease ends.
Our small balcony garden ideas on a budget cover the quick wins. This guide is the full build: what to buy, eight steps, what to plant, and how to keep the box from dripping, sagging or bothering your landlord.
Spring is a good time to start. Build and seal the box now, and it will be cured and ready to plant once frost risk has passed where you live.
Table of Contents
At a Glance
- One cedar box, built from a few boards, hangs on adjustable over-rail brackets on the inside of the railing.
- Check your lease and building rules before you buy lumber, because some buildings don’t allow railing planters at all.
- Box depth decides your plant list: a shallow box suits herbs, salad greens and bedding flowers, while tomatoes need far more soil than any railing box holds.
- Drill several drainage holes, skip the gravel layer, and fill with container potting mix.
- A drip tray keeps water from running onto the balcony below you.
Best for renters with an open railing and at least 4 hours of direct sun. Skip this project if your building bans railing planters or your balcony has glass panels with no top rail to hang from.
What You’ll Need
You need four kinds of board, a handful of screws and one pair of brackets that fit your railing. The bracket matters more than the wood, so measure your rail (see Step 1) before you buy anything.
Materials
- Cedar 1×8 boards for the sides, ends and bottom, or 1×10 boards if you want to grow basil (mid-range). The reasons for cedar are in Step 2.
- Exterior-rated wood screws and exterior wood glue (low-cost)
- Two adjustable over-rail planter brackets that fit your rail width and carry a rated load for a full, wet box (low-cost to mid-range)
- Rubber or felt pads, if your brackets don’t include them (low-cost)
- Exterior stain, paint or clear sealer in a light color (low-cost)
- Container potting mix, plus optional compost (low-cost)
- A long drip tray or a few saucers that fit under the box (low-cost)
Tools
- Tape measure, pencil and a square
- A saw (or ask the home center to make straight cuts)
- Drill/driver with pilot, countersink and drainage-hole bits
- Two clamps, sandpaper, a brush and a drop cloth
Safety gear
- Safety glasses, a dust mask for sanding, and hearing protection for power saws
Not ready for a saw? Our cheap planter pot DIY ideas turn cans, tubs and jugs into planters with simpler tools.
Decide how the box will hold on before you shop, because the four common methods behave very differently on a rented balcony.
| Method | How it holds | Renter-friendly? | Best rail type | Watch out for |
|---|---|---|---|---|
| Adjustable over-rail bracket | Hooks over the top rail and clamps to its width | Yes, no fasteners in the rail | Flat wood or square metal top rails | Must match your rail width and rated load |
| Saddle that straddles the rail | Box notched to sit across the rail, held by its own shape | Yes, if your building allows boxes on top | Wide, flat top rails | Needs careful measuring; pad the rail |
| French cleat | Angled strip screwed to the rail locks into a matching strip on the box | No, screws go into the railing | Wood railings you own | Needs written permission in a rental |
| Box sitting on a flat rail | Rests on top of a wide rail on small feet | Sometimes | Very wide wood top rails | Can be knocked or blown off; not for upper floors |
Step-by-Step: Build a Balcony Railing Planter Box
The build takes eight steps, and the first one happens before you touch a saw. Most railing box problems start with a bracket that doesn’t fit the rail or a building rule nobody checked.
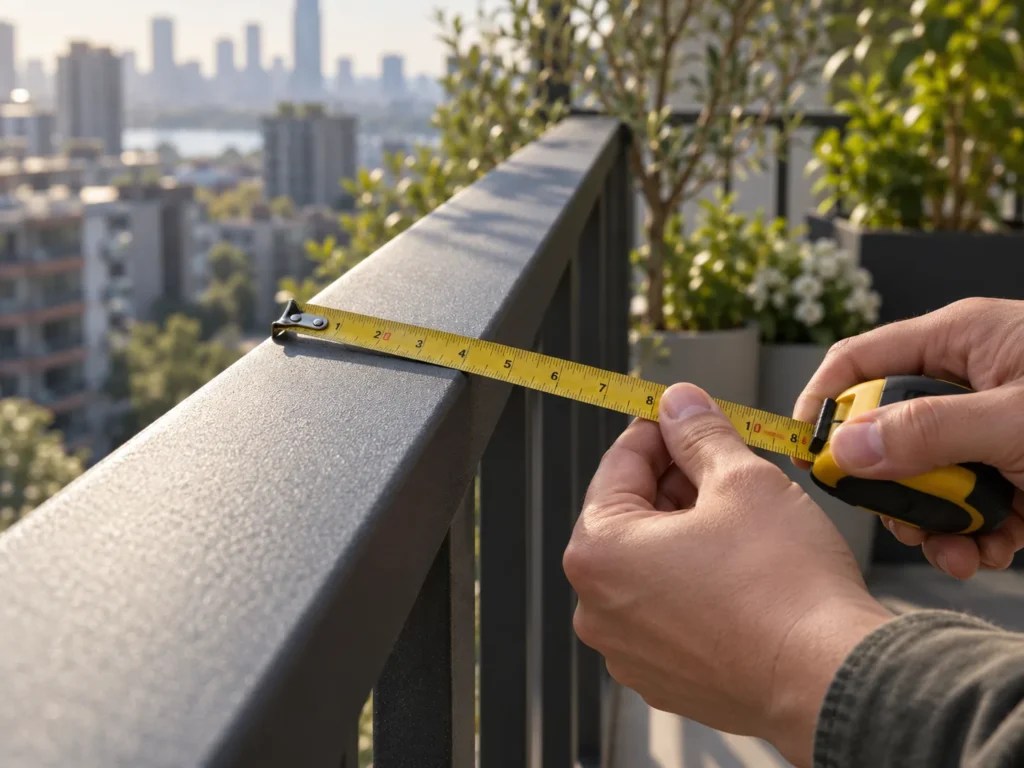
Step 1: Check Your Lease and Measure the Railing
Read your lease, then email your building manager or HOA and ask two questions: are railing planters allowed, and do they have to hang on the inside of the rail? The Master Gardeners of Northern Virginia advise checking with your apartment or condo manager before setting up a balcony garden, and a written yes protects you at move-out.
Plan to hang the box on the inside even if nobody requires it. A box on the outside sits over open air, so anything that falls lands on a balcony, a walkway or a person below.
Now measure four things and write them down:
- The width (thickness) of the top rail, which decides your bracket size.
- The height of the top rail from the floor, so the box sits where you can water it comfortably.
- The length of a clear run of railing between posts, which sets the maximum box length.
- What is directly below: a neighbor’s balcony, a walkway, or a planting bed.
If your rail is round, check that the bracket packaging lists round rails. Renters who’d rather not build at all will find more options in our no-drill balcony ideas for renters.
Step 2: Choose Your Wood and Cut the Pieces
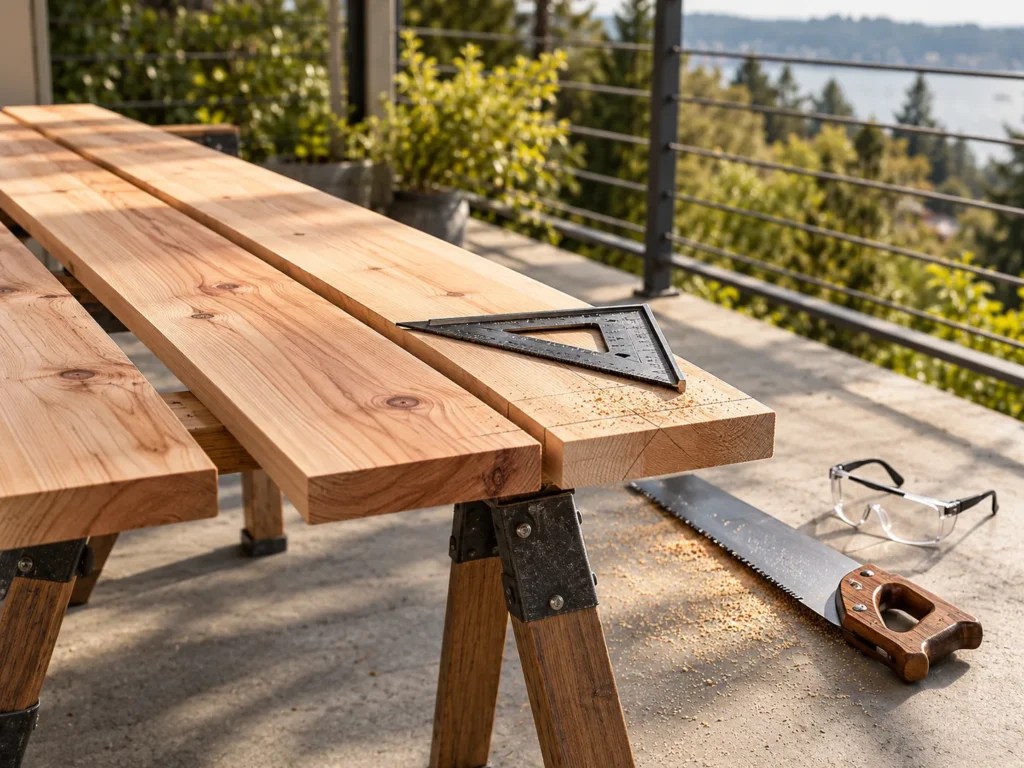
Cedar is the easy choice for a box that will be wet most of the summer. Cedar resists rot and insects naturally, while untreated pine lasts only a very short time in contact with soil, according to UGA Extension’s guide to raised bed materials.
Pressure-treated lumber is the question most people ask next. Current treated formulas appear to be safe for growing food, though certified organic growers can’t use them. The older CCA treatment was restricted by the EPA in 2004, and today’s treatments leach into soil only in very small amounts. Cedar sidesteps the whole question, which is why we’d start there for a box of herbs. Whatever you choose, never reuse old railroad ties or utility poles.
For the cut list, start from your Step 1 measurements:
- Two long sides: shorter than your clear rail run, long enough to span both brackets.
- Two ends: cut so the sides overlap them at the corners.
- One bottom: sized to fit snugly inside the four walls.
Measure the actual boards before marking cuts. Lumber is sold by nominal size, and real boards run smaller than the label, which changes your end pieces and the box’s inside depth. A 1×8 box also loses some height to the bottom panel, so it suits small plants. If basil (Ocimum basilicum) is on your list, use 1×10 boards so the inside depth clears 8 inches (the plant-by-depth numbers are in How to Use It).
Step 3: Glue and Screw the Box Together
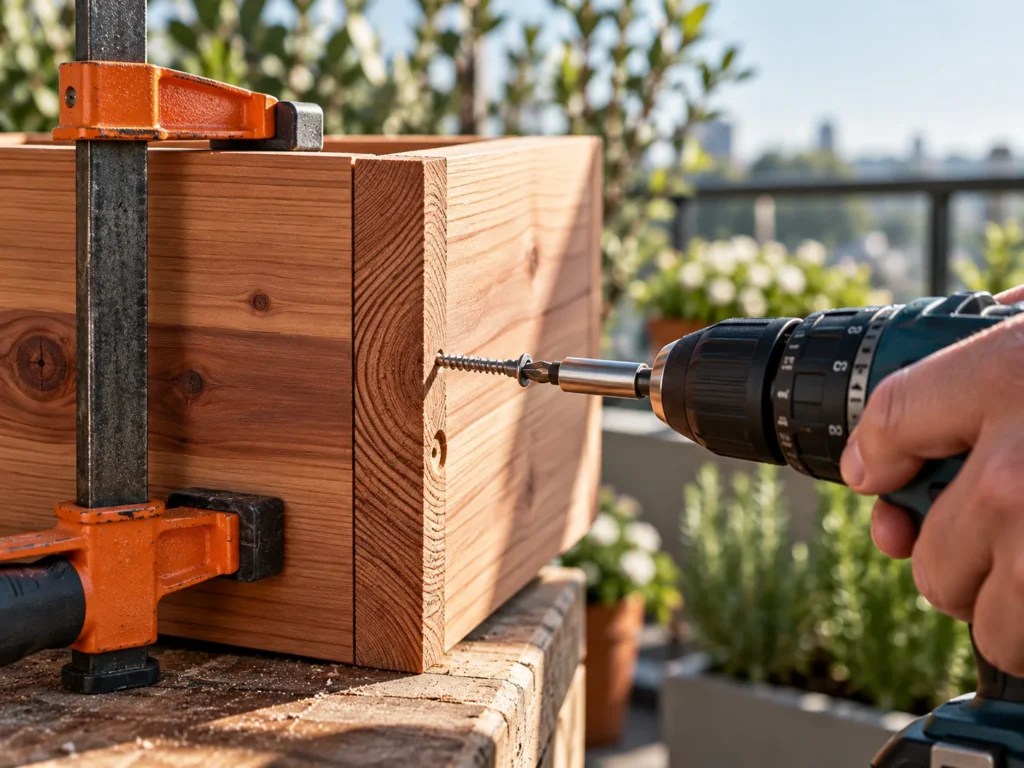
Run a bead of exterior glue along each joint, clamp the pieces square, then drive exterior screws through the sides into the ends. Cedar is soft and splits easily near the board ends, so drill a pilot hole and countersink for every screw.
Set the bottom panel inside the four walls, glue its edges, and screw through the sides and ends into it. That way screws in every wall carry the soil weight.
Before the glue sets, measure both diagonals. Matching numbers mean the box is square; if they differ, nudge the long corner until they match, then let the glue cure per its label.
Step 4: Drill Drainage Holes
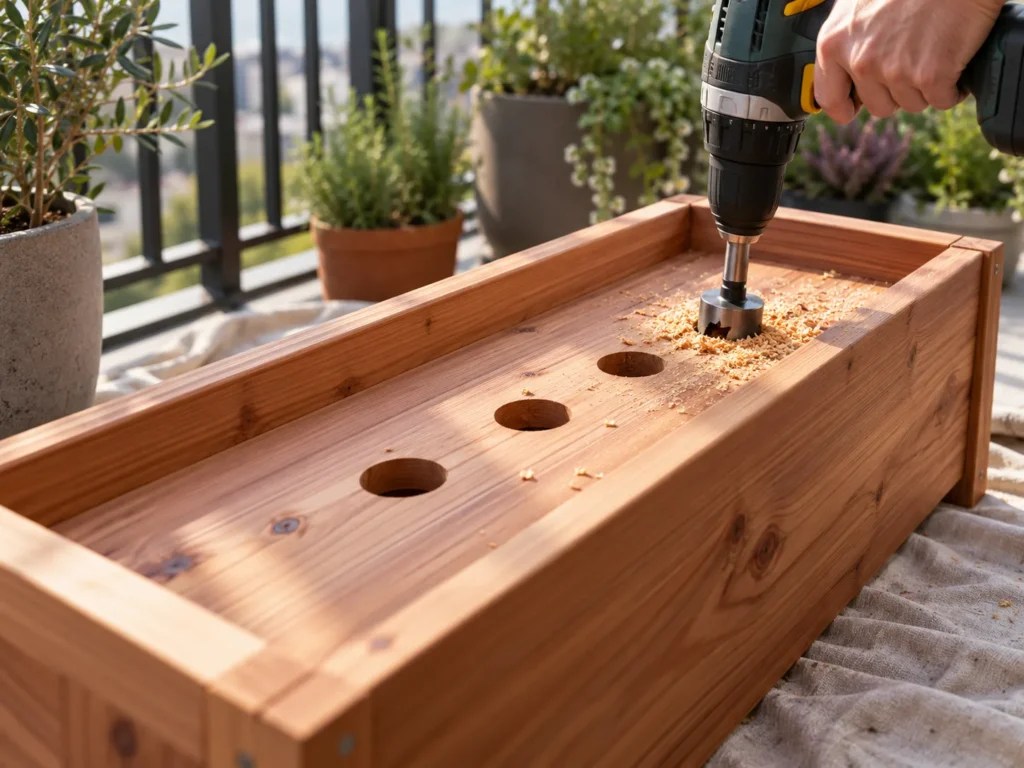
Flip the box and drill several holes spread evenly along the bottom, not just one in the middle. Every container needs a way for extra water to escape, and blocked holes leave roots sitting in waterlogged soil, which leads to root rot.
Leave out the layer of gravel or rocks that older guides tell you to add. University of Maryland Extension notes that gravel in the bottom of a container doesn’t improve drainage, and in a shallow railing box it also steals soil space your roots need.
Quick check: hold the box up to the light. You should see daylight through every hole, with no sawdust plugging them. Sand off any splinters around the edges.
Step 5: Seal the Outside and Let It Cure
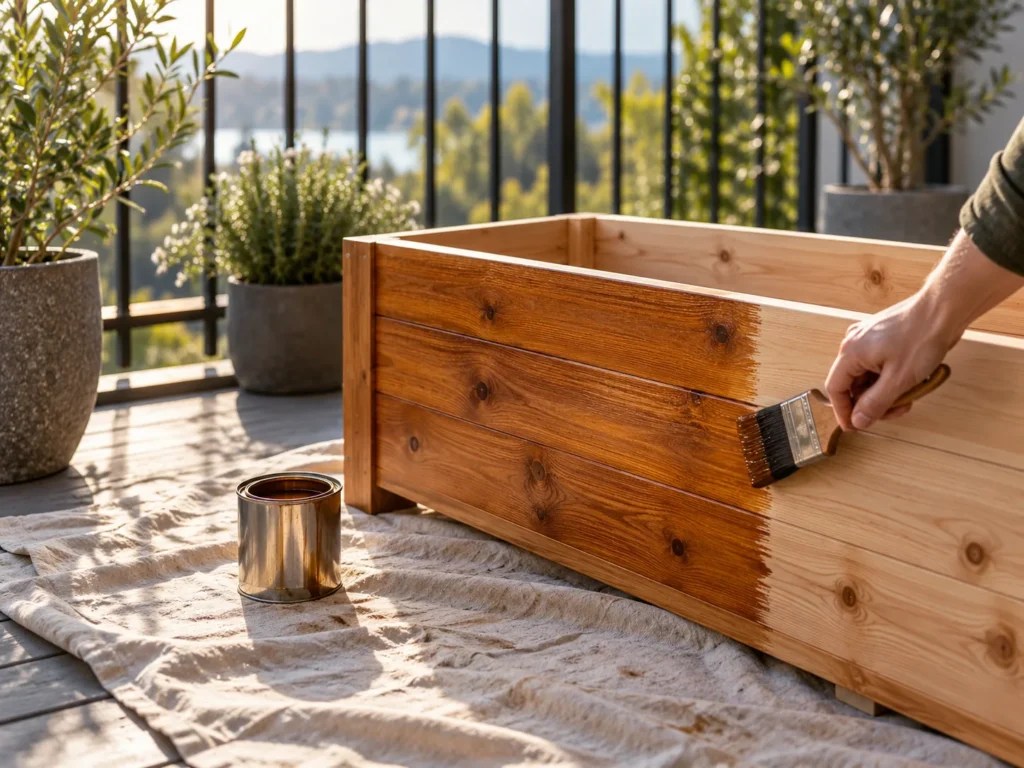
Brush an exterior stain, paint or clear sealer onto the outside faces and the top edges only. Leaving the inside bare keeps finish away from the soil, which matters most for herbs or greens you’ll eat.
Choose a light or natural color. Dark containers absorb heat and can raise root temperatures, a real concern in a small box hanging in full afternoon sun.
Let the finish dry and cure for the full time on the product label before any soil goes in.
Step 6: Fit the Brackets on the Inside of the Rail
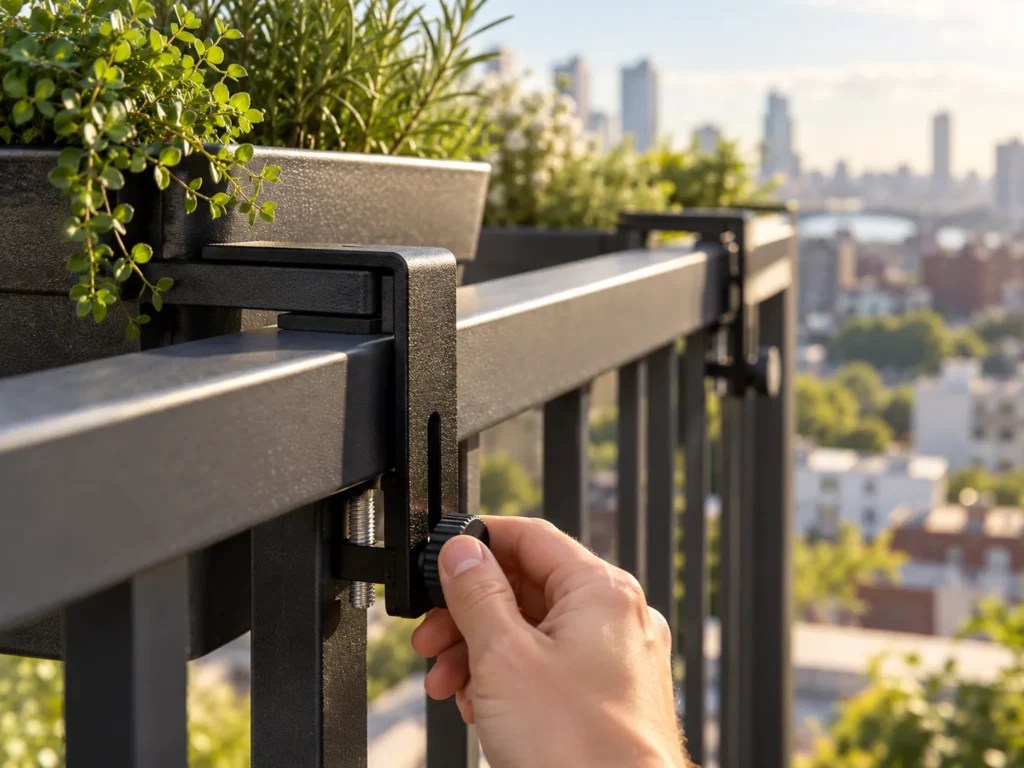
Adjust each bracket to your rail width from Step 1, so it hooks over the top rail and clamps snugly with no rocking. For a first railing box, we’d start with adjustable brackets because they need no screws in the railing and come off cleanly when you move.
Check the rated load printed on the bracket packaging and compare it with the box when it’s full of wet mix, which is much heavier than the dry box you just built. A simple way to estimate: once the box is filled and watered in Step 7, step on a bathroom scale while holding it, then subtract your own weight. If the number gets close to what two brackets are rated for, use a shorter box or a third bracket.
Put a rubber or felt pad wherever metal touches the rail. Pads prevent scratches on painted metal, vinyl and PVC and help the bracket grip.
Test-fit the empty box on both brackets and check it with a level. The box should sit flat and tight against the rail, with the brackets spaced far enough apart that neither end droops.
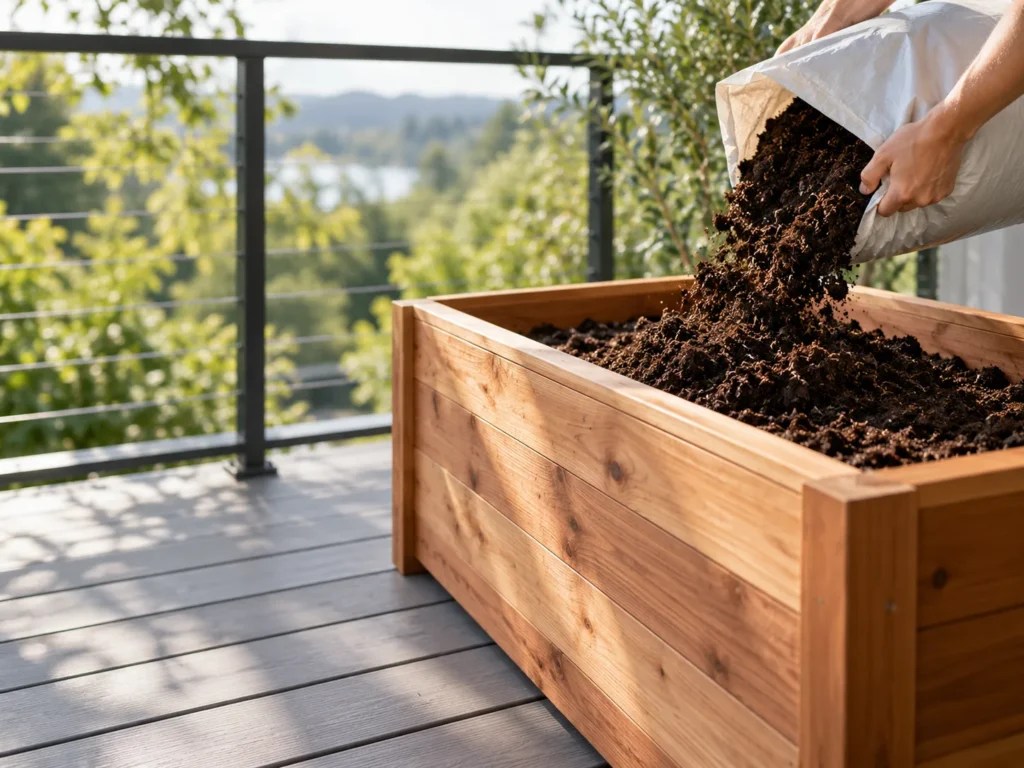
Step 7: Fill With Potting Mix
Fill the box with a bagged container potting mix. Garden soil packs down and drains poorly in a container, while potting mix holds water and air in balance. You can blend in compost for up to half of the volume if you want a richer mix.
Leave about ½ to 1 inch of space between the top of the mix and the rim. That gap gives water somewhere to pool and soak in instead of spilling over the edge.
Do all of this with the box on the balcony floor, never while it hangs on the rail. Nothing spills over the edge, and you can lift the box onto the brackets in one controlled move.
Step 8: Plant, Hang and Add a Drip Tray
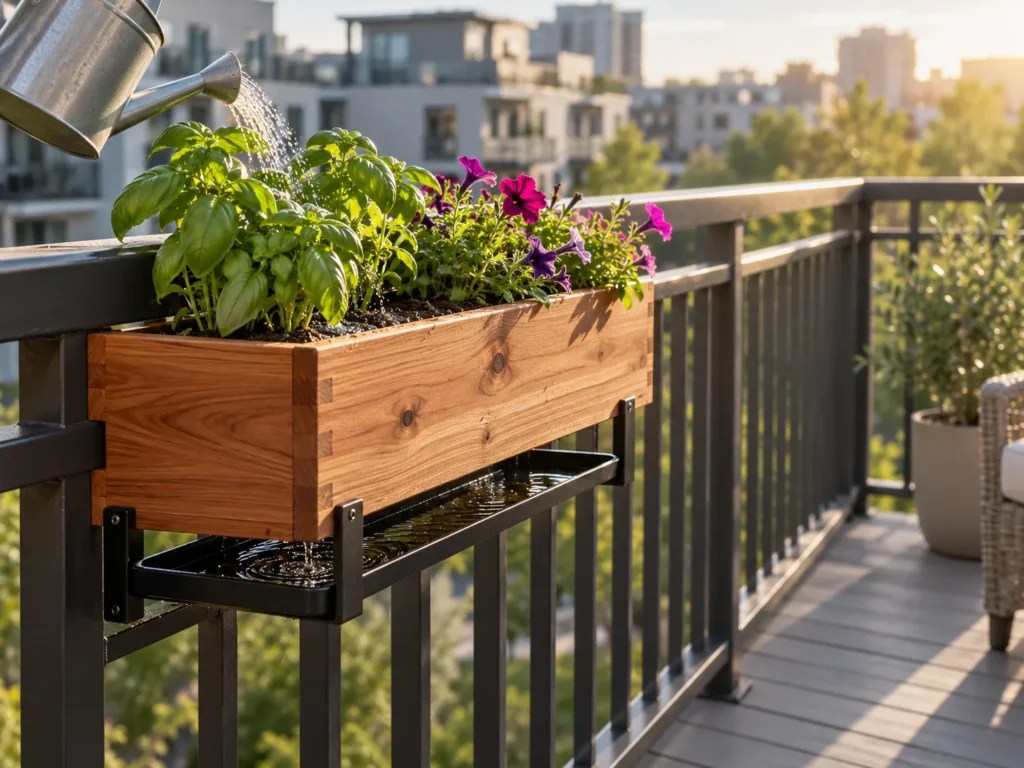
Plant while the box is still on the floor, then lift it onto the brackets with a helper or both hands, keeping it level as it drops into place. Check the level once more and confirm both brackets are still tight.
Water slowly until it drains from the bottom holes. Then think about whoever lives below, because anything that runs out of your box lands on their balcony. Set a long drip tray or a row of saucers under the box and empty them a few minutes after watering, so water doesn’t spill onto the balcony beneath or sit long enough for mosquitoes to breed.
How to Use It: Planting and Care for a Balcony Railing Planter Box
A railing box holds a small amount of soil in the windiest, sunniest strip of your balcony. That shapes everything you plant in it and how often you water.
What to Plant by Box Depth
Depth decides the menu, and box length only decides how many plants fit. Use the inside depth of your finished box to pick your plant size:
| Plant size | Minimum soil depth | Minimum volume | Railing box fit |
|---|---|---|---|
| Small vegetables or flowering plants | 4 to 6 inches | 1 to 3 gallons | Good fit for most railing boxes |
| Medium vegetables or flowering plants | 8 to 12 inches | 4 to 6 gallons | Only in a deep box |
| Large vegetables | 12 to 16 inches | 8 to 10 gallons | Too large for a railing box |
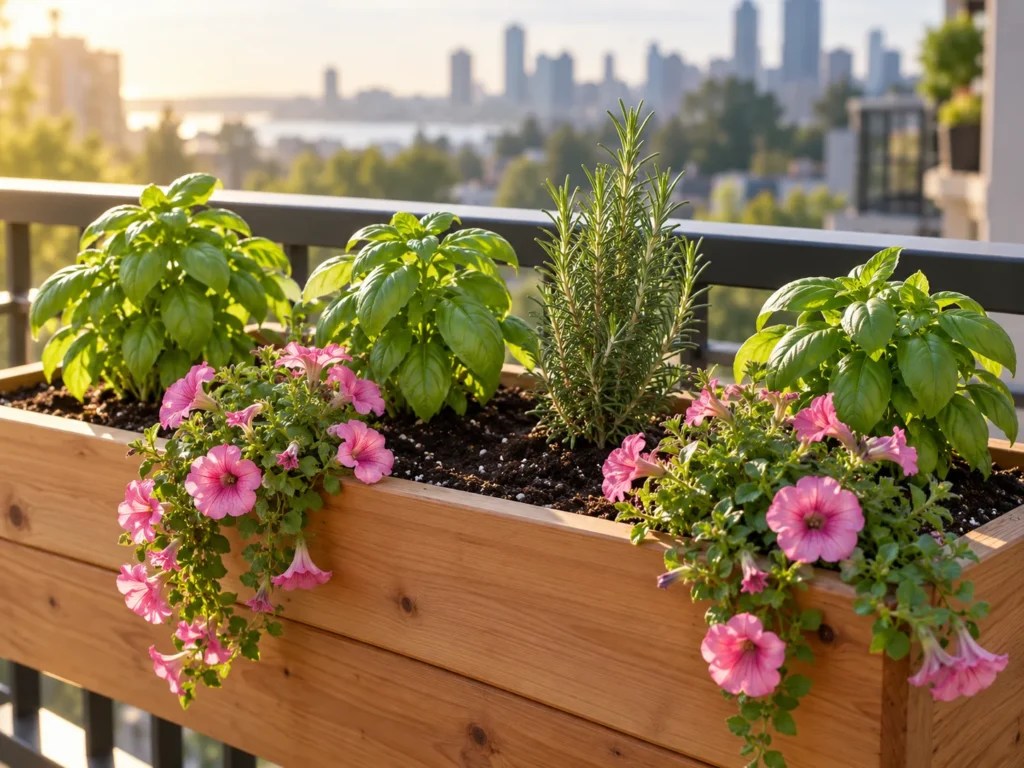
Basil needs about 8 inches of soil depth, so it belongs in the 1×10 version of the box. Lettuce (Lactuca sativa) manages in 6 to 8 inches, which makes salad greens one of the best fits for a 1×8 box.
Sun is the other half of the decision. Most herbs and vegetables need at least 6 hours of direct sun a day, while salad greens can get by with about 4. Count the hours your railing actually gets on a clear spring day, and lean on greens if it falls short.
Pet-Safe Picks
Cats walk railings, and dogs sniff anything at nose height, so check every plant before it goes into the box. Living with a cat and a dog, I’ve learned that any new plant within reach gets investigated quickly, and a balcony is no exception.
Common railing-box plants on the ASPCA’s toxic and non-toxic plant lists:
| Plant | Latin name | Dogs | Cats |
|---|---|---|---|
| Basil | Ocimum basilicum | Non-toxic | Non-toxic |
| Rosemary | Rosmarinus officinalis | Non-toxic | Non-toxic |
| Petunia | Petunia spp. | Non-toxic | Non-toxic |
| Mint | Mentha sp. | Toxic | Toxic |
| Geranium | Pelargonium spp. | Toxic | Toxic |
Mint is the tricky one. It spreads so aggressively that gardeners are often told to keep it in a container, which makes a railing box look ideal, yet mint is toxic to dogs and cats and can cause vomiting and diarrhea when eaten in large amounts. Bedding geraniums are another popular box plant to skip in a pet home, since geraniums can cause vomiting, appetite loss, depression and skin irritation in cats and dogs.
Non-toxic doesn’t mean a plant is a snack, either: any plant can cause mild stomach upset if a pet eats enough of it. For anything not in this table, look it up by its Latin name before buying, and see our guide to plants that are safe for cats and dogs for more choices.
Watering and Feeding
A railing box is a small container, and small containers dry out fast. Wind on the rail and porous wood walls speed that up, so plan on checking the box every day once the weather warms.
Push a finger into the mix up to the second knuckle. If it feels dry at that depth, water until it drains, then empty the drip tray. In hot weather that may mean watering daily, sometimes twice a day.
Frequent watering also flushes nutrients out of potting mix. A routine that works for most boxes:
- At planting: mix a slow-release fertilizer into the potting mix, following the label rate.
- Every 2 to 4 weeks: add a soluble fertilizer at the label rate, starting once plants are growing well.
- Each new season: replace the potting mix, which breaks down and compacts over time.
When Something Goes Wrong
| What you see | Likely causes | How to tell | Fix |
|---|---|---|---|
| Box tilts or sags outward | Bracket set wider than the rail; bracket rated too low for a wet box; one bracket carrying most of the load | Gap between bracket and rail; tilt gets worse right after watering | Re-fit brackets (Step 6), use two or three, or switch to a shorter box |
| Water drips onto the balcony below | No tray; tray overflowing; heavy rain | Drips only after watering, or after storms too | Add a tray and empty it soon after watering (Step 8) |
| Soil stays soggy for days | Blocked holes; too few holes; a gravel layer | Look under the box for clogged holes; probe the bottom of the mix | Clear or add holes and remove any gravel (Step 4) |
| Plants wilt by afternoon | Small soil volume drying out; wind; dark finish heating roots; strong afternoon sun | Dry at knuckle depth means thirst; wilting in moist soil points to heat, or to root rot if the mix stays soggy | Water more often in heat, use a lighter finish, or pick wind-resistant plants for high-rise balconies |
| Leggy plants, few flowers | Too few hours of direct sun | Count sun hours on a clear day | Move the box to a sunnier stretch or switch to greens |
| Wood darkens, softens or cups | Untreated pine; box sitting wet with no airflow | Soft spots at corners and along the bottom | Rebuild in cedar, seal the outside, and keep the tray from touching the bottom |
Variations: More Balcony Railing Planter Box DIY Ideas
Once the basic box works on your railing, small changes make it fit a different rail, budget or watering schedule.
Saddle Box That Straddles the Rail
A saddle box sits across a wide, flat top rail like a rider on a horse. Side panels hang down each side of the rail, so the box stays put through its own shape and weight with no fasteners.
Trace a paper template of your rail’s profile before cutting, and pad every surface that touches the rail. Confirm your building allows boxes on top of the rail (Step 1), and skip this on windy upper floors.
Self-Watering Railing Box
A self-watering version adds a water reservoir under the soil, a wick of potting mix that draws water up into the root zone, and an overflow hole so the reservoir can’t flood the roots. Build the box a little deeper to make room for the reservoir and add a fill tube at one end.
It suits weekend travelers and rails that dry out by noon. The overflow hole still releases water, so keep a drip tray under it.
Fence-Picket Budget Box
Cedar fence pickets are one of the cheapest ways to get rot-resistant wood. They’re thinner than 1×8 boards, so the box comes out lighter, which is a real plus on brackets with a modest load rating.
Thin wood brings two trade-offs. It splits more easily, so pre-drill every screw, and it dries out faster in sun and wind, so check soil moisture more often. Trim off the shaped picket tops before assembly.
French Cleat Box (Only With Permission)
A French cleat uses two strips of wood cut at matching angles: one screws to the railing, the other to the back of the box, and the box drops onto the rail strip and locks in place. It’s secure and lifts off easily for winter.
The catch for renters is that the rail strip screws into the railing. Use this one only on a railing you own or with written permission from your building, and keep the box on the balcony side, as in Step 1.
Frequently Asked Questions
Is a full railing planter box too heavy for my balcony?
Usually not for the balcony floor, since most building safety codes require balconies to support 60 pounds per square foot. The weaker points are the brackets and the rail itself, so the bracket’s rated load and your building’s rules decide how big the box can be. If weight worries you, build a shorter box, and ask your building manager before lining one rail with several boxes.
How long will a cedar railing box last?
Several years with eastern red cedar, which is very rot resistant and holds up even in contact with soil. The life of western cedar in direct soil contact is less certain, so if that’s what your store sells, seal the outside well and keep the drip tray from touching the bottom so the wood can dry between waterings.
Should I buy a plastic railing planter instead of building one?
A plastic box is a fair swap if you want less weight and less watering. All the balcony railing planter box DIY ideas in this guide use wood, which is porous and dries out faster than plastic or metal. Pick a light color either way, because dark containers run hotter (see Step 5), and check that it fits your brackets and has drainage holes.
Can I hang a planter box on a glass balcony railing?
Only if the glass panels have a solid top rail for the brackets to hook over; skip any setup that clamps onto the glass itself. With no top rail, a long planter standing on the floor against the railing still gets good light and hangs over nothing. Some buildings limit planters to the height of the railing, so check your rules first (see Step 1).
What should I do with the box at the end of the season?
Empty it, let it dry and store it somewhere sheltered until the next planting season. The mix gets replaced each year anyway (see Watering and Feeding), so there’s no reason to leave it in. An empty box is easier to carry, and keeping the wood out of constant contact with damp soil is one of the simplest ways to make it last longer.
What Actually Matters
Of all the balcony railing planter box DIY ideas above, the basic bracket box is the one to build first. It succeeds or fails on three things: a bracket that fits your rail, holes that let water out, and plants sized for a shallow box.
If you only do one thing this week, send that email to your building manager and measure your rail. Those two answers decide your bracket, your box length and whether a saddle or cleat is even an option.
Then pick plants for the sun your railing really gets. A bright, south-facing rail opens up our list of full-sun balcony plants, and that once-empty strip of railing turns into the most useful garden space you have.
Sources
- University of Maryland Extension – Types of Containers for Growing Vegetables – soil depth and volume by plant size, drainage holes, gravel layers, dark container heat, wood drying
- University of Vermont Extension – Growing Vegetables and Herbs in Containers – sun hours, basil depth, fill level, watering frequency, replacing potting mix
- Penn State Extension – Container Vegetable Gardening: Four Keys to Success – potting mix over garden soil, compost proportion, watering until it drains, fertilizer timing
- West Virginia University Extension – Container Gardening – lettuce depth, blocked drainage holes and root rot, garden soil in containers
- Master Gardeners of Northern Virginia (Virginia Cooperative Extension) – Balcony Gardening Basics – building approval, balcony floor load, planter height limits, saucers and runoff to neighbors, wind drying, finger test
- UGA Extension – Raised Bed Materials (C1027-5) – cedar, pine and pressure-treated lumber, railroad ties
- Oregon State University Extension – Raised bed lumber, pressure treated safe? – leaching, 2004 CCA restriction
- University of Illinois Extension – Water Less with Self Watering Containers – reservoir, wick and overflow hole design
- Washington State University Extension – Herbs (Puget Sound Gardening Tip Sheet #8) – herb sun needs, mint spread in containers
- ASPCA – Toxic and Non-Toxic Plants pages for basil, rosemary, mint and geranium, plus Do You Know Which Flowers and Plants Are Toxic to Pets? – pet toxicity and petunia status
