

Orchid Care for Beginners Reblooming starts with one small panic: the flowers dropped, the stem looks strange, and your orchid is sitting on the windowsill like a very expensive green question mark.
I get the worry. A bare orchid feels dramatic, especially if it looked perfect two weeks ago.
But a beginner orchid without flowers is not automatically dead. If the leaves are firm and the roots are mostly green or silvery, the plant is usually resting, rebuilding, and waiting for better conditions before it tries again.
Quick recommendation: keep a beginner Phalaenopsis orchid in bright indirect light, water when the roots turn silvery, use airy bark, protect it from vents, and try cooler nights only after the plant looks healthy.
TL;DR
Most beginner orchids can rebloom indoors when you stop treating the missing flowers as a crisis and start reading the roots, leaves, light, and temperature instead.
- Orchid Care for Beginners Reblooming is mostly about Phalaenopsis orchids, also called moth orchids.
- Water by root color and dry bark, not by a strict weekly calendar.
- Bright indirect light matters more than extra fertilizer for new flower spikes.
- A few weeks of cooler nights can help trigger reblooming, but only after roots and leaves are healthy.

| Care factor | Beginner target | Apartment warning sign | What to do next | Mistake to skip |
|---|---|---|---|---|
| Light | Bright indirect light | Dark shelf, no new spike | Move closer to a bright window | Direct hot sun on leaves |
| Water | Silvery roots before watering | Brown mushy roots | Drain fully and check bark | Watering on autopilot |
| Potting mix | Chunky orchid bark | Soggy moss or dense soil | Repot after bloom if needed | Using regular potting soil |
| Temperature | Warm days, cooler nights | Vent or radiator nearby | Shift the pot away from hot air | Cold drafts on the crown |
Quick Overview: Why Beginner Orchids Stop Blooming
Beginner orchids usually stop blooming because the plant has finished a flower cycle, not because you failed. A healthy Phalaenopsis can rest for months while it stores energy in leaves and roots before making another spike.
The University of Maryland Extension notes that low light is a common reason Phalaenopsis orchids do not rebloom, and it also explains that aerial roots are normal on these plants. That matters because many beginners see bare stems and stray roots and assume the whole plant is in trouble.
If the leaves are firm: do not toss the orchid. Check the roots, move it to brighter indirect light, and give it time.
Takeaway: missing flowers are not the same as a dead orchid.
Identify Your Orchid Before You Try to Rebloom It
Most beginner orchids sold for indoor growing are Phalaenopsis orchids, and this guide is built around that plant. They have broad leaves, arching flower spikes, thick roots, and blooms that often last for weeks or months indoors.
Phalaenopsis orchids are part of the Orchidaceae family and are often called moth orchids. Missouri Botanical Garden describes them as epiphytic orchids, which means they naturally grow attached to other surfaces rather than buried in heavy soil.
Other orchids, such as Dendrobium or Cattleya, may need different rest periods, light levels, or temperature patterns. If your plant has cane-like stems or thick swollen growths called pseudobulbs, pause before following every Phalaenopsis reblooming rule.

Takeaway: identify the orchid first, then choose the reblooming advice.
Orchid Care for Beginners Reblooming Basics
Orchid Care for Beginners Reblooming works best when you focus on health before flowers. The plant needs enough light, airy roots, careful watering, moderate humidity, and a safe temperature shift before it can spend energy on a new spike.
I like this order because it stops the beginner spiral. You do not need 12 products. You need to answer four questions: are the roots alive, is the light bright enough, is the crown dry, and is the plant resting or declining?
If those answers look good, reblooming becomes a patience project. If they look bad, the goal is recovery first.
Takeaway: healthy roots and leaves come before flowers.
Light Requirements for Orchid Reblooming
Phalaenopsis orchids need bright indirect light to rebloom indoors, but they can burn in harsh direct sun. In an apartment, that usually means an east window, a bright west window with distance, or a south window softened by a sheer curtain.
I have found that “bright indirect light” is the phrase that makes beginners nod and then still place the orchid 8 feet from the window. For a plant, that can feel like a cave.
A healthy leaf color is usually medium green. Very dark green leaves often mean the orchid is living too dimly. Yellow-green leaves with scorched patches can mean too much direct sun.
The RHS recommends bright light without direct summer sun for moth orchids. That is the sweet spot: bright enough to grow, gentle enough not to cook the leaves.
If you have a north-facing window: move the orchid as close to the glass as temperature allows, or use a small grow light for 10 to 12 hours during darker months.
If your other plants are also struggling in dim rooms, start with easier options from low light plant care before expecting an orchid to flower on a shadowy shelf.

Takeaway: if your orchid will not rebloom, check light before fertilizer.
How to Water Orchids Without Root Rot
The safest beginner watering method is to soak the inner pot, let the bark drink, and drain every drop before returning the orchid to its cover pot. Water again when roots look silvery and the bark feels mostly dry.
When I started this site, the most useful orchid advice I found was not “water weekly.” It was “look at the roots first.” A clear pot turns watering from guesswork into a quick 20-second check.
Green roots usually mean the plant is hydrated. Silvery roots mean it is getting ready for water. Brown, mushy roots mean the plant has been staying wet too long.
Use room-temperature water. Let it run through the bark or soak the nursery pot for about 10 to 15 minutes, then drain well. Never leave the crown sitting wet.
Missouri Botanical Garden advises against watering Phalaenopsis orchids with ice cubes. I agree with the beginner reason too: ice watering hides what the roots and bark are actually doing.

For broader watering habits, the same root-first thinking applies to many indoor plants. This is one reason I keep a simple drooping leaf diagnosis mindset for thirsty plants, instead of watering everything on the same day.
Takeaway: water the roots you see, not the calendar you planned.
Root Color Check: Green, Silver, Brown, or Mushy
Root color is the fastest beginner diagnosis for a Phalaenopsis orchid. Green roots are recently watered, silvery roots are drying, pale firm roots can still be healthy, and brown mushy roots signal rot risk.
If your orchid is in a clear nursery pot, lift it before watering. Look through the sides. If you see mostly green roots and damp bark, wait.
Green roots: the orchid is hydrated. Do not water just because it is Saturday.
Silvery roots: the orchid may be ready soon. Check whether the bark is dry too.
Brown or mushy roots: reduce watering, improve drainage, and plan a careful repot if the plant keeps declining.
Wrinkled leaves with dry roots: the plant may be thirsty. Wrinkled leaves with mushy roots: the plant may be unable to drink because roots are damaged.

Takeaway: roots are the orchid’s status report.
Soil, Potting Mix, and Clear Pots
Phalaenopsis orchids should grow in an airy orchid mix, not regular potting soil. Chunky bark, sometimes blended with small amounts of sphagnum moss or perlite, lets roots breathe while still holding some moisture.
The beginner trap is treating orchid bark like normal soil. It looks too chunky until you remember that these roots need air as much as water.
University of Maryland Extension recommends replacing old Phalaenopsis potting medium every 1 to 2 years. Old bark breaks down, holds too much water, and can quietly push roots toward rot.
A clear nursery pot is useful because it lets you see roots, moisture, and bark condition. It also makes watering less mysterious.
Apartment shopping list: clear orchid pot with drainage holes, bark-based orchid mix, clean scissors, and a simple saucer. Skip dense potting soil and decorative pots with no drainage.


If you already care for a chunky-rooted plant like a monstera, the logic may feel familiar. Airy roots need different treatment than dense-rooted plants, which is why monstera care also rewards better drainage.
Takeaway: orchid roots need air, so potting mix matters.
Humidity and Temperature in Apartments
Indoor orchids prefer steady warmth with moderate humidity, but many apartments create dry air through heaters, radiators, air conditioners, and vents. The fix is not misting all day. It is stable placement, airflow, and gentle humidity support.
I have watched a heated living room dry an orchid pot faster than expected in 5 days. The leaves looked fine at first, but the bark went crisp and the aerial roots turned papery.
The American Orchid Society describes orchid care as a balance of water, fertilizer, light, temperature, air movement, and humidity. That balance matters more than chasing one perfect number.
Use a humidity tray with pebbles and water below the pot, not touching the pot base. A small humidifier can help if the room is very dry, especially in winter.
If your orchid sits near a radiator or heating vent: move it at least a few feet away. Hot moving air dries bark, stresses buds, and can make reblooming harder.


Takeaway: stable air beats constant misting.
Fertilizing Without Forcing the Plant
Fertilizer supports orchid growth, but it does not replace light or healthy roots. Feed lightly during active growth, dilute more than the label maximum if you are unsure, and avoid fertilizing dry or damaged roots.
A balanced orchid fertilizer can work for general care. Some growers use bloom fertilizer, but I would not make that the first beginner move.
Water first, then fertilize lightly. This reduces the risk of root burn. If roots are mushy, leaves are limp, or the plant was just repotted, pause feeding until it stabilizes.
Too much fertilizer can leave salt buildup in bark. Flush the pot with plain water occasionally so the roots do not sit in residue.

Takeaway: fertilizer is support, not a shortcut.
What to Do After Orchid Flowers Fall
After orchid flowers fall, check the flower spike before cutting anything. A green spike may rebloom from a node or grow a side branch, while a brown dry spike should be trimmed near the base with clean scissors.
This is the moment beginners tend to overdo it. I would wait a few days, inspect the spike, and decide based on color and plant strength.
If the spike is green: you can cut just above a healthy node, usually the second or third node below where the flowers were. This may encourage a side spike, but it can also drain a weak plant.
If the spike is brown and dry: cut it near the base. That spike is finished.
If the plant looks tired: cut the spike near the base even if part of it is green. Let the orchid send energy to roots and leaves first.
Sometimes a node produces a keiki, which is a baby plant. Do not remove it too early. It needs roots of its own before separation.

Takeaway: cut based on spike color and plant strength, not panic.
How to Trigger Reblooming With Cooler Nights
Cooler nights can help trigger a Phalaenopsis orchid to grow a new flower spike, but only when the plant is already healthy. The goal is a gentle temperature drop for several weeks, not a cold shock.
I would frame this as a patience test, not a trick. The plant needs a signal, then several weeks of boring consistency.
The RHS says a cooler period can stimulate moth orchids to flower. Missouri Botanical Garden also points to warm days and cooler nights as part of Phalaenopsis care.
In an apartment, try placing the orchid near a bright window at night while keeping it away from direct drafts. A simple room thermometer helps. You are looking for cooler nights than days, not a freezing windowsill.
Renter-safe routine: keep the orchid in bright indirect light by day, move it slightly closer to a cool window at night for 2 to 4 weeks, and keep the crown dry.
Do not try this with a plant that has root rot, wrinkled leaves, or recent pest damage. Stress does not rebloom a weak orchid. It can finish the decline.

Takeaway: cooler nights help most after the basics are steady.
Common Problems and Fixes
Most orchid problems can be narrowed down by matching the symptom to roots, water, light, temperature, or pests. Start with the visible clue, then make one correction at a time.
No new flower spike
Likely cause: not enough bright indirect light, no cooler-night signal, or the plant is still recovering.
First fix: move it closer to a bright window and keep care steady for several weeks.
Yellow leaves
Likely cause: one old lower leaf may be natural aging, but several yellow leaves can mean overwatering, root stress, or harsh light.
First fix: check roots before changing anything else.
Wrinkled leaves
Likely cause: either underwatering or root damage. The roots decide which one.
First fix: water if roots are dry and firm. Repot if roots are mushy.
Bud blast
Likely cause: sudden drafts, dry air, heat vents, underwatering, or a recent location change.
First fix: stabilize the plant and keep it away from vents.
Mealybugs, scale, and spider mites
Likely cause: pests hiding under leaves, near nodes, or around the crown.
First fix: isolate the orchid and inspect leaf joints and spike nodes closely.

If pest stress keeps showing up across your indoor plants, compare symptoms with beginner-friendly care guides like philodendron care, because sticky residue, webbing, and leaf decline often repeat across houseplants.
Takeaway: diagnose first, then change only one care habit.
Pruning, Staking, and Simple Maintenance
Orchid maintenance should be simple: remove dead material, support new spikes, wipe dusty leaves, and use clean tools before every cut. Most beginners need less pruning than they think.
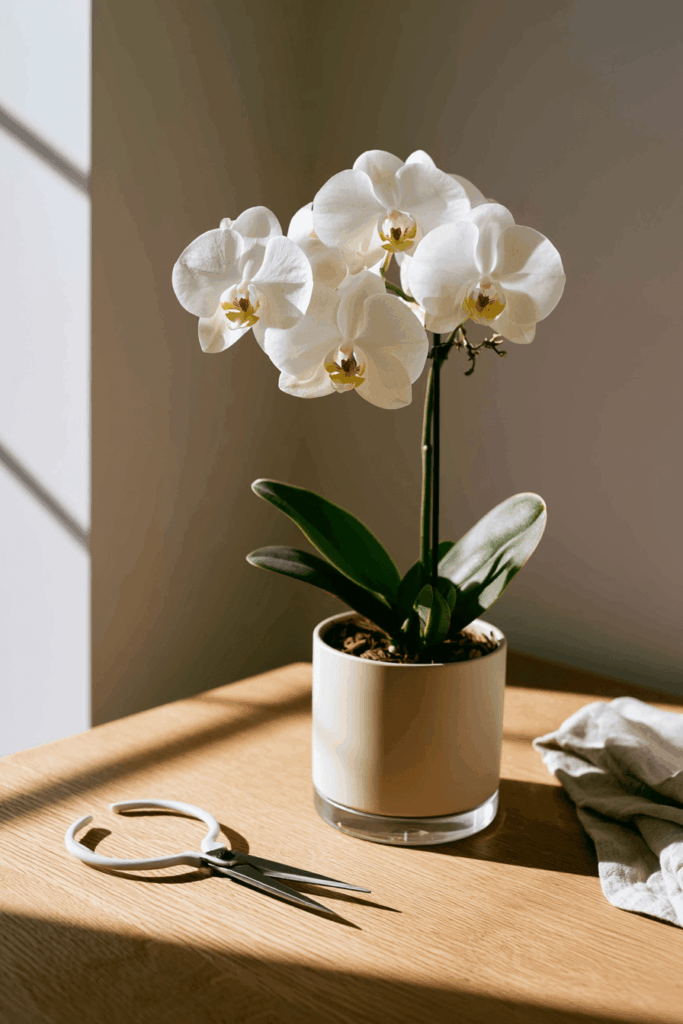
Use clean scissors or pruning snips. If you cut a flower spike, avoid damaging nearby leaves or the crown.
A new spike often grows toward light. Add a small stake while it is still flexible, and clip it loosely. Do not force a hard bend.
Wipe leaves with a damp cloth if dust builds up. Clean leaves catch light better, and light is part of the reblooming equation.
Takeaway: maintenance should support growth, not create new wounds.
Pet Safety for Cats and Dogs
Phalaenopsis orchids are listed by the ASPCA as non-toxic to cats and dogs, which makes them a calmer choice for pet-aware indoor gardeners. Non-toxic does not mean chew-proof, mess-proof, or fertilizer-safe.
If your cat likes to chew leaves, keep the orchid on a higher shelf or in a room you can close. The plant may be non-toxic, but a tipped pot, bark spill, or swallowed fertilizer residue is still not ideal.
Avoid pesticide sprays unless you know they are safe for your home and pets. Keep fertilizer bottles stored away from animals.

For more pet-aware plant choices, compare orchids with other indoor favorites before buying a full shelf of greenery.
Takeaway: Phalaenopsis is pet-safe by ASPCA listing, but placement still matters.
FAQ Section
Q: Is my orchid dead after the flowers fall off?
A: No, an orchid is not dead just because the flowers fall off. A healthy Phalaenopsis often rests for months after blooming while it rebuilds energy in its leaves and roots. If the leaves are firm and the roots are mostly green or silvery, keep caring for it instead of throwing it away.
Q: How do I get a beginner orchid to rebloom indoors?
A: Give a beginner orchid bright indirect light, healthy roots, careful watering, and a gentle cool-night signal. Low light is one of the most common reasons Phalaenopsis orchids fail to rebloom, so move the plant closer to a bright window before adding more fertilizer or products.
Q: How often should I water a Phalaenopsis orchid?
A: Water a Phalaenopsis orchid when the roots turn silvery and the bark feels mostly dry. Do not water only because a week has passed. Clear pots make this easier because green roots usually mean hydrated, while silvery roots show the plant may be ready for water soon.
Q: What light does an orchid need to rebloom?
A: Phalaenopsis orchids need bright indirect light to rebloom indoors. An east window, a bright filtered south window, or a west window softened by distance or a sheer curtain usually works well. Harsh direct summer sun can scorch leaves, while a dark shelf may prevent new flower spikes.
Q: Can cooler nights make an orchid bloom again?
A: Yes, cooler nights can help trigger a Phalaenopsis orchid to form a new flower spike. The signal should be gentle and used only when the plant is already healthy. The American Orchid Society notes that several weeks of cooler nights can help initiate flower spikes.
Q: Are Phalaenopsis orchids safe for cats and dogs?
A: Yes, Phalaenopsis orchids are listed by the ASPCA as non-toxic to cats and dogs. That does not mean pets should chew them freely, because plant material, bark, fertilizer, or pesticide residue can still cause stomach upset or household messes. Keep orchids out of reach if pets chew plants.
What Actually Matters
Orchid Care for Beginners Reblooming comes down to one quiet rule: make the plant healthy enough to bloom, then stop fussing long enough for it to respond.
Start with light and roots. Move the orchid into bright indirect light, water only when roots and bark ask for it, and keep the crown dry.
After that, use cooler nights as a gentle signal, not a rescue plan. If the plant is weak, let it recover before you ask for flowers.
The bare stem on the windowsill is not a failure scene. It is usually just the middle of the story.